TP-Link RE580D RE580D V1 User Guide - Page 28
Change the Extender’s IP Address, DHCP Server, Settings
 |
View all TP-Link RE580D manuals
Add to My Manuals
Save this manual to your list of manuals |
Page 28 highlights
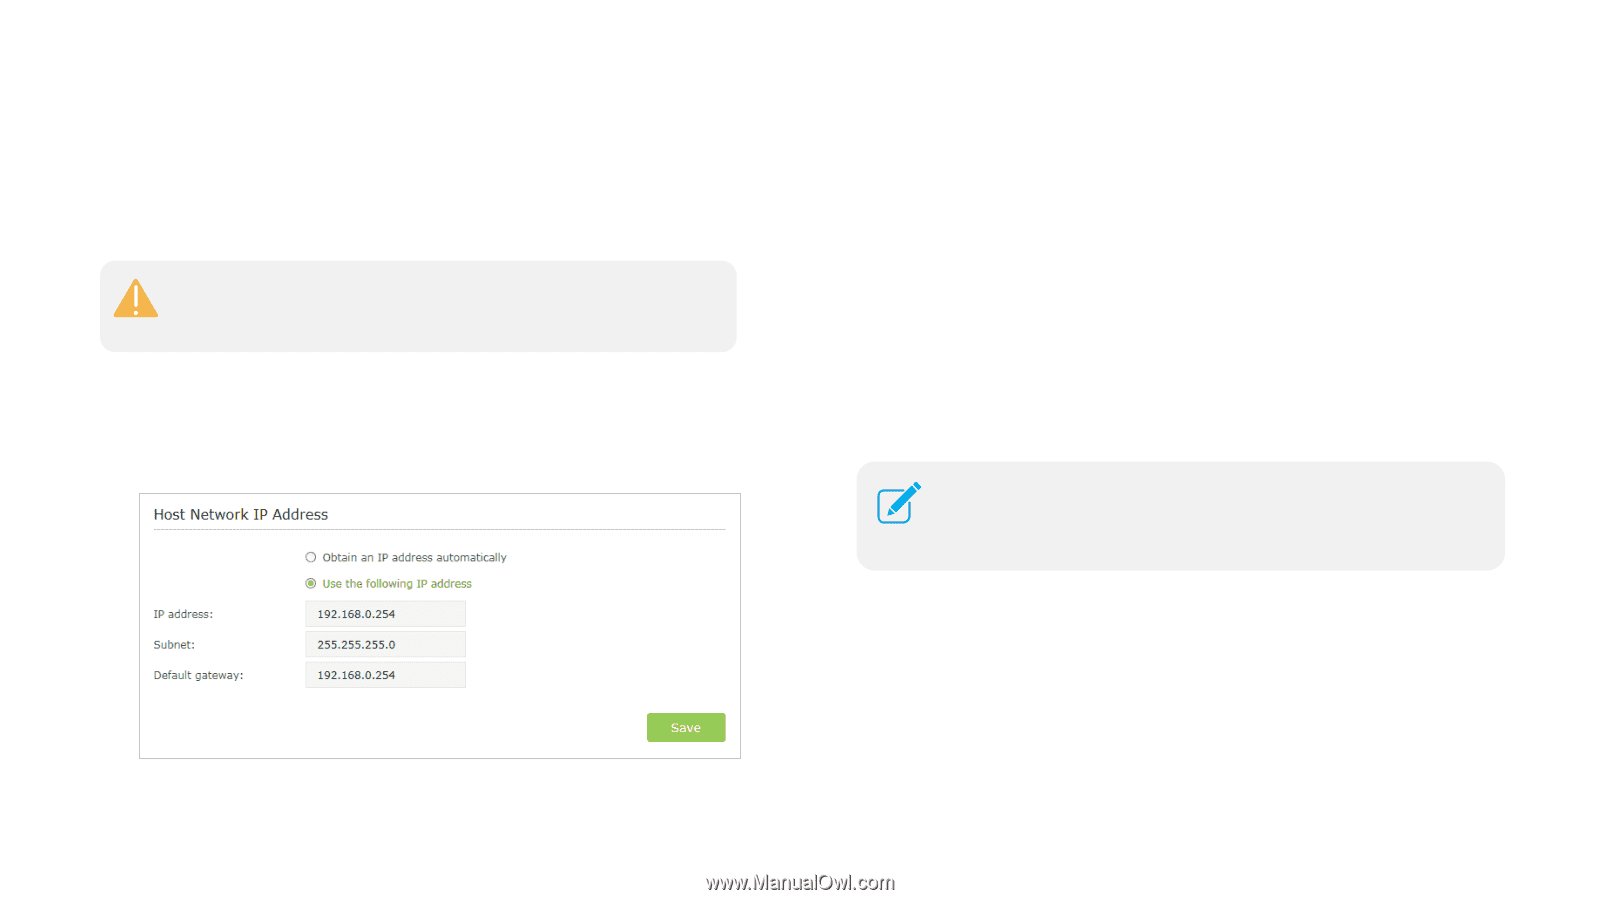
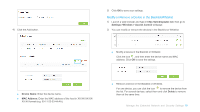
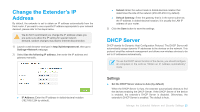
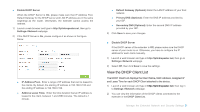
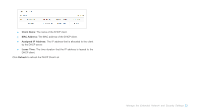
Change the Extender's IP Address By default, the extender is set to obtain an IP address automatically from the front router. If you want to use a specific IP address appropriate to your network demand, please refer to the steps below. We do NOT recommend you change the IP address unless you are quite sure about the IP setting for special network demand, random changes may lead to Internet disconnection. 1) Launch a web browser and type in http://tplinkrepeater.net, then go to Settings->Network webpage. 2) Select Use the following IP address, then enter the IP address and gateway manually. IP Address: Enter the IP address in dotted-decimal notation (192.168.0.254 by default). Subnet: Enter the subnet mask in dotted-decimal notation that determines the size of the network (255.255.255.0 by default). Default Gateway: Enter the gateway that is in the same subnet as the IP address in dotted-decimal notation. It is usually the LAN IP address of your router. 3) Click the Save button to save the settings. DHCP Server DHCP stands for Dynamic Host Configuration Protocol. The DHCP Server will automatically assign dynamic IP addresses to the devices on the network. This protocol simplifies network management and allows new wireless devices to be set to IP addresses automatically. To use the DHCP server function of the device, you should configure all computers in the LAN as "Obtain an IP Address automatically" mode. Settings ● Set the DHCP Server status to Auto (by default) When the DHCP Server is Auto, the extender automatically detects to find the devices enabling the DHCP Server. If the DHCP Server of the device is enabled, the extender's DHCP Server is disabled. Otherwises, the extender's DHCP Server is enabled. The default is Auto. Manage the Extended Network and Security Settings 20
-
 1
1 -
2
-
3
-
4
-
5
-
6
-
7
-
8
-
9
-
10
-
11
-
12
-
13
-
14
-
15
-
16
-
17
-
18
-
19
-
20
-
21
-
22
-
 23
23 -
 24
24 -
 25
25 -
 26
26 -
 27
27 -
 28
28 -
 29
29 -
 30
30 -
 31
31 -
 32
32 -
 33
33 -
34
-
35
-
36
-
37
-
38
-
39
 |
 |