Toshiba 24HV10UM Owners Manual - Page 12
Picture adjustment
 |
View all Toshiba 24HV10UM manuals
Add to My Manuals
Save this manual to your list of manuals |
Page 12 highlights
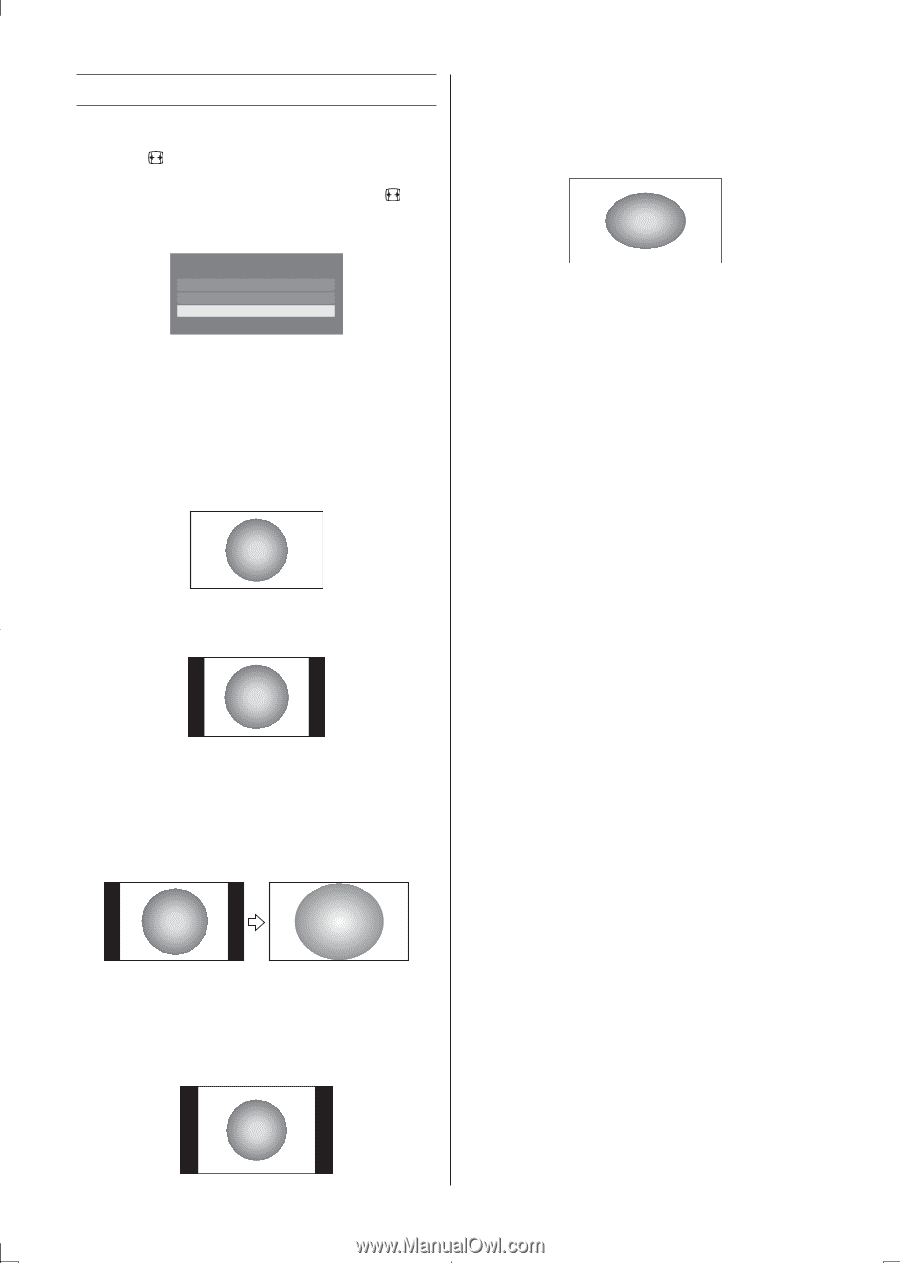
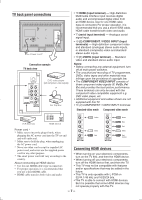
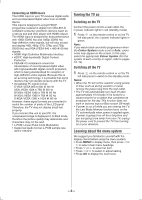
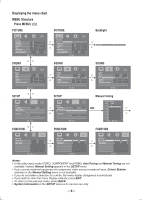
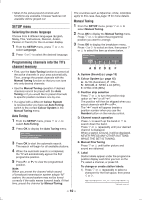
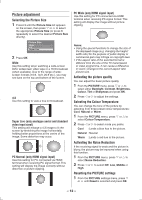
Picture adjustment Selecting the Picture Size 1 Press until the Picture Size list appears on the screen, then press s or r to select the appropriate Picture Size (or press repeatedly to select the desired Picture Size directly). Picture Size Wide 4:3 Super Live 2 Press OK. Wide Use this setting when watching a wide-screen DVD, widescreen video tape or a 16:9 broadcast (when available). Due to the range of widescreen formats (16:9, 14:9, 20:9 etc.), you may see bars on the top and bottom of the screen. 4:3 Use this setting to view a true 4:3 broadcast. Super Live (only analogue aerial and standard video input sinal) This setting will enlarge a 4:3 image to fit the screen by stretching the image horizontally, holding better proportions at the centre of the image. Some distortion may occur. PC Normal (only HDMI signal input) Use this setting for PC connected via HDMI terminal when receiving PC signal format. This setting will display the image correctly without distortion or picture clipping. PC Wide (only HDMI signal input) Use this setting for PC connected via HDMI terminal when receiving PC signal format. This setting will display the image without picture clipping. Notes: • Using the special functions to change the size of the displayed image (e.g. changing the height/ width ratio) for the purpose of public display or commercial gain may infringe on copyright laws. • If the aspect ratio of the selected format is different from the one of the TV transmission or video programme, it can cause a difference in vision. Change to the correct aspect ratio picture size. Activating the picture quality You can adjust the basic picture quality. 1 From the PICTURE menu, press s or r to select either Backlight, Contrast, Brightness, Colour, Tint or Sharpness and press OK. 2 Press v or w to adjust the settings. Selecting the Colour Temperature You can change the tone of the picture by selecting from three preset colour temperatures: Cool, Natural or Warm. 1 From the PICTURE menu, press or to select Colour Temperature. 2 Press or to select mode you prefer. Cool : Lends a blue hue to the picture. Natural : Neutral Warm : Lends a red hue to the picture. Activating the Noise Reduction If the receiving signal is weak and the picture is blurry, the picture may be improved when using this function. 1 From the PICTURE menu, press or to select Noise Reduction. 2 Press or to select Off, Low, Middle or High. Resetting the PICTURE settings 1 From the PICTURE settings menu, press s or r until Reset is selected and press OK. - 12 -
-
 1
1 -
2
-
3
-
4
-
5
-
6
-
 7
7 -
 8
8 -
 9
9 -
 10
10 -
 11
11 -
 12
12 -
 13
13 -
 14
14 -
 15
15 -
 16
16
 |
 |