Toshiba 42DPC85 User Manual - Page 26
Adjusting the PICTURE POSITION, Using the AUTO ASPECT feature
 |
View all Toshiba 42DPC85 manuals
Add to My Manuals
Save this manual to your list of manuals |
Page 26 highlights
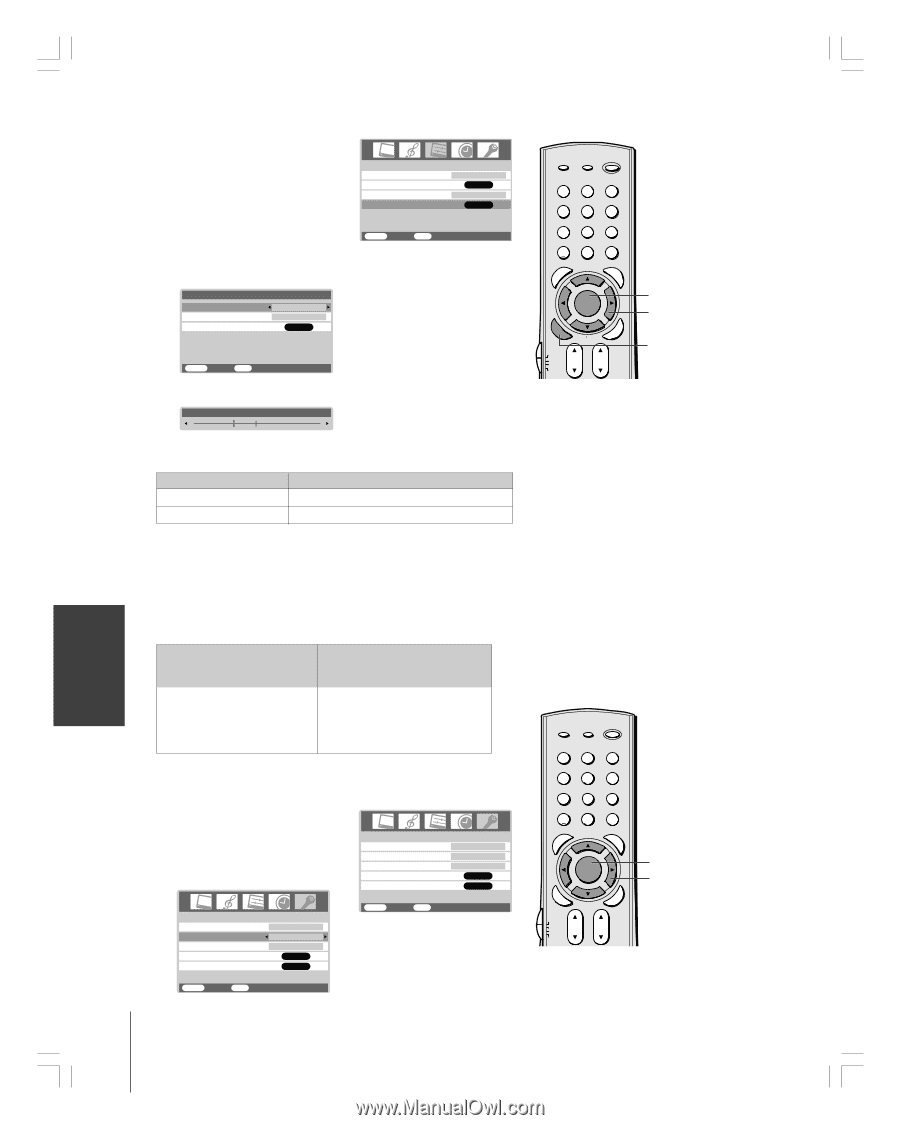
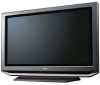
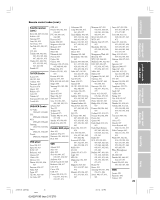
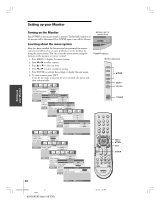
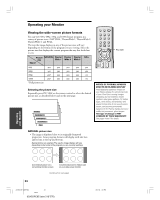
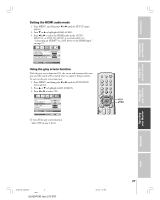
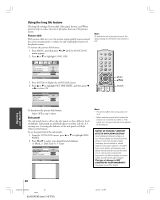
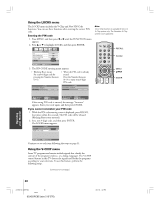
Adjusting the PICTURE POSITION 1. Press MENU, and then press x or • until the SET UP menu appears. 2. Press y or z to highlight PICTURE POSITION, and then press ENTER. SET UP LANGUAGE VIDEO LABEL HDMI AUDIO PICTURE POSITION ENGLISH ENTER AUTO ENTER The PICTURE POSITION menu appears. MENU BACK EXIT WATCH TV 3. Press y or z to highlight the item you want to adjust. PICTURE POSITION HORIZONTAL POSITION VERTICAL POSITION RESET 0 0 ENT0ER MENU BACK EXIT WATCH TV 4. Press x or • to adjust the settings as required. HORIZONTAL POSITION -2 - + • The display will return to the previous menu after 4 seconds if no button is pressed. Selection HORIZONTAL POSITION VERTICAL POSITION x Pressing • Moves picture left Moves picture right Moves picture down Moves picture up To reset to the factory-set status: Follow steps 1-3 above, highlight RESET in step 3, and then press ENTER. Using the AUTO ASPECT feature When the AUTO ASPECT feature is set to ON and the monitor receives a 480i signal, the picture size is automatically selected (as described in the following table). Aspect ratio of signal source 4:3 Normal 16:9 Full 4:3 Letter box Not defined (no ID-1 data)* Automatic aspect size (automatically selected when AUTO ASPECT is ON) Natural Full TheaterWide 2 User-set mode *If the signal does not include aspect information, the picture size you selected on pages 24-25 is displayed. To turn on the AUTO ASPECT feature: 1. Press MENU, and then press x or • until the FUNCTION menu appears. 2. Press y or z to highlight AUTO ASPECT. FUNCTION CC AUTO ASPECT GRAY SCREEN LONG LIFE LOCKS OFF ON ON ENTER ENTER FUNCTION CC AUTO ASPECT GRAY SCREEN LONG LIFE LOCKS OFF ON ON ENTER ENTER MENU BACK EXIT WATCH TV MENU BACK EXIT WATCH TV 26 3. Press x or • to select ON. INPUT RECALL POWER INFO 123 456 789 +10 100 0 ENT MENU MENU DVDMENU ER TV CBL/SAT CH VCR DVD CLE VOL MENU yzx • ENTER TOP EXIT AR PIC SIZE ENTEERNT Note: The AUTO ASPECT feature is available for additional formats when viewing HDMI sources because AUTO ASPECT operates based on information found in the digital HDMI signal (not ID-1signal). TOP EXIT AR PIC SIZE ENTEERNT INPUT RECALL POWER INFO 123 456 789 +10 100 0 ENT MENU MENU DVDMENU ER TV CBL/SAT CH VCR DVD CLE VOL POP DIRECT CH MUTE SLEEP TV/VCR PAUSE STOP PLAY FREEZE SOURCE SPLIT REW FF SKIP / SEARCH CH SCAN SWAP REC POP CH LIGHT MENU yzx • Operating your Monitor #01E24-29_42DPC85 26 Black (E)42DPC85 (size 213*276) 05.9.12, 7:51 PM
-
 1
1 -
2
-
3
-
4
-
5
-
6
-
7
-
8
-
9
-
10
-
11
-
12
-
13
-
14
-
15
-
16
-
17
-
18
-
19
-
20
-
 21
21 -
 22
22 -
 23
23 -
 24
24 -
 25
25 -
 26
26 -
 27
27 -
 28
28 -
 29
29 -
 30
30 -
 31
31 -
32
-
33
-
34
-
35
-
36
-
37
-
38
-
39
-
40
-
41
-
42
-
43
-
44
-
45
-
46
-
47
-
48
 |
 |