Toshiba BDX1100KU Owners Manual - Page 15
Upgrade], SD CARD, Disc Auto Upgrade], External Memory], Language] - firmware
 |
View all Toshiba BDX1100KU manuals
Add to My Manuals
Save this manual to your list of manuals |
Page 15 highlights
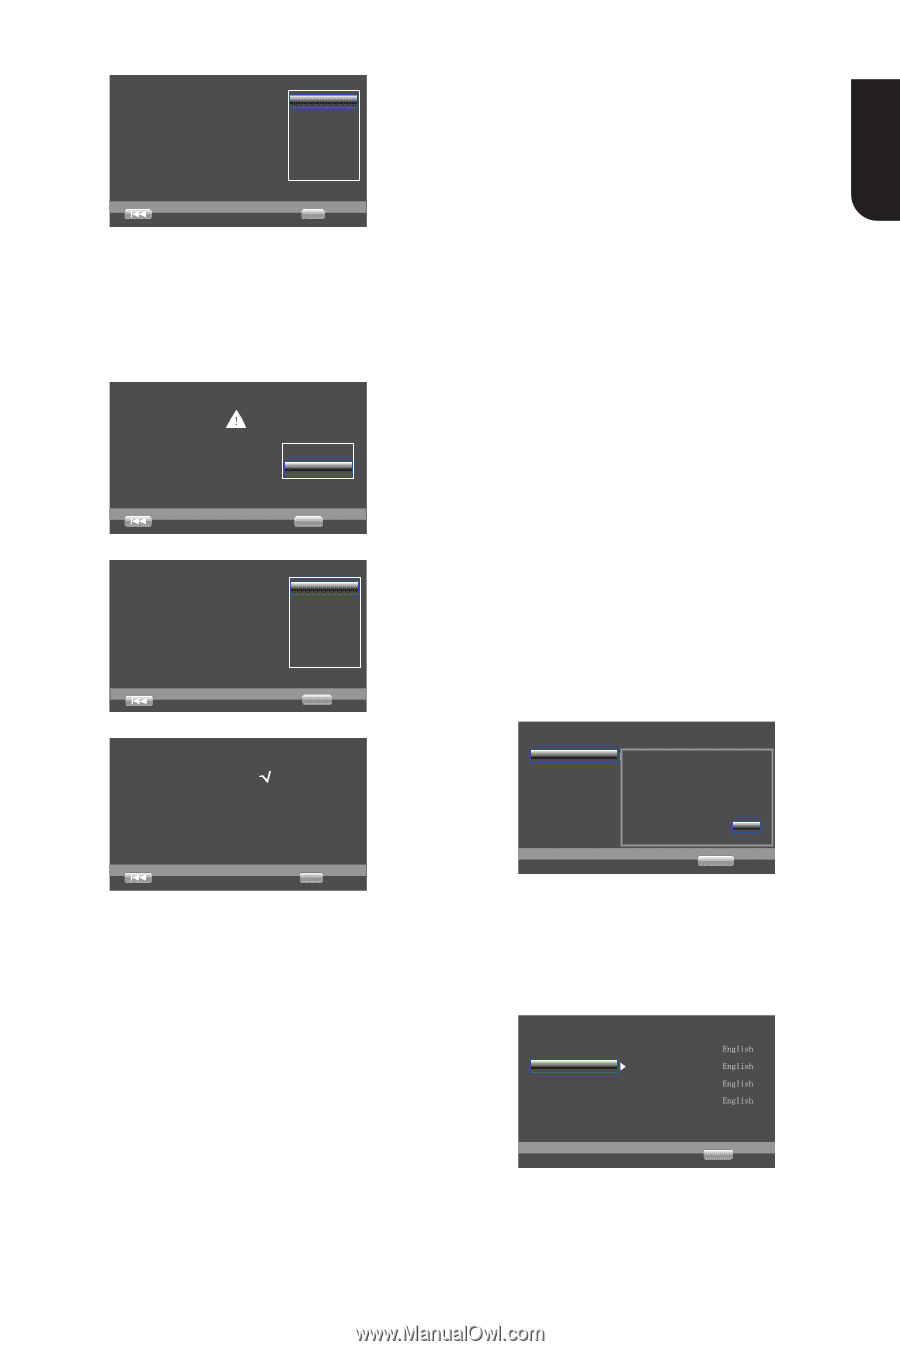
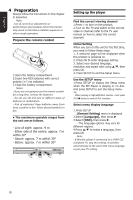
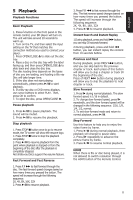
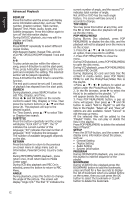
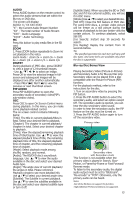
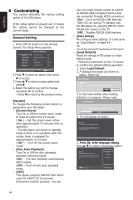
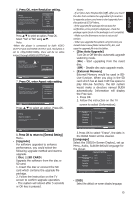
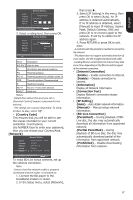
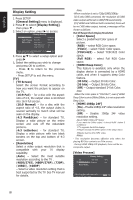
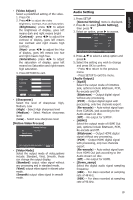
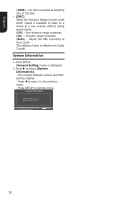
6.��P�r�e�s�s��O��K�,��e�n�t�e�r��R��e�s�o�l�u�t�io��n��s�e�t�t�in�g��. Choose a resolution that fits your TV. Change will be applied immediately, you have 15s to determine whether to save the setting or rollback to prior resolution. Better performance will be provided by a HDMI connection! Auto 480I/576I 480P/576P 720P 1080I 1080P Previous OK Next Press / to select an option. Press OK. Select "Yes" or "No" using /. Note: -When the player is connected to both VIDEO OUTPUT jack and HDMI OUTPUT jack, resolution is set to 720p/1080i/1080p, there will be no video output through VIDEO OUTPUT jack. Resolution 14s has been changed! Does everything looks all right with this resolution? Press Yes if you want to apply it. Press No to rollback to previous one. Yes No Previous OK Next 7.��P�r�e�s��s�O��K�,��e�n��te��r�A��s�p�e�c�t��r�a�t�i�o��s�e�t�t�in�g��. Choose an aspect ratio that fits your TV. The change will be applied in the next page. Determine whether to save the setting or rollback to the previous aspect ratio. 16:9 Full 16:9 Normal 4:3 Pan&Scan 4:3 Letterbox Previous OK Next Press / to select an option. Press OK. Setting wizard is complete! Now press the OK button to finish and return to the Setup Menu. Previous OK Finish 8.��P�r�e�s�s��O��K��to��r�e�t�u��rn��t�o��[�G��e�n�e�r�a�l��S�e�t�t�in�g��] Menu. • [Upgrade] For software upgrades to enhance performance, you could select the following upgrade method and start to upgrade. { Disc }/{SD CARD} Upgrade the software from the disc or SD card. 1. Insert the disc or connect the SD card which contains the upgrade file package. 2. Follow the instruction on the TV screen to confirm upgrade operation. - The system will reboot after 5 seconds or OK key is pressed. Notes: - If set [Disc Auto Playback]to [Off], after you insert the disc that contains the upgraded information to upgrade system, you have to start upgrade from this option of SETUP Menu. - If the upgrade file package did not pass the verification, error prompt is displayed , check the package again (such as the package is not complete) - Make sure the firmware version is not an old version. - When you upgrade the system using SD card, you should make a new folder named UPG_ALL, and copy the upgrade file into this folder. • [Disc Auto Upgrade] Turn On or Off the disc automatic upgrade switching mode. {On} - Start upgrading from the insert disc. {Off} - Disable disc auto upgrade mode. • [External Memory] External Memory would be used in BDLive function. When you plug in the SD card which has at least 1GB free space to play BD-Live function, the BD system would make a directory named BUDA automatically. Information will display the Free size. 1. Press OK. 2. Follow the instruction on the TV screen to select {Information}. System Language Playback Security Network ... General Setting ... Screen ISnafovremation Disc Auto Playback CEC Free size is : 0MB Disc Auto Upgrade Load Default Off On On On MoErreas.e.. Move cursor key to select menu option then use "OK" key to select RETURN Return 3.Press OK to select "Erase", the data in the BUDA folder will be cleared. [Language] Select the OSD(On-Screen Display), set up Menu, Audio, Subtitle default language for the player. ... General Setting ... System Language Playback Security Network OSD Menu Audio Subtitle (QJOLVK (QJOLVK (QJOLVK (QJOLVK Move cursor key to select menu option then use "OK" key to select SETUP Exit • [OSD] Select the default on-screen display language. 15 English
-
 1
1 -
2
-
3
-
4
-
5
-
6
-
7
-
8
-
9
-
 10
10 -
 11
11 -
 12
12 -
 13
13 -
 14
14 -
 15
15 -
 16
16 -
 17
17 -
 18
18 -
 19
19 -
 20
20 -
21
-
22
-
23
-
24
-
25
-
26
-
27
-
28
-
29
-
30
-
31
-
32
-
33
-
34
-
35
-
36
-
37
-
38
-
39
-
40
-
41
-
42
-
43
-
44
-
45
-
46
 |
 |