Toshiba Satellite L305D-S5974 User Guide - Page 38
Removing an ExpressCard®, Learning the basics, Computing tips
 |
View all Toshiba Satellite L305D-S5974 manuals
Add to My Manuals
Save this manual to your list of manuals |
Page 38 highlights
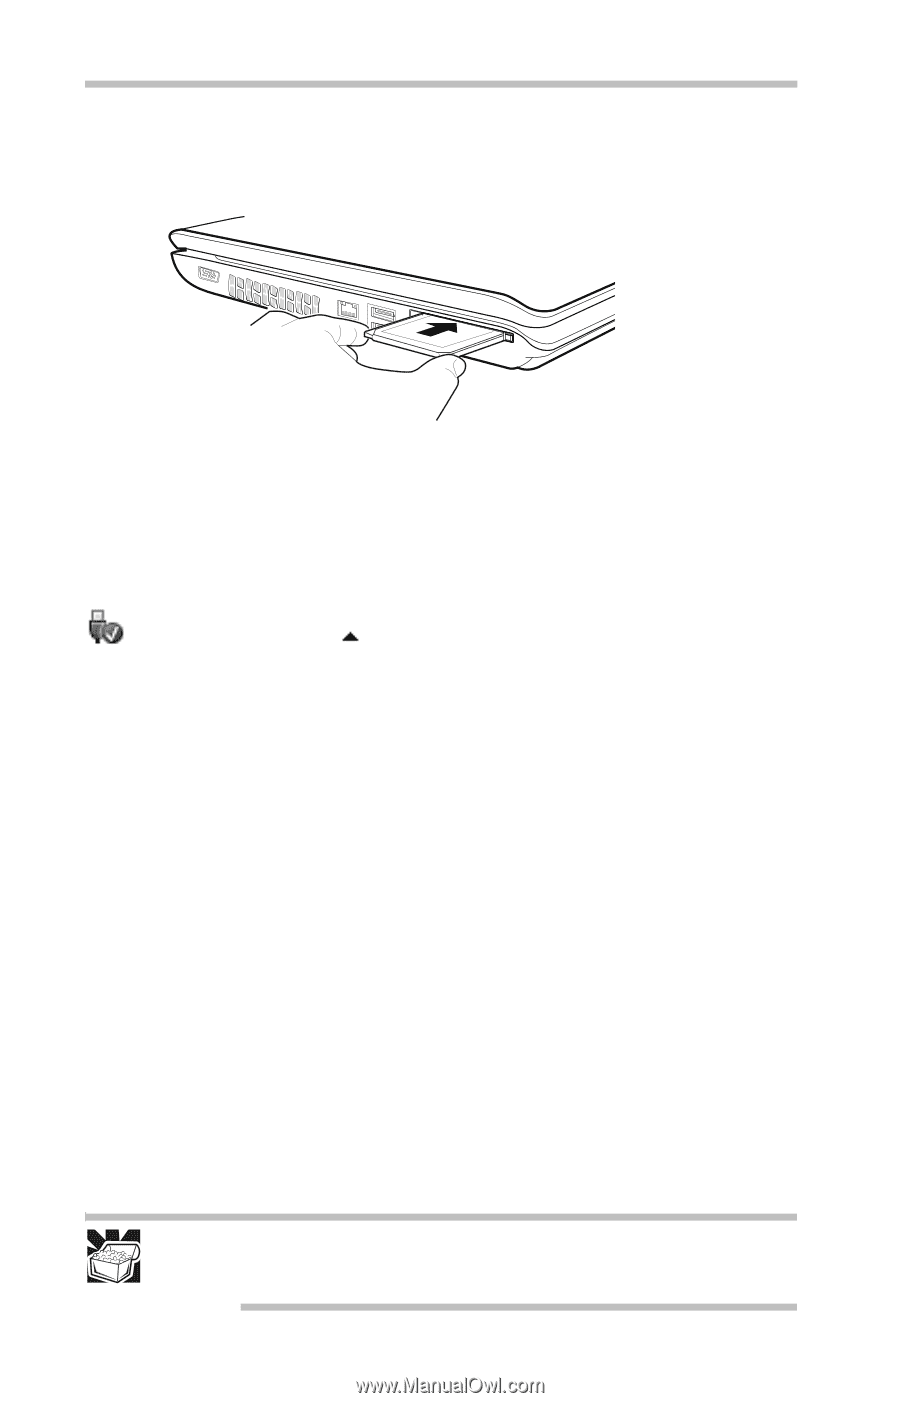
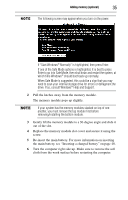
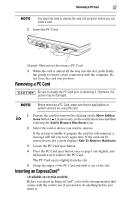
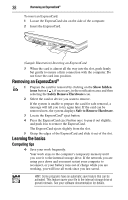
38 Removing an ExpressCard® To insert an ExpressCard: 1 Locate the ExpressCard slot on the side of the computer. 2 Insert the ExpressCard. (Sample Illustration) Inserting an ExpressCard 3 When the card is almost all the way into the slot, push firmly but gently to ensure a firm connection with the computer. Do not force the card into position. Removing an ExpressCard® 1 Prepare the card for removal by clicking on the Show hidden icons button ( ), if necessary, in the notification area and then selecting the Safely Remove Hardware icon. 2 Select the card or device you want to remove. If the system is unable to prepare the card for safe removal, a message will tell you to try again later. If the card can be removed now, the system displays Safe to Remove Hardware. 3 Locate the ExpressCard® eject button. 4 Press the ExpressCard eject button once to pop it out slightly, and push it in to remove the ExpressCard. The ExpressCard ejects slightly from the slot. 5 Grasp the edges of the ExpressCard and slide it out of the slot. Learning the basics Computing tips ❖ Save your work frequently. Your work stays in the computer's temporary memory until you save it to the internal storage drive. If the network you are using goes down and you must restart your computer to reconnect, or your battery runs out of charge while you are working, you will lose all work since you last saved. HINT: Some programs have an automatic save feature that can be activated. This feature saves your file to the internal storage drive at preset intervals. See your software documentation for details.
-
 1
1 -
2
-
3
-
4
-
5
-
6
-
7
-
8
-
9
-
10
-
11
-
12
-
13
-
14
-
15
-
16
-
17
-
18
-
19
-
20
-
21
-
22
-
23
-
24
-
25
-
26
-
27
-
28
-
29
-
30
-
31
-
32
-
 33
33 -
 34
34 -
 35
35 -
 36
36 -
 37
37 -
 38
38 -
 39
39 -
 40
40 -
 41
41 -
 42
42 -
 43
43 -
44
-
45
-
46
-
47
-
48
-
49
-
50
-
51
-
52
-
53
-
54
-
55
-
56
-
57
-
58
-
59
-
60
-
61
-
62
-
63
-
64
 |
 |