Toshiba Tecra A8 PTA83C-KF801F Users Manual Canada; English - Page 126
Fn Sticky key, To start the TOSHIBA Accessibility Utility, click
 |
View all Toshiba Tecra A8 PTA83C-KF801F manuals
Add to My Manuals
Save this manual to your list of manuals |
Page 126 highlights
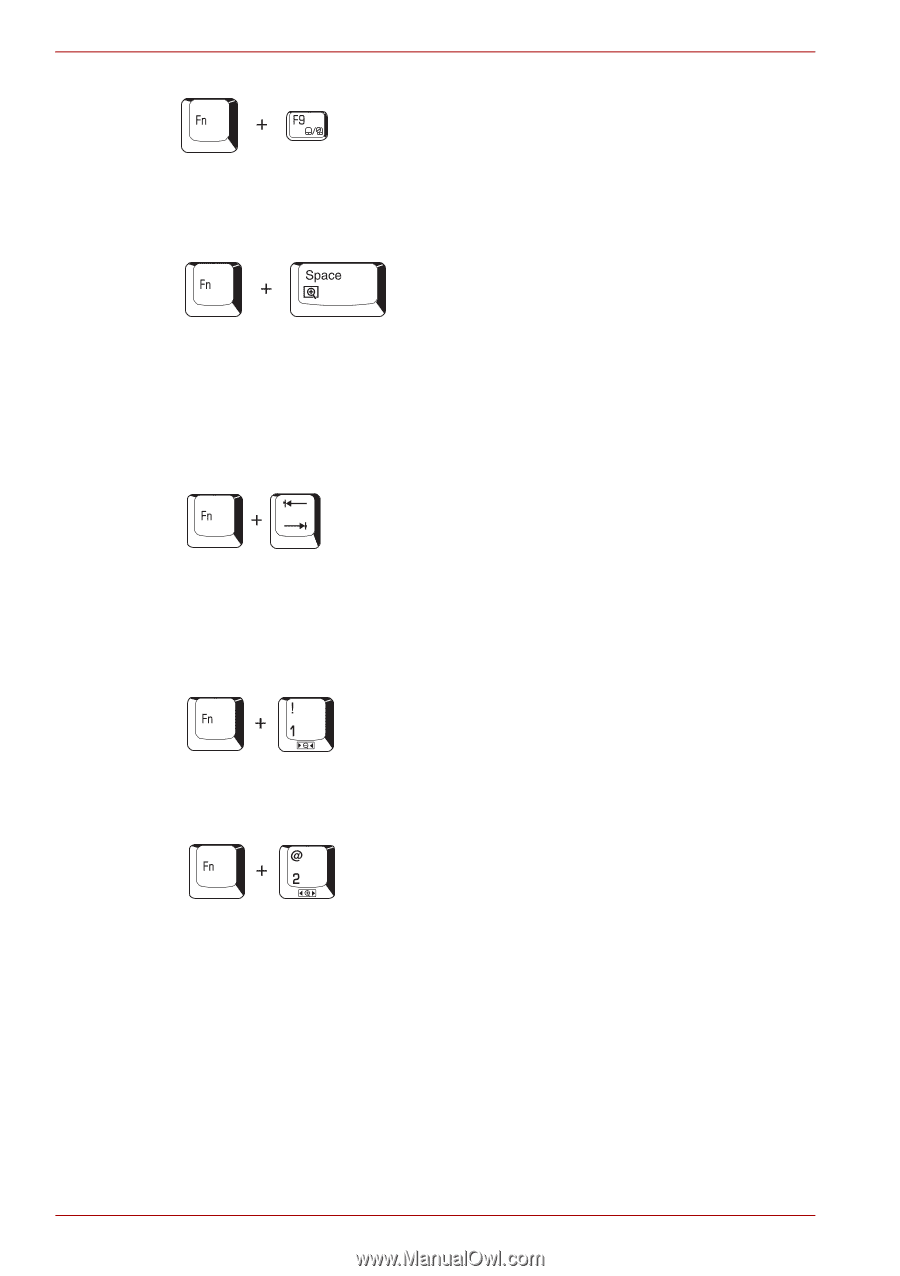
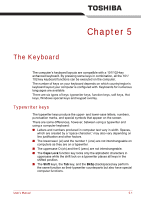
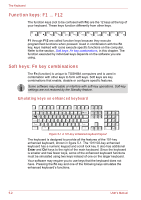
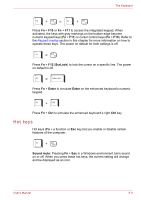
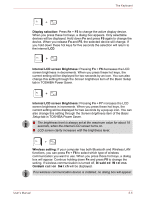
The Keyboard Dual Pointing Device: Pressing Fn + F9 in a windows environment enables or disables the Dual Pointing Device function. When you press these hot keys, the current setting will change and be displayed as an icon. LCD screen resolution selection: Press Fn + Space keys to change the display resolution. Each time when you press these hot keys, the LCD screen resolution changes as follows: The available resolution depends on the model. With XGA, you can change the resolution between 800 × 600 and 1024 × 768 pixels. With SXGA, between 800 × 600 and 1400 × 1050 pixels. Optical disk drive power icon: Press the Fn + Tab keys to turn the power of the optical disk drive on or eject the disc tray. A dialog box is displayed when this hotkey is pressed. To choose between the functions, press the Tab key while holding down the Fn key. The chosen function is executed when the Fn + Tab keys are released. TOSHIBA Zooming Utility (reduce): To reduce the icon size on the desktop or the application window, press the 1 key while holding down the Fn key. TOSHIBA Zooming Utility (enlarge): To enlarge the icon size on the desktop or the application window, press the 2 key while holding down the Fn key. Fn Sticky key You can use the TOSHIBA Accessibility Utility to make the Fn key sticky, that is, you can press it once, release it, and then press an "F number" key. To start the TOSHIBA Accessibility Utility, click start, point to All Programs, point to TOSHIBA, point to Utilities and click Accessibility. 5-6 User's Manual
-
 1
1 -
2
-
3
-
4
-
5
-
6
-
7
-
8
-
9
-
10
-
11
-
12
-
13
-
14
-
15
-
16
-
17
-
18
-
19
-
20
-
21
-
22
-
23
-
24
-
25
-
26
-
27
-
28
-
29
-
30
-
31
-
32
-
33
-
34
-
35
-
36
-
37
-
38
-
39
-
40
-
41
-
42
-
43
-
44
-
45
-
46
-
47
-
48
-
49
-
50
-
51
-
52
-
53
-
54
-
55
-
56
-
57
-
58
-
59
-
60
-
61
-
62
-
63
-
64
-
65
-
66
-
67
-
68
-
69
-
70
-
71
-
72
-
73
-
74
-
75
-
76
-
77
-
78
-
79
-
80
-
81
-
82
-
83
-
84
-
85
-
86
-
87
-
88
-
89
-
90
-
91
-
92
-
93
-
94
-
95
-
96
-
97
-
98
-
99
-
100
-
101
-
102
-
103
-
104
-
105
-
106
-
107
-
108
-
109
-
110
-
111
-
112
-
113
-
114
-
115
-
116
-
117
-
118
-
119
-
120
-
 121
121 -
 122
122 -
 123
123 -
 124
124 -
 125
125 -
 126
126 -
 127
127 -
 128
128 -
 129
129 -
 130
130 -
 131
131 -
132
-
133
-
134
-
135
-
136
-
137
-
138
-
139
-
140
-
141
-
142
-
143
-
144
-
145
-
146
-
147
-
148
-
149
-
150
-
151
-
152
-
153
-
154
-
155
-
156
-
157
-
158
-
159
-
160
-
161
-
162
-
163
-
164
-
165
-
166
-
167
-
168
-
169
-
170
-
171
-
172
-
173
-
174
-
175
-
176
-
177
-
178
-
179
-
180
-
181
-
182
-
183
-
184
-
185
-
186
-
187
-
188
-
189
-
190
-
191
-
192
-
193
-
194
-
195
-
196
-
197
-
198
-
199
-
200
-
201
-
202
-
203
-
204
-
205
-
206
-
207
-
208
-
209
-
210
-
211
-
212
-
213
-
214
-
215
-
216
-
217
-
218
-
219
-
220
-
221
-
222
-
223
-
224
-
225
-
226
-
227
-
228
-
229
-
230
-
231
-
232
-
233
-
234
-
235
-
236
-
237
-
238
-
239
-
240
-
241
-
242
-
243
-
244
-
245
-
246
-
247
-
248
-
249
-
250
-
251
-
252
-
253
-
254
-
255
-
256
-
257
-
258
-
259
-
260
-
261
-
262
-
263
-
264
-
265
-
266
-
267
-
268
-
269
-
270
-
271
-
272
-
273
-
274
-
275
-
276
 |
 |