Xerox 6400S Setup Guide - Page 7
Procedure for Scan to Mailbox Setup through CentreWare Internet Services - admin
 |
UPC - 095205743579
View all Xerox 6400S manuals
Add to My Manuals
Save this manual to your list of manuals |
Page 7 highlights
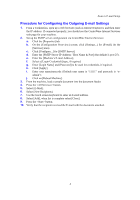
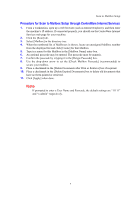
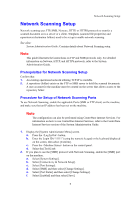
Scan to Mailbox Setup Procedure for Scan to Mailbox Setup through CentreWare Internet Services 1. From a workstation, open up a web browser (such as Internet Explorer), and then enter the machine's IP address. If connected properly, you should see the CentreWare Internet Services web page for your machine. 2. Click the [Scan] tab. 3. Select [Mailbox] in the directory tree. 4. When the numbered list of Mailboxes is shown, locate an unassigned Mailbox number from the displayed list and click [Create] for that Mailbox. 5. Type in a name for this Mailbox in the [Mailbox Name] entry box. 6. An optional passcode may be entered. The passcode must be numeric. 7. Confirm the passcode by retyping it in the [Retype Passcode] box. 8. Use the drop-down arrow to set the [Check Mailbox Passcode] (recommended) to secure your mailbox. 9. Place a checkmark in the [Delete Documents after Print or Retrieve] box if required. 10. Place a checkmark in the [Delete Expired Documents] box to delete old documents that have not been printed or retrieved. 11. Click [Apply] when done. Note If prompted to enter a User Name and Passcode, the default settings are "11111" and "x-admin" respectively. 7
-
 1
1 -
 2
2 -
 3
3 -
 4
4 -
 5
5 -
 6
6 -
 7
7 -
 8
8 -
 9
9 -
 10
10 -
 11
11 -
 12
12 -
13
-
14
 |
 |
