Yamaha MW12CX Owners Manual - Page 7
Mixer Basics, Quick Guide, 1. Installing Cubase AI, 2. Connecting to the MW mixer - pdf
 |
View all Yamaha MW12CX manuals
Add to My Manuals
Save this manual to your list of manuals |
Page 7 highlights
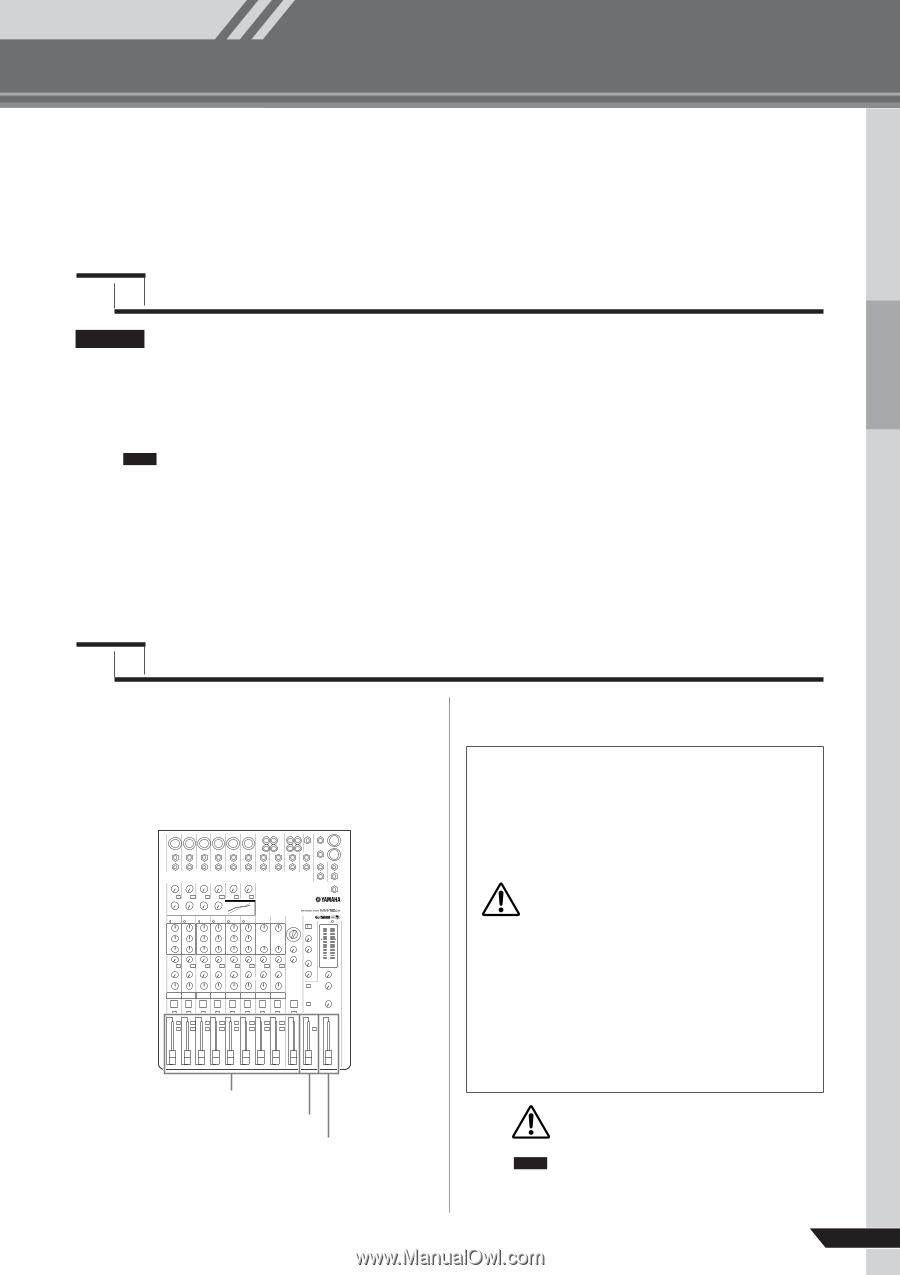
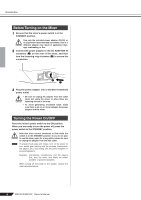
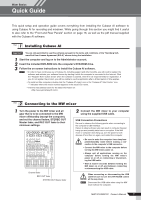
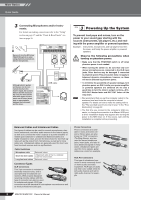
Mixer Basics Quick Guide Mixer Basics This quick setup and operation guide covers everything from installing the Cubase AI software to using Cubase AI for recording and mixdown. While going through this section you might find it useful to also refer to the "Front and Rear Panels" section on page 16, as well as the pdf manual supplied with the Cubase AI software. 1 Step Installing Cubase AI Important! You are only permitted to use this software pursuant to the terms and conditions of the "Steinberg Software End User License Agreement (EULA)" shown during the installation. 1 Start the computer and log on to the Administrator account. 2 Insert the included DVD-ROM into the computer's DVD-ROM drive. 3 Follow the on-screen instructions to install the Cubase AI software. NOTE • In order to have continuous use of Cubase AI, including support and other benefits, you will need to register the software and activate your software license by starting it while the computer is connected to the Internet. Click the "Register Now" button shown when the software is started, then fill in all required fields for registration. If you do not register the product, you will be unable to use the application after a limited period of time expires. • To install on Mac computers double-click the "Cubase AI*.mpkg" icon or the "Cubase AI* Start Center" icon. "*" indicates where the version number appears in the actual icon name. • Visit the web address below for the latest information on: 2 Step Connecting to the MW mixer 1 Turn the power to the MW mixer and all gear that is to be connected to the MW mixer off/standby (except the computer), and set the channel faders, STEREO OUT Master fader, and REC OUT fader to their minimum settings. Channel fader REC OUT fader STEREO OUT Master fader 2 Connect the MW mixer to your computer using the supplied USB cable. USB Connection Precautions Be sure to observe the following points when connecting to the computer's USB interface. Failure to observe these rules can result in computer freezes/ hang-ups and possibly data loss or corruption. If the MW mixer or computer does hang up, turn the power to both devices off and then on again, and restart the computer. • Be sure to wake the computer from sleep/suspended/standby mode before making a con- CAUTION nection to the computer's USB connector. • Connect the MW mixer to the computer before turning the MW mixer power on. • Always quit all applications running on the computer before turning the MW mixer's power on or off, or connecting or disconnecting the USB cable. • Wait at least 6 seconds between turning the MW mixer on or off, and between connecting or disconnecting the USB cable. When connecting or disconnecting the USB cable be sure to turn the 2TR IN/USB control CAUTION all the way down. NOTE Disconnect the USB cable when using the MW mixer without the computer. MW12CX/MW12C Owner's Manual 7
-
 1
1 -
 2
2 -
 3
3 -
 4
4 -
 5
5 -
 6
6 -
 7
7 -
 8
8 -
 9
9 -
 10
10 -
 11
11 -
 12
12 -
13
-
14
-
15
-
16
-
17
-
18
-
19
-
20
-
21
-
22
-
23
-
24
-
25
-
26
-
27
-
28
-
29
-
30
-
31
-
32
-
33
-
34
 |
 |