Yamaha P-105 Owner's Manual - Page 16
Recording Your Performance, Quick Recording, Recording Independently to Two Parts, Parts - keyboard instruction manual
 |
View all Yamaha P-105 manuals
Add to My Manuals
Save this manual to your list of manuals |
Page 16 highlights
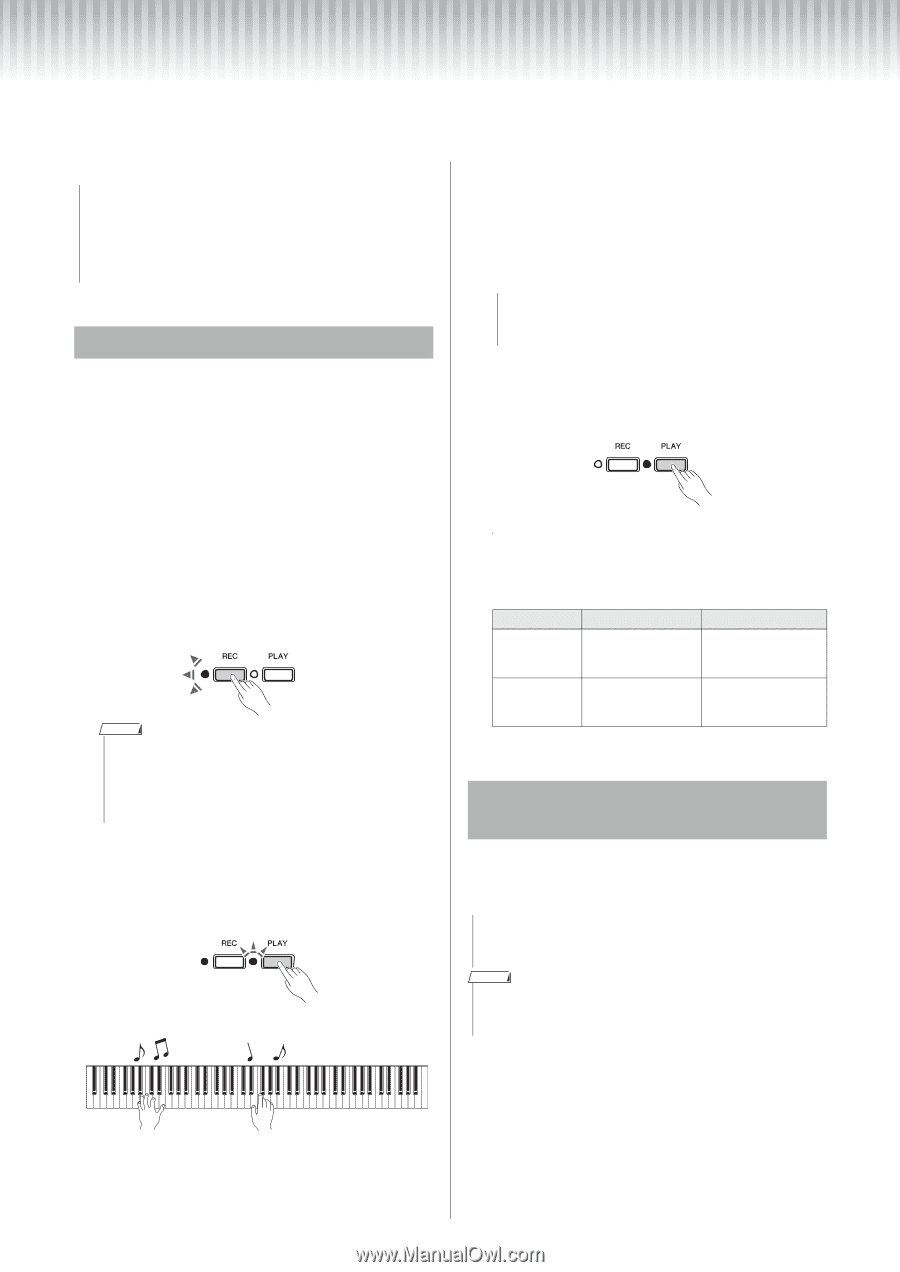
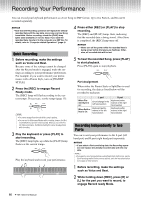
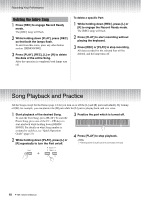
Recording Your Performance You can record your keyboard performance as a User Song in SMF format. Up to two Parts (L and R) can be recorded separately. NOTICE • Note that the Recording operation will replace the already recorded data with the new data, since only one User Song is available. Before recording, check the [PLAY] lamp lights (data available) or not (no data). If you save the recorded data, transfer it to the computer as a SMF file. For details, refer to "Computer-related Operations" (page 4). Quick Recording 1 Before recording, make the settings such as Voice and Beat. Because some of the settings cannot be changed after the Record mode is engaged, make the settings according to your performance preferences. For example, if you want to record your performance with a Pianist Style, turn on [PIANIST STYLE]. 2 Press the [REC] to engage Record Ready mode. The [REC] lamp will flash according to the current tempo. If necessary, set the tempo (page 15). NOTE • You cannot engage Record mode while a song is playing. • You can use the Metronome/Rhythm while recording; however, the Met- ronome/Rhythm sound will not be recorded. When you record the Pianist Style performance, the Metronome/Rhythm cannot be played back while recording. 3 Play the keyboard or press [PLAY] to start recording. The [REC] lamp lights up while the [PLAY] lamp flashes at the current tempo. Play the keyboard and record your performance. 4 Press either [REC] or [PLAY] to stop recording. The [REC] and [PLAY] lamps flash, indicating that the recorded data is being stored. After Store is completed, the [REC] lamp turns off. NOTICE • Never turn off the power while the recorded data is being stored (while the lamps are flashing). Otherwise, all recorded data will be lost. 5 To hear the recorded Song, press [PLAY] to start playback. Press [PLAY] again to stop playback. Part Assignment When either the Pianist Style or Split/Duo is used for recording, the data as listed below will be recorded to each part. When Pianist Style is on: When Split or Duo is on: L part Chord change in the left hand section Keyboard performance in the left hand section R part Keyboard performance in the right hand section Keyboard performance in the right hand section Recording Independently to Two Parts You can record your performance to the L part (left hand part) and R part (right hand part) separately. NOTICE • If you select a Part containing data, the Recording operation will replace the already-recorded data with the new data. NOTE • If you want to record your performance using Pianist Style, Split or Duo, use the Quick Recording method (in the previous section), since the instructions below do not apply to these functions. 1 Before recording, make the settings such as Voice and Beat. 2 While holding down [REC], press [R] or [L] for the part you want to record, to engage Record ready Mode. 16 P-105 Owner's Manual
-
 1
1 -
2
-
3
-
4
-
5
-
6
-
7
-
8
-
9
-
10
-
 11
11 -
 12
12 -
 13
13 -
 14
14 -
 15
15 -
 16
16 -
 17
17 -
 18
18 -
 19
19 -
 20
20 -
 21
21 -
22
-
23
-
24
-
25
-
26
-
27
-
28
 |
 |