3Com 3CR16708-91 Getting Started Guide - Page 25
Mounting Instructions for Wood Walls, The Power-up Sequence, Powering-up the Switch, Mounting
 |
UPC - 662705487151
View all 3Com 3CR16708-91 manuals
Add to My Manuals
Save this manual to your list of manuals |
Page 25 highlights
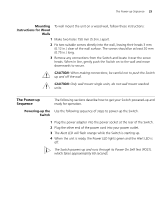
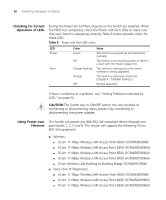
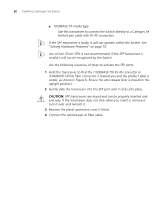
The Power-up Sequence 25 Mounting To wall mount the unit on a wood wall, follow these instructions: Instructions for Wood Walls 1 Make two holes 150 mm (5.9 in.) apart. 2 Fix two suitable screws directly into the wall, leaving their heads 3 mm (0.12 in.) clear of the wall surface. The screws should be at least 20 mm (0.75 in.) long. 3 Remove any connections from the Switch and locate it over the screw heads. When in line, gently push the Switch on to the wall and move downwards to secure. CAUTION: When making connections, be careful not to push the Switch up and off the wall. CAUTION: Only wall mount single units, do not wall mount stacked units. The Power-up Sequence The following sections describe how to get your Switch powered-up and ready for operation. Powering-up the Use the following sequence of steps to power-up the Switch. Switch 1 Plug the power adapter into the power socket at the rear of the Switch. 2 Plug the other end of the power cord into your power outlet. 3 The Alert LED will flash orange while the Switch is starting up. 4 When the unit is ready, the Power LED lights green and the Alert LED is off. The Switch powers-up and runs through its Power On Self Test (POST), which takes approximately 60 seconds.
-
 1
1 -
2
-
3
-
4
-
5
-
6
-
7
-
8
-
9
-
10
-
11
-
12
-
13
-
14
-
15
-
16
-
17
-
18
-
19
-
 20
20 -
 21
21 -
 22
22 -
 23
23 -
 24
24 -
 25
25 -
 26
26 -
 27
27 -
 28
28 -
 29
29 -
 30
30 -
31
-
32
-
33
-
34
-
35
-
36
-
37
-
38
-
39
-
40
-
41
-
42
-
43
-
44
-
45
-
46
-
47
-
48
-
49
-
50
-
51
-
52
-
53
-
54
-
55
-
56
-
57
-
58
-
59
-
60
-
61
-
62
-
63
-
64
-
65
-
66
-
67
-
68
-
69
-
70
-
71
-
72
-
73
-
74
-
75
-
76
-
77
-
78
-
79
-
80
 |
 |
