Bosch SHV55R53UC Installation Instructions
Bosch SHV55R53UC Manual
 |
View all Bosch SHV55R53UC manuals
Add to My Manuals
Save this manual to your list of manuals |
Bosch SHV55R53UC manual content summary:
- Bosch SHV55R53UC | Installation Instructions - Page 1
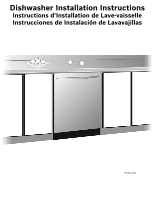
Dishwasher Installation Instructions Instructions d'Installation de Lave-vaisselle Instrucciones de Instalación de Lavavajillas 9000633152 - Bosch SHV55R53UC | Installation Instructions - Page 2
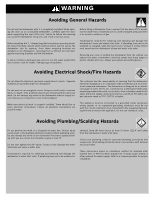
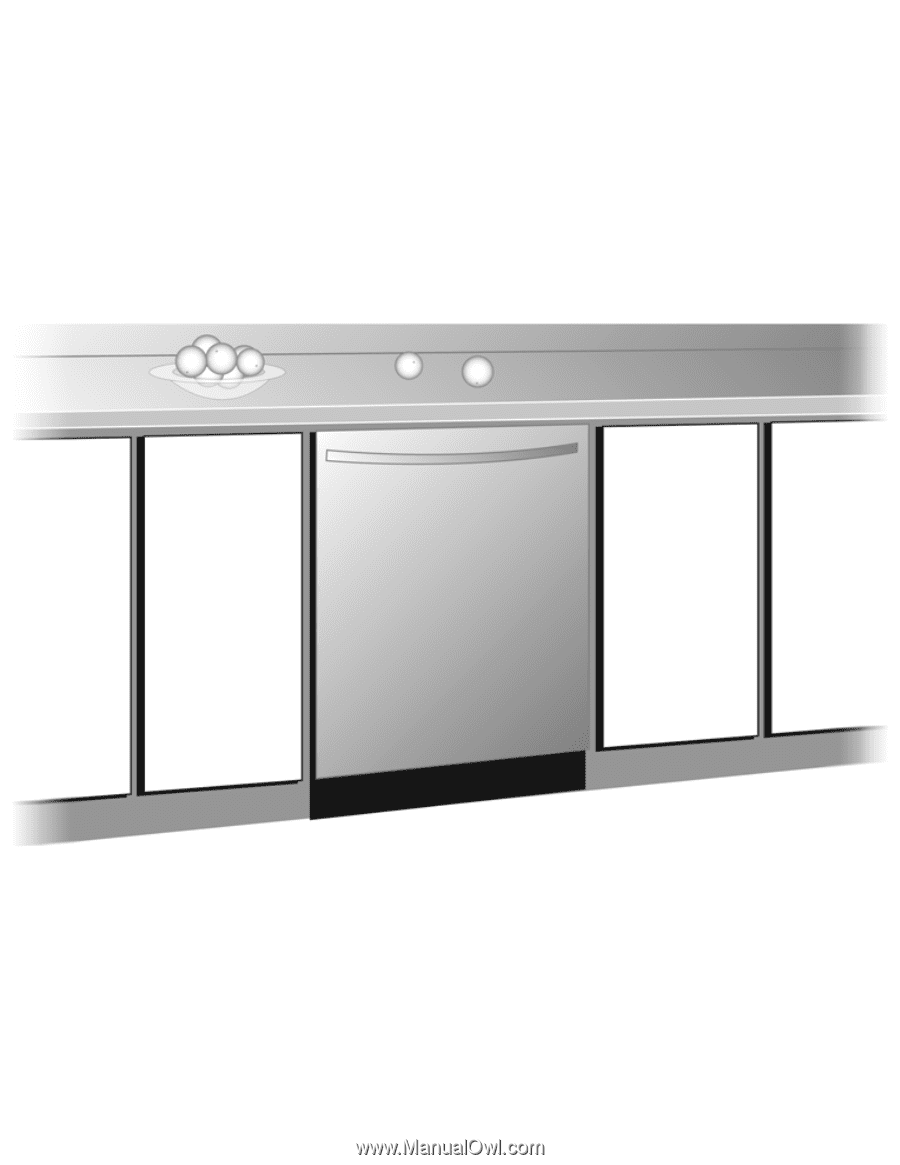
food service establishments. •This dishwasher is designed to be enclosed on the top and both sides by cabinetry. •NEW INSTALLATION - If the dishwasher is a new installation, most of the work must be done before the dishwasher is moved into place. •REPLACEMENT - If the dishwasher is replacing another - Bosch SHV55R53UC | Installation Instructions - Page 3
(152.4 mm) away from the dishwasher's water inlet valve. Check local plumbing codes for approved plumbing procedures and accessories. All plumbing should be done in accordance with national and local codes. These instructions depict an installation method for stainless steel braided hose or PEX hot - Bosch SHV55R53UC | Installation Instructions - Page 4
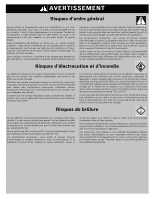
Ce lave-vaisselle doit être relier à la terre soit en le connectant au support métallique qui est relié à la terre soit en branchant la prise du terre les normes nationales et régionales. Ces instructions sont relatives à une méthode d'installation utilisant des tuyaux d'alimentation en acier - Bosch SHV55R53UC | Installation Instructions - Page 5
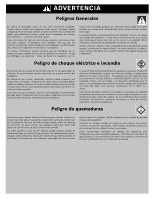
ADVERTENCIA Peligros Generales No utilice el lavaplatos antes de que esté totalmente instalado. Cuando abra la puerta del lavaplatos antes de ser instalado, hágalo cuidadosamente mientras detiene la parte posterior de la unidad. No seguir esta advertencia puede causar que el lavaplatos se vuelque - Bosch SHV55R53UC | Installation Instructions - Page 6
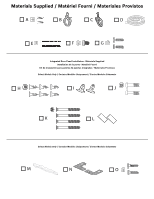
ériel Fourni / Materiales Provistos A B C D E F G Integrated Door Panel Installation - Materials Supplied Installation de la porte - Matériel Fourni Kit de instalación para paneles de puertas integradas - Materiales Provistos Select Models Only / Certains Modèles Uniquement / Ciertos Modelos - Bosch SHV55R53UC | Installation Instructions - Page 7
, conductores de cobre aislados clasificados para 75°C (167°F) o mayor. Hot Water Supply Line - Minimum 3/8" O.D. copper tubing, PEX, or metal braided dishwasher supply line. Tuyau de canalisation en eau chaude - Tuyau en cuivre, minimum 3/8 po O.D., PEX, ou canalisation en métal bridé. Tubo de - Bosch SHV55R53UC | Installation Instructions - Page 8
single full-length door. A template is included with the fully integrated models to explain the mounting procedure. Note: The door springs that are included / AJUSTE DE TENSIÓN DE LA PUERTA After the dishwasher and custom door panel are installed, open and close the door several times to make sure - Bosch SHV55R53UC | Installation Instructions - Page 9
15-145 psi (1-10 bar)? If installing in a corner, will the dishwasher door clear cabinet hardware? Determine mounting method based on dishwasher model and countertop type (see figures 6-8, 20). Only use included hardware for install. If replacing dishwasher, dispose of old hose and other equipment - Bosch SHV55R53UC | Installation Instructions - Page 10
min 24 - 241/4" (610-616mm)* 2 * * select models only * certains modèles uniquement * ciertos modelos solamente Gently step 19 for additional leveling instruction.) Remove junction box cover and et le mettre de côté pour pouvoir le replacer plus tard. Coloque el lavaplatos suavemente sobre la - Bosch SHV55R53UC | Installation Instructions - Page 11
3 Attach 90° elbow joint to dishwasher oriented as shown, using thread seal tape when Attach hot water line to 90° elbow and route water line through channel as shown (stainless steel braided hose and PEX installations only - for copper consult a plumber). Raccorder le tuyau d'eau chaude au coude 90 - Bosch SHV55R53UC | Installation Instructions - Page 12
(77cm) desde la pared trasera. 6 Flip unit back upright, ensuring water line remains in appropriate channel and is not pinched. If your dishwasher has the preattached mounting brackets shown and you have a wooden undercounter, ensure that brackets are positioned as far apart as possible by sliding - Bosch SHV55R53UC | Installation Instructions - Page 13
se deslicen a través de la ranura. No conecte todavía. 8 If your dishwasher does NOT have pre-attached mounting brackets shown in figure 7, attach the mounting é sur le schéma 7, placer les fixations (pièces N du kit d'installation) sur le haut du lave-vaisselle si le plan de travail est en pierre - Bosch SHV55R53UC | Installation Instructions - Page 14
the dishwasher will be plugged into an electric receptacle, contact customer service to order approved power cord accessory kit (SKU# SGZPC001UC). * Si le lave-vaisselle doit être connecté à un réceptacle électrique, contacter le service clientèle pour commander un autre kit d'installation qui sera - Bosch SHV55R53UC | Installation Instructions - Page 15
del sujetacables. ¡No la deseche! Más adelante será reinstalada. Dishwasher Electrical Rating Cote électrique du lave-vaisselle Clasificación Eléctrica del 12 1,450 (max) Place hands where pictured to push into place. Guide the water line and drain hose toward the sink, and electric line through - Bosch SHV55R53UC | Installation Instructions - Page 16
gire. 14 Pass wires through strain relief and plate. Tighten clamp around wires, oriented as shown. Bending the electrical cable as shown will ease installation of the strain relief plate. Faire passer le câble électrique à travers le réducteur de tension et la plaque. Serrer le serre-joint comme - Bosch SHV55R53UC | Installation Instructions - Page 17
right side of the strain relief plate is outside the junction box as you slide it into place. Replacer alors la plaque du réducteur de tension dans la boîte de jonction et replacer la vis. S'assurer que l'étiquette située en bas de la plaque se trouve à l'extérieur de la bo - Bosch SHV55R53UC | Installation Instructions - Page 18
. Make sure the cover is seated behind the front lip of the strain relief plate. Attach the cover with the screw (part F) from the installation kit. Replacer le couvercle de la boîte de jonction. S'assurer qu'il soit bien placé derrière la face avant de la plaque du réducteur de - Bosch SHV55R53UC | Installation Instructions - Page 19
19 G (3) (1) 20 A Level the dishwasher horizontally by turning feet (1) clockwise to raise or counter long du raille dans la direction des flèches. Placer les vis (pièces A du kit d'installation) dans les fixations et visser afin que le lavevaisselle soit solidement fixer au plan de travail (il est - Bosch SHV55R53UC | Installation Instructions - Page 20
21 Min. 20" (51 cm) Max. 43" (109 cm) 22 12 Note: Plumbing installations will vary - refer to local codes. Drain hose included is 92" (234 cm) and can be extended to a maximum of 150" (381cm). Ensure a portion of - Bosch SHV55R53UC | Installation Instructions - Page 21
has the metal toe panel only, attach it with screws (Part E) so it is flush with the floor. Success! Your installation is now complete. 2. E P* * select models only * certains modèles uniquement * ciertos modelos solamente 1. Positionner le panneau inférieur en plastique avec les fins en montrant - Bosch SHV55R53UC | Installation Instructions - Page 22
section of the Use and Care Manual. If you are having a problem with your dishwasher, before calling for service please refer to the Self Help section in the Use and Care Manual. If service is necessary, contact your dealer or installer or an authorized service center. Do not attempt to repair - Bosch SHV55R53UC | Installation Instructions - Page 23
-
 1
1 -
 2
2 -
 3
3 -
 4
4 -
 5
5 -
 6
6 -
 7
7 -
8
-
9
-
10
-
11
-
12
-
13
-
14
-
15
-
16
-
17
-
18
-
19
-
20
-
21
-
22
-
23
 |
 |
9000633152
Dishwasher Installation Instructions
Instructions d’Installation de Lave-vaisselle
Instrucciones de Instalación de Lavavajillas