Brother International WP700D Owners Manual - English - Page 132
Preparing, Record, Merge, Printing
 |
View all Brother International WP700D manuals
Add to My Manuals
Save this manual to your list of manuals |
Page 132 highlights
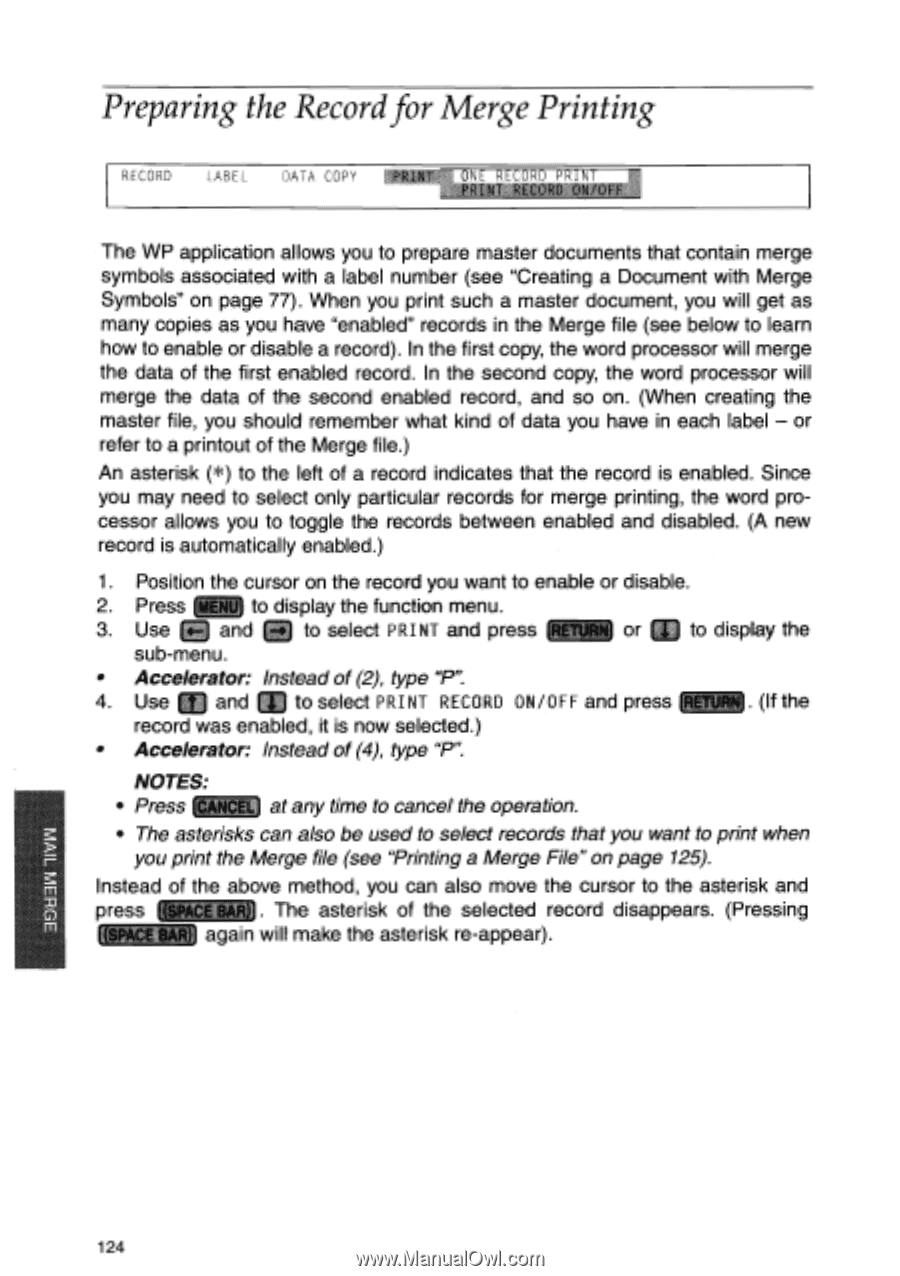
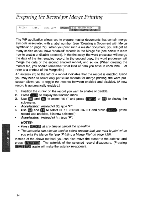
Preparing the Record for Merge Printing RECORD LABEL DATA COPY ❑rrnon DC) T The WP application allows you to prepare master documents that contain merge symbols associated with a label number (see "Creating a Document with Merge Symbols" on page 77). When you print such a master document, you will get as many copies as you have "enabled" records in the Merge file (see below to learn how to enable or disable a record). In the first copy, the word processor will merge the data of the first enabled record. In the second copy, the word processor will merge the data of the second enabled record, and so on. (When creating the master file, you should remember what kind of data you have in each label - or refer to a printout of the Merge file.) An asterisk (*) to the left of a record indicates that the record is enabled. Since you may need to select only particular records for merge printing, the word processor allows you to toggle the records between enabled and disabled. (A new record is automatically enabled.) 1. Position the cursor on the record you want to enable or disable. a 2. Press (" ") to display the function menu. 3. Use HI and to select PRINT and press RETURN or ji to display the sub-menu. • Accelerator: Instead of (2), type "P". 4. Use and to select PRINT RECORD ON/OFF and press (RETURN . (If the record was enabled, it is now selected.) • Accelerator: Instead of (4), type "P". NOTES: • Press (CANCEL) at any time to cancel the operation. • The asterisks can also be used to select records that you want to print when you print the Merge file (see "Printing a Merge File" on page 125). Instead of the above method, you can also move the cursor to the asterisk and press ((SPACEBAR)). The asterisk of the selected record disappears. (Pressing ((SPACE BAR)) again will make the asterisk re-appear). 124
-
 1
1 -
2
-
3
-
4
-
5
-
6
-
7
-
8
-
9
-
10
-
11
-
12
-
13
-
14
-
15
-
16
-
17
-
18
-
19
-
20
-
21
-
22
-
23
-
24
-
25
-
26
-
27
-
28
-
29
-
30
-
31
-
32
-
33
-
34
-
35
-
36
-
37
-
38
-
39
-
40
-
41
-
42
-
43
-
44
-
45
-
46
-
47
-
48
-
49
-
50
-
51
-
52
-
53
-
54
-
55
-
56
-
57
-
58
-
59
-
60
-
61
-
62
-
63
-
64
-
65
-
66
-
67
-
68
-
69
-
70
-
71
-
72
-
73
-
74
-
75
-
76
-
77
-
78
-
79
-
80
-
81
-
82
-
83
-
84
-
85
-
86
-
87
-
88
-
89
-
90
-
91
-
92
-
93
-
94
-
95
-
96
-
97
-
98
-
99
-
100
-
101
-
102
-
103
-
104
-
105
-
106
-
107
-
108
-
109
-
110
-
111
-
112
-
113
-
114
-
115
-
116
-
117
-
118
-
119
-
120
-
121
-
122
-
123
-
124
-
125
-
126
-
 127
127 -
 128
128 -
 129
129 -
 130
130 -
 131
131 -
 132
132 -
 133
133 -
 134
134 -
 135
135 -
 136
136 -
 137
137 -
138
-
139
-
140
-
141
-
142
-
143
-
144
-
145
-
146
-
147
-
148
-
149
-
150
-
151
-
152
-
153
-
154
-
155
-
156
-
157
-
158
-
159
-
160
-
161
-
162
-
163
-
164
-
165
-
166
-
167
-
168
-
169
-
170
-
171
-
172
 |
 |