Brother International WP700D Owners Manual - English - Page 92
Starting, Typewriter, Application
 |
View all Brother International WP700D manuals
Add to My Manuals
Save this manual to your list of manuals |
Page 92 highlights
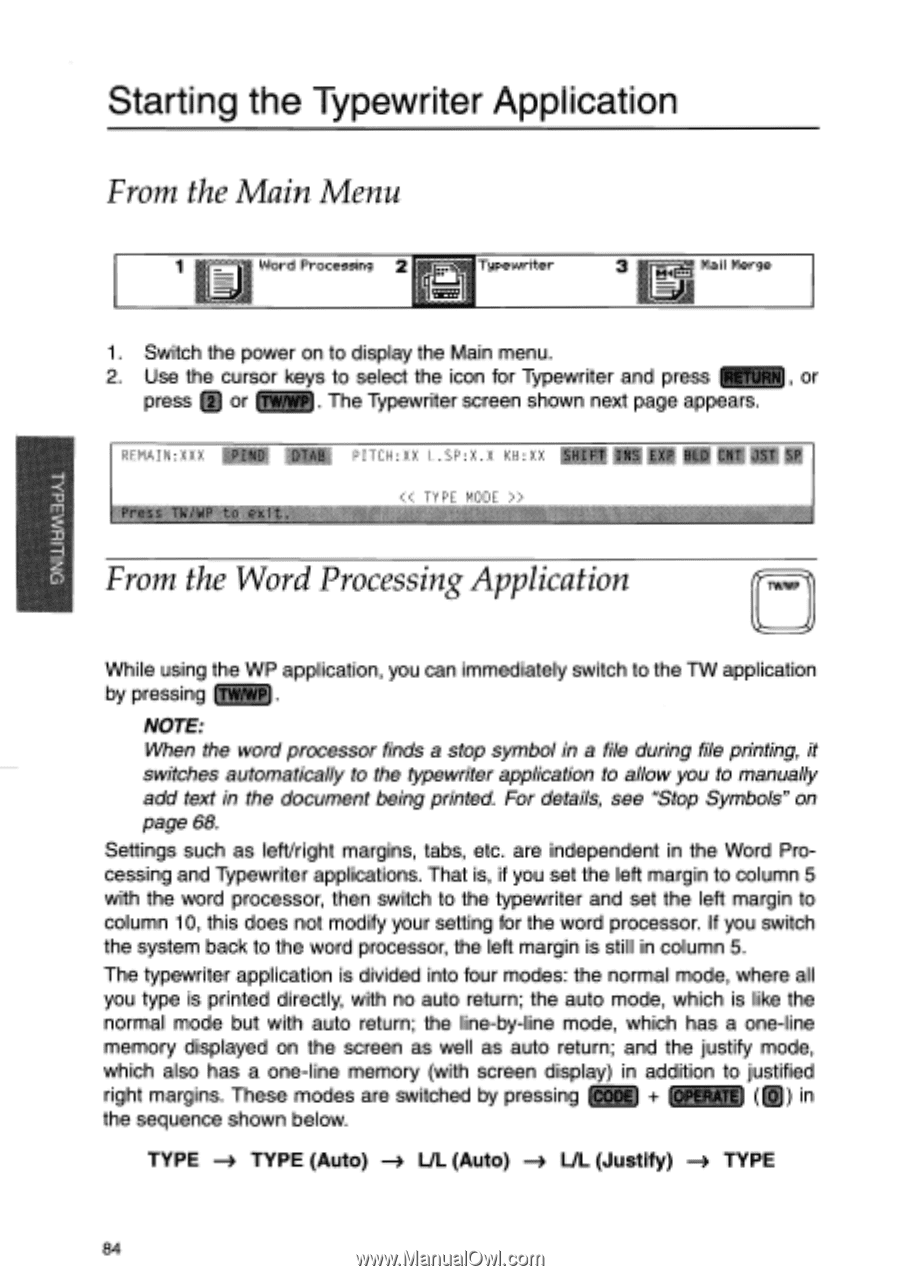
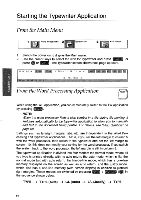
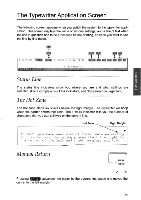
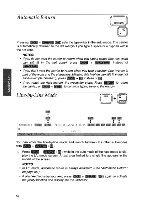
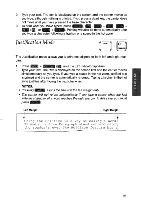
Starting the Typewriter Application From the Main Menu 1 Word Processing 2 Typewriter 3 Mail Merge SEE9 1. Switch the power on to display the Main menu. 2. Use the cursor keys to select the icon for Typewriter and press F rUFIT14 or press C) or LATAT). The Typewriter screen shown next page appears. IIIREMAIN:XXX II PITCH:XX I .SP:X.X KB:XX 11 TYPF mnnF From the Word Processing Application TW/WP While using the WP application, you can immediately switch to the TW application by pressing (TwiwP). NOTE: When the word processor finds a stop symbol in a file during file printing, it switches automatically to the typewriter application to allow you to manually add text in the document being printed. For details, see "Stop Symbols" on page 68. Settings such as left/right margins, tabs, etc. are independent in the Word Processing and Typewriter applications. That is, if you set the left margin to column 5 with the word processor, then switch to the typewriter and set the left margin to column 10, this does not modify your setting for the word processor. If you switch the system back to the word processor, the left margin is still in column 5. The typewriter application is divided into four modes: the normal mode, where all you type is printed directly, with no auto return; the auto mode, which is like the normal mode but with auto return; the line-by-line mode, which has a one-line memory displayed on the screen as well as auto return; and the justify mode, which also has a one-line memory (with screen display) in addition to justified right margins. These modes are switched by pressing ( 7:c017) + (0PEPATEI (@) in the sequence shown below. TYPE -) TYPE (Auto) -) L/L (Auto) -) UL (Justify) -4 TYPE 84
-
 1
1 -
2
-
3
-
4
-
5
-
6
-
7
-
8
-
9
-
10
-
11
-
12
-
13
-
14
-
15
-
16
-
17
-
18
-
19
-
20
-
21
-
22
-
23
-
24
-
25
-
26
-
27
-
28
-
29
-
30
-
31
-
32
-
33
-
34
-
35
-
36
-
37
-
38
-
39
-
40
-
41
-
42
-
43
-
44
-
45
-
46
-
47
-
48
-
49
-
50
-
51
-
52
-
53
-
54
-
55
-
56
-
57
-
58
-
59
-
60
-
61
-
62
-
63
-
64
-
65
-
66
-
67
-
68
-
69
-
70
-
71
-
72
-
73
-
74
-
75
-
76
-
77
-
78
-
79
-
80
-
81
-
82
-
83
-
84
-
85
-
86
-
 87
87 -
 88
88 -
 89
89 -
 90
90 -
 91
91 -
 92
92 -
 93
93 -
 94
94 -
 95
95 -
 96
96 -
 97
97 -
98
-
99
-
100
-
101
-
102
-
103
-
104
-
105
-
106
-
107
-
108
-
109
-
110
-
111
-
112
-
113
-
114
-
115
-
116
-
117
-
118
-
119
-
120
-
121
-
122
-
123
-
124
-
125
-
126
-
127
-
128
-
129
-
130
-
131
-
132
-
133
-
134
-
135
-
136
-
137
-
138
-
139
-
140
-
141
-
142
-
143
-
144
-
145
-
146
-
147
-
148
-
149
-
150
-
151
-
152
-
153
-
154
-
155
-
156
-
157
-
158
-
159
-
160
-
161
-
162
-
163
-
164
-
165
-
166
-
167
-
168
-
169
-
170
-
171
-
172
 |
 |