Canon imageCLASS MF4690 imageCLASS MF4690 Reference Guide - Page 171
RX MAC Address Settings, to select from <IP ADDRESS
 |
View all Canon imageCLASS MF4690 manuals
Add to My Manuals
Save this manual to your list of manuals |
Page 171 highlights
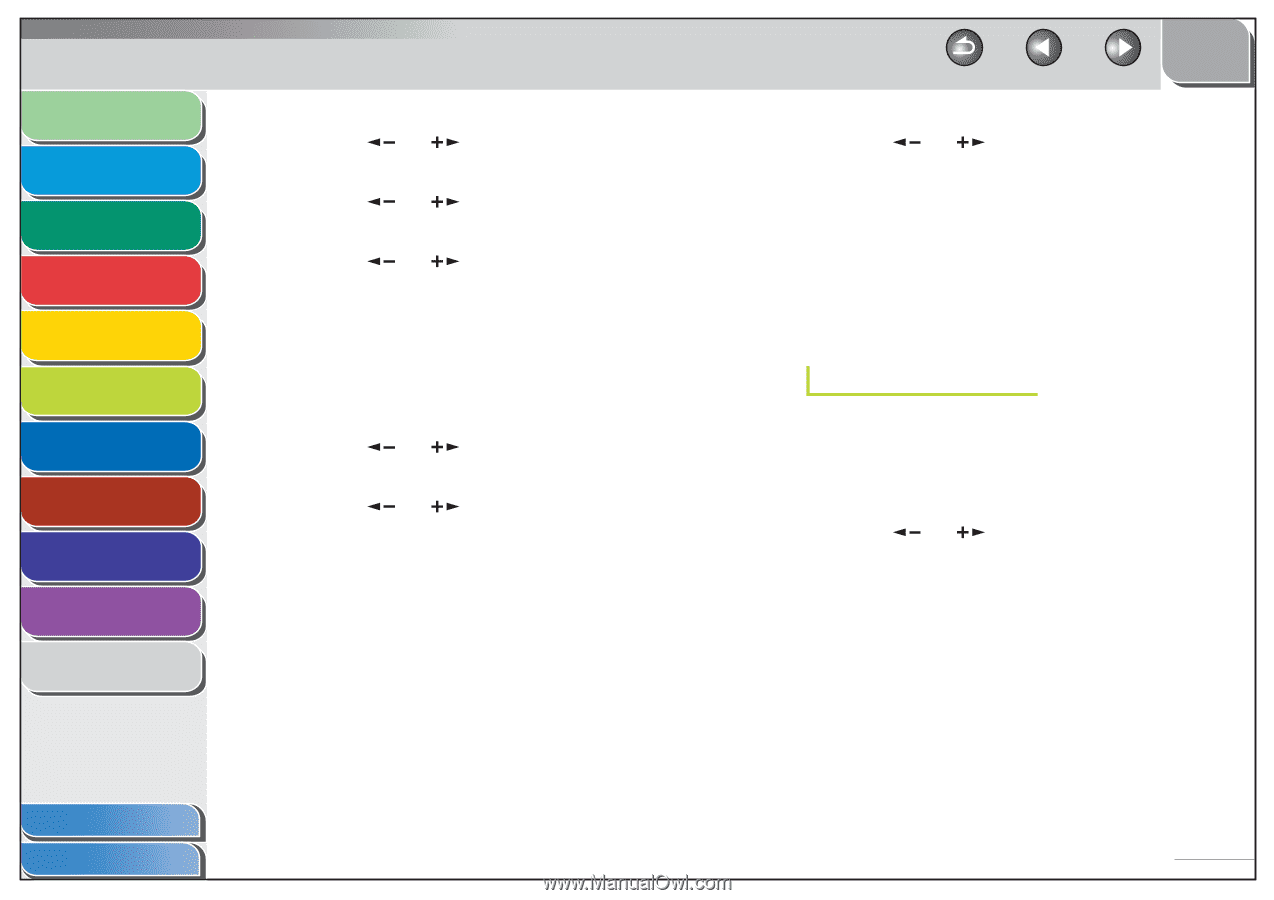
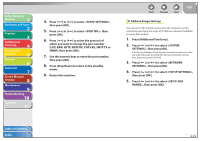
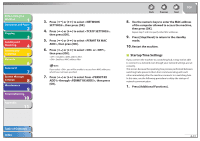
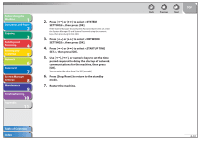
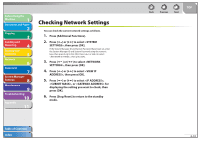
Before Using the Machine 1 Document and Paper 2 Copying 3 Sending and Receiving 4 Printing and Scanning 5 Network 6 Remote UI 7 System Manager Settings 8 Maintenance 9 Troubleshooting 10 Appendix 11 6. Press [ ] or [ ] to select , then press [OK]. 7. Press [ ] or [ ] to select , then press [OK]. 8. Press [ ] or [ ] to select or , then press [OK]. : Restricts the access to the machine (printing/PC faxing/ Remote UI) from the computers with certain IP addresses. : Permits the access to the machine (printing/PC faxing/ Remote UI) from the computers with certain IP addresses. 9. Confirm that is displayed, then press [OK]. 10. Press [ ] or [ ] to select from through , then press [OK]. 11. Press [ ] or [ ] to select , then press [OK]. 12. Use the numeric keys to enter the start IP address, then press [OK]. Back Previous Next TOP 13. Press [ ] or [ ] to select , then press [OK]. 14. Use the numeric keys to enter the end IP address, then press [OK]. To enter another IP address range, repeat step 10 to 14. 15. Press [Stop/Reset] to return to the standby mode. 16. Restart the machine. RX MAC Address Settings You can restrict the machine access from the computers on the network by specifying the MAC addresses of the computers allowed/forbidden to access the machine. 1. Press [Additional Functions]. 2. Press [ ] or [ ] to select , then press [OK]. If the System Manager ID and System Password have been set, enter the System Manager ID and System Password using the numeric keys, then press [Log In/Out (ID)]. Table of Contents Index 6-40
-
 1
1 -
2
-
3
-
4
-
5
-
6
-
7
-
8
-
9
-
10
-
11
-
12
-
13
-
14
-
15
-
16
-
17
-
18
-
19
-
20
-
21
-
22
-
23
-
24
-
25
-
26
-
27
-
28
-
29
-
30
-
31
-
32
-
33
-
34
-
35
-
36
-
37
-
38
-
39
-
40
-
41
-
42
-
43
-
44
-
45
-
46
-
47
-
48
-
49
-
50
-
51
-
52
-
53
-
54
-
55
-
56
-
57
-
58
-
59
-
60
-
61
-
62
-
63
-
64
-
65
-
66
-
67
-
68
-
69
-
70
-
71
-
72
-
73
-
74
-
75
-
76
-
77
-
78
-
79
-
80
-
81
-
82
-
83
-
84
-
85
-
86
-
87
-
88
-
89
-
90
-
91
-
92
-
93
-
94
-
95
-
96
-
97
-
98
-
99
-
100
-
101
-
102
-
103
-
104
-
105
-
106
-
107
-
108
-
109
-
110
-
111
-
112
-
113
-
114
-
115
-
116
-
117
-
118
-
119
-
120
-
121
-
122
-
123
-
124
-
125
-
126
-
127
-
128
-
129
-
130
-
131
-
132
-
133
-
134
-
135
-
136
-
137
-
138
-
139
-
140
-
141
-
142
-
143
-
144
-
145
-
146
-
147
-
148
-
149
-
150
-
151
-
152
-
153
-
154
-
155
-
156
-
157
-
158
-
159
-
160
-
161
-
162
-
163
-
164
-
165
-
 166
166 -
 167
167 -
 168
168 -
 169
169 -
 170
170 -
 171
171 -
 172
172 -
 173
173 -
 174
174 -
 175
175 -
 176
176 -
177
-
178
-
179
-
180
-
181
-
182
-
183
-
184
-
185
-
186
-
187
-
188
-
189
-
190
-
191
-
192
-
193
-
194
-
195
-
196
-
197
-
198
-
199
-
200
-
201
-
202
-
203
-
204
-
205
-
206
-
207
-
208
-
209
-
210
-
211
-
212
-
213
-
214
-
215
-
216
-
217
-
218
-
219
-
220
-
221
-
222
-
223
-
224
-
225
-
226
-
227
-
228
-
229
-
230
-
231
-
232
-
233
-
234
-
235
-
236
-
237
-
238
-
239
-
240
-
241
-
242
-
243
-
244
-
245
-
246
-
247
-
248
-
249
-
250
-
251
-
252
-
253
-
254
-
255
-
256
-
257
-
258
-
259
-
260
-
261
-
262
-
263
-
264
-
265
-
266
-
267
-
268
-
269
-
270
-
271
-
272
-
273
-
274
-
275
-
276
-
277
-
278
-
279
-
280
-
281
-
282
-
283
-
284
-
285
-
286
-
287
-
288
-
289
-
290
-
291
-
292
-
293
-
294
-
295
-
296
-
297
-
298
-
299
-
300
-
301
-
302
-
303
-
304
-
305
-
306
-
307
-
308
-
309
-
310
-
311
-
312
-
313
-
314
-
315
-
316
-
317
-
318
-
319
-
320
-
321
-
322
-
323
-
324
-
325
-
326
-
327
-
328
-
329
-
330
-
331
-
332
-
333
-
334
-
335
-
336
-
337
-
338
-
339
-
340
-
341
-
342
-
343
-
344
-
345
-
346
-
347
-
348
-
349
-
350
-
351
-
352
-
353
-
354
-
355
-
356
-
357
-
358
-
359
-
360
-
361
-
362
-
363
-
364
-
365
-
366
-
367
-
368
-
369
-
370
-
371
-
372
-
373
-
374
-
375
-
376
-
377
-
378
-
379
-
380
-
381
-
382
-
383
-
384
-
385
-
386
-
387
 |
 |