Denon AVR-985S Owners Manual - Page 21
Auto setup/Room EQ, Setting the Auto Setup / Room EQ, Connecting the microphone for Auto Setup
 |
UPC - 081757506106
View all Denon AVR-985S manuals
Add to My Manuals
Save this manual to your list of manuals |
Page 21 highlights
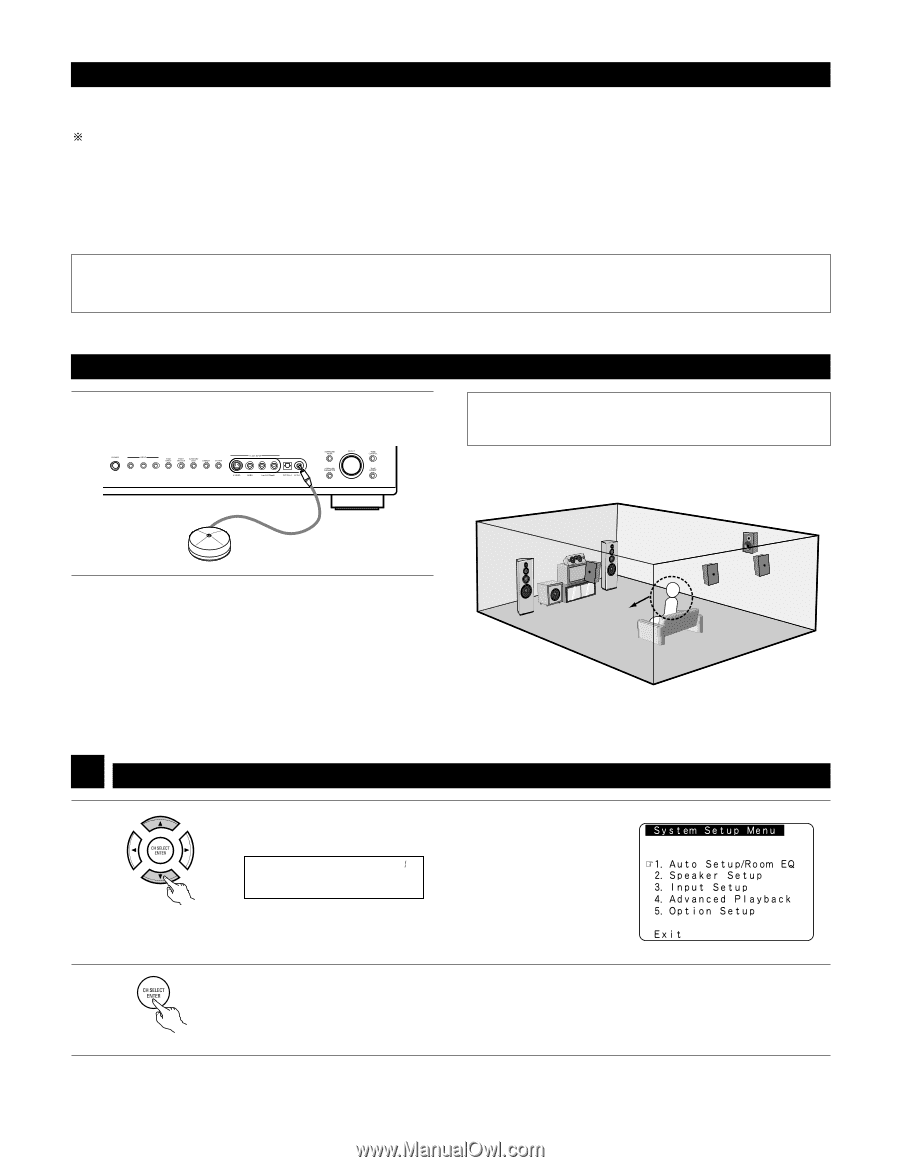
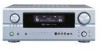
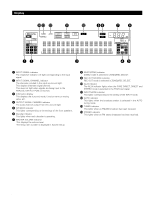
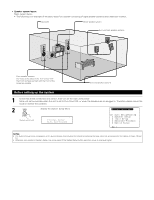
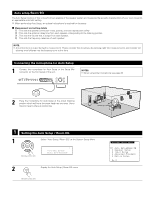
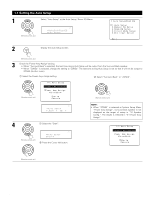
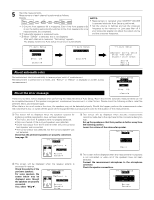
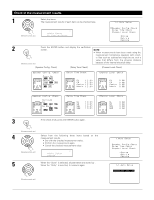
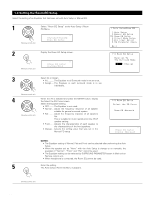
Auto setup/Room EQ The Auto Setup function of this unit performs an analysis of the speaker system and measures the acoustic characteristics of your room to permit an appropriate automatic setting. When performing Auto Setup, an optional microphone is required for the setup. 2 Measurement and setting details q : This sets the speaker connection mode, polarity, and bass reproduction ability. w : This sets the optimum delay time from each speaker corresponding to the listening position. e : This sets the volume that is output from each speaker. r : This sets the frequency response of each speaker. NOTE: • A loud test tone is output during the measurement. Please consider this should you be planning night time measurements, and consider not allowing small children into the listening room at this time. Connecting the microphone for Auto Setup 1 Connect the microphone for Auto Setup to the Setup Mic connector on the front panel of the unit. MODE ANALOG EXT. IN NOTES: • When using other microphone see page 28. 2 Place the microphone for Auto Setup at the actual listening position which will be at the same height as your ears. Use a tripod or level surface at positioning. Listening position 1 Setting the Auto Setup / Room EQ 1 Select "Auto Setup / Room EQ" at the System Setup Menu. (Remote control unit) *System Setup Auto Set/RoomEQ 2 Display the Auto Setup / Room EQ menu. (Remote control unit) 21
-
 1
1 -
2
-
3
-
4
-
5
-
6
-
7
-
8
-
9
-
10
-
11
-
12
-
13
-
14
-
15
-
 16
16 -
 17
17 -
 18
18 -
 19
19 -
 20
20 -
 21
21 -
 22
22 -
 23
23 -
 24
24 -
 25
25 -
 26
26 -
27
-
28
-
29
-
30
-
31
-
32
-
33
-
34
-
35
-
36
-
37
-
38
-
39
-
40
-
41
-
42
-
43
-
44
-
45
-
46
-
47
-
48
-
49
-
50
-
51
-
52
-
53
-
54
-
55
-
56
-
57
-
58
-
59
-
60
-
61
-
62
-
63
-
64
-
65
-
66
-
67
-
68
-
69
-
70
-
71
-
72
-
73
-
74
-
75
-
76
-
77
-
78
-
79
-
80
-
81
-
82
-
83
-
84
-
85
-
86
-
87
-
88
-
89
-
90
-
91
-
92
-
93
-
94
-
95
-
96
-
97
-
98
-
99
-
100
 |
 |