Epson 7850p Product Information Guide - Page 20
Registering Projectors in EMP Monitor, Monitoring Your Projectors
 |
UPC - 010343845992
View all Epson 7850p manuals
Add to My Manuals
Save this manual to your list of manuals |
Page 20 highlights
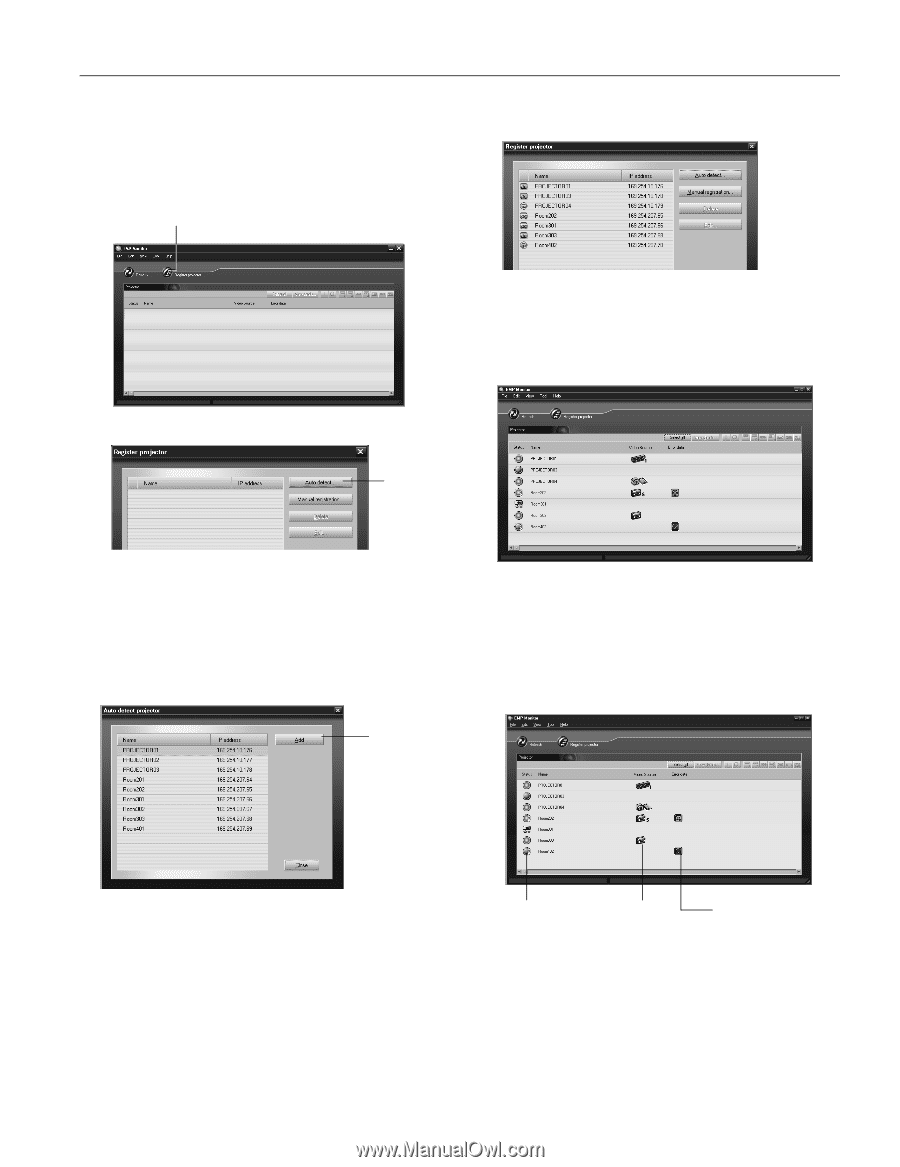
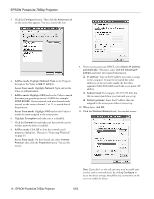
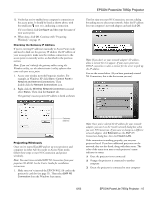
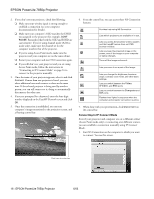
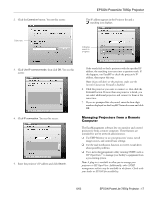
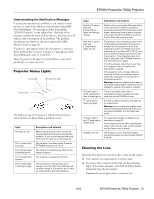
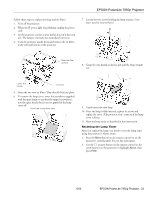
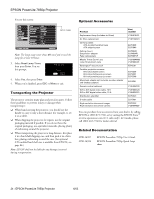
Registering Projectors in EMP Monitor Before you can monitor a projector, you have to register it. Follow these steps: 1. Open EMP Monitor. You see this screen: Click here EPSON PowerLite 7850p Projector You see this screen listing all registered projectors: Note: To delete a projector from the list, highlight the projector name, and click Delete. 5. Click Close. You see the status of each of your registered projectors on the main EMP Monitor screen: 2. Click Register projector. You see this screen: Click here 3. Click Auto detect to locate projectors currently operating on the network. Or click Manual registration and enter the projector's name and network address. Note: If Auto detect fails to find the projector, your projector may not be connected or configured correctly for the network. Any projectors found on the network are listed: Monitoring Your Projectors The EMP Monitor screen lets you monitor your projectors using the Status, Video Source, and Error icons shown below. This lets you see which projectors are currently being used, from which source (or port) they are projecting an image, and if a problem occurs. Click here 4. Select each projector you want to add by clicking its name and clicking Add. When you're done, click Close. Status icon Video Source icon Error icon Note: To monitor a projector when it's in standby mode (plugged in but not projecting), you must first select Network ON as the Standby Mode setting in the projector's Advanced1 menu. You can monitor up to 64 projectors. For detailed status information, select the projector and click View details. 6/03 EPSON PowerLite 7850p Projector - 19
-
 1
1 -
2
-
3
-
4
-
5
-
6
-
7
-
8
-
9
-
10
-
11
-
12
-
13
-
14
-
 15
15 -
 16
16 -
 17
17 -
 18
18 -
 19
19 -
 20
20 -
 21
21 -
 22
22 -
 23
23 -
 24
24 -
 25
25
 |
 |