Epson AcuLaser CX11NF Start Here Card - Page 1
Epson AcuLaser CX11NF Manual
 |
View all Epson AcuLaser CX11NF manuals
Add to My Manuals
Save this manual to your list of manuals |
Page 1 highlights
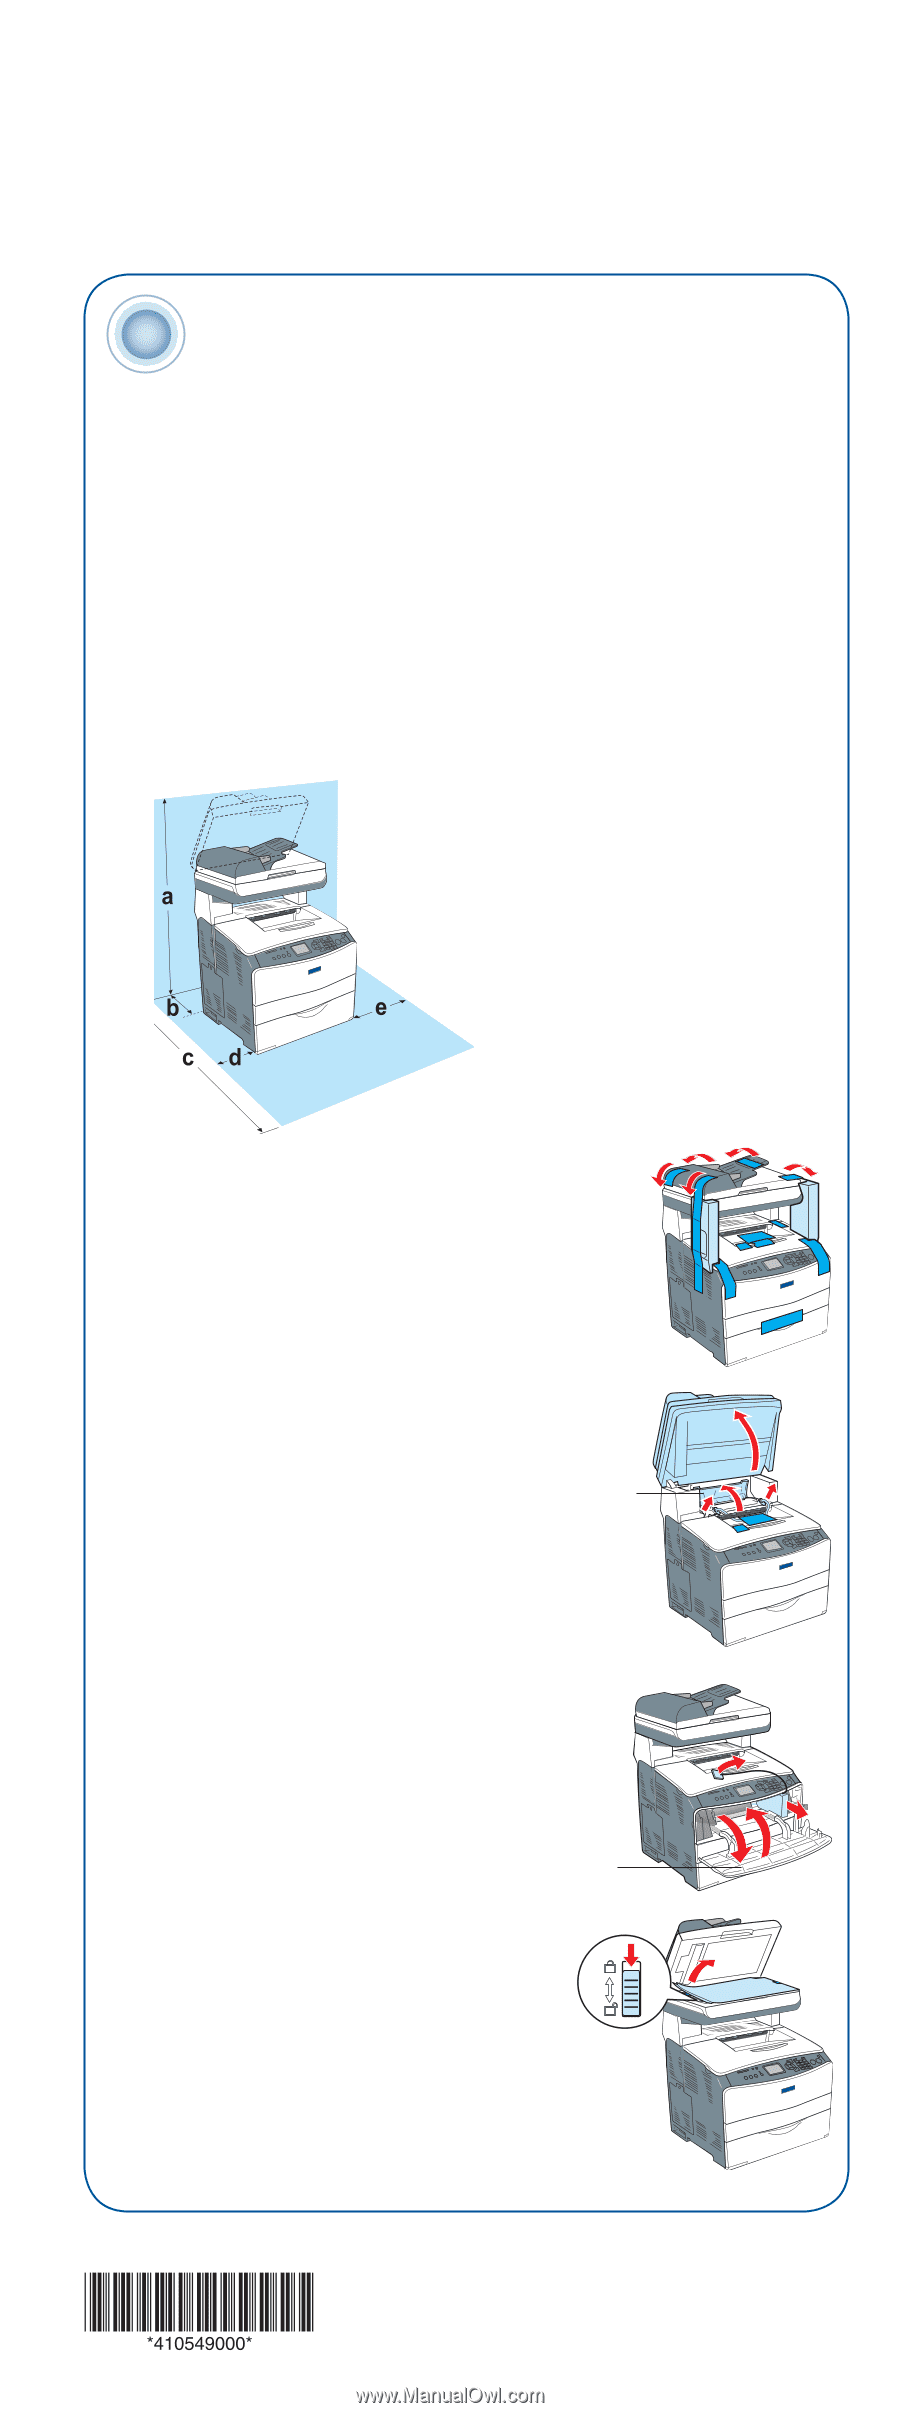
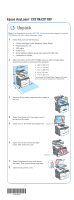
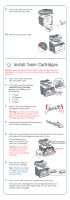
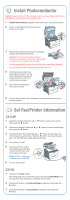
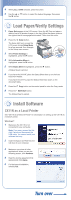
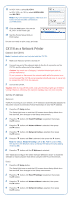
Start Here Epson AcuLaser® CX11N/CX11NF 1 Unpack Note: The illustrations show the CX11NF, but the instructions apply to both the CX11N and CX11NF unless otherwise noted. 1 Check that you have the following: • 4 toner cartridges (Cyan, Magenta, Yellow, Black) • Photoconductor unit • USB cable • Power cord • Documentation: Basics Guide, Fax Guide (CX11NF only) • 3 software CD-ROMs 2 Select a location for the CX11N. Make sure you allow enough space around the product to ensure smooth operation. a 36.2 in. (920 mm) b 10.2 in. (258 mm) c 34.2 in. (868 mm) d 3.9 in. (100 mm) e 11.8 in. (300 mm) The optional 500-Sheet Paper Cassette Unit adds 5.1 in. (130 mm) to the bottom of the CX11N. 3 Remove all the packing tape from the outside of the unit. 4 Raise the scanner unit, then open cover C and pull out the insert. 5 Close cover C and lower the scanner unit. Cover C 6 Open cover A and remove the foam insert. Then close the cover. Cover A 7 Open the document cover and remove the insert. Then unlock the carriage lock. 8 Close the document cover.
-
 1
1 -
 2
2 -
 3
3 -
 4
4 -
 5
5 -
 6
6 -
 7
7 -
8
 |
 |