Epson AcuLaser CX11NF Start Here Card - Page 5
Macintosh ®, Install, Restart Now, EPSON, Continue, Agree, Local, Applications, Utilities
 |
View all Epson AcuLaser CX11NF manuals
Add to My Manuals
Save this manual to your list of manuals |
Page 5 highlights
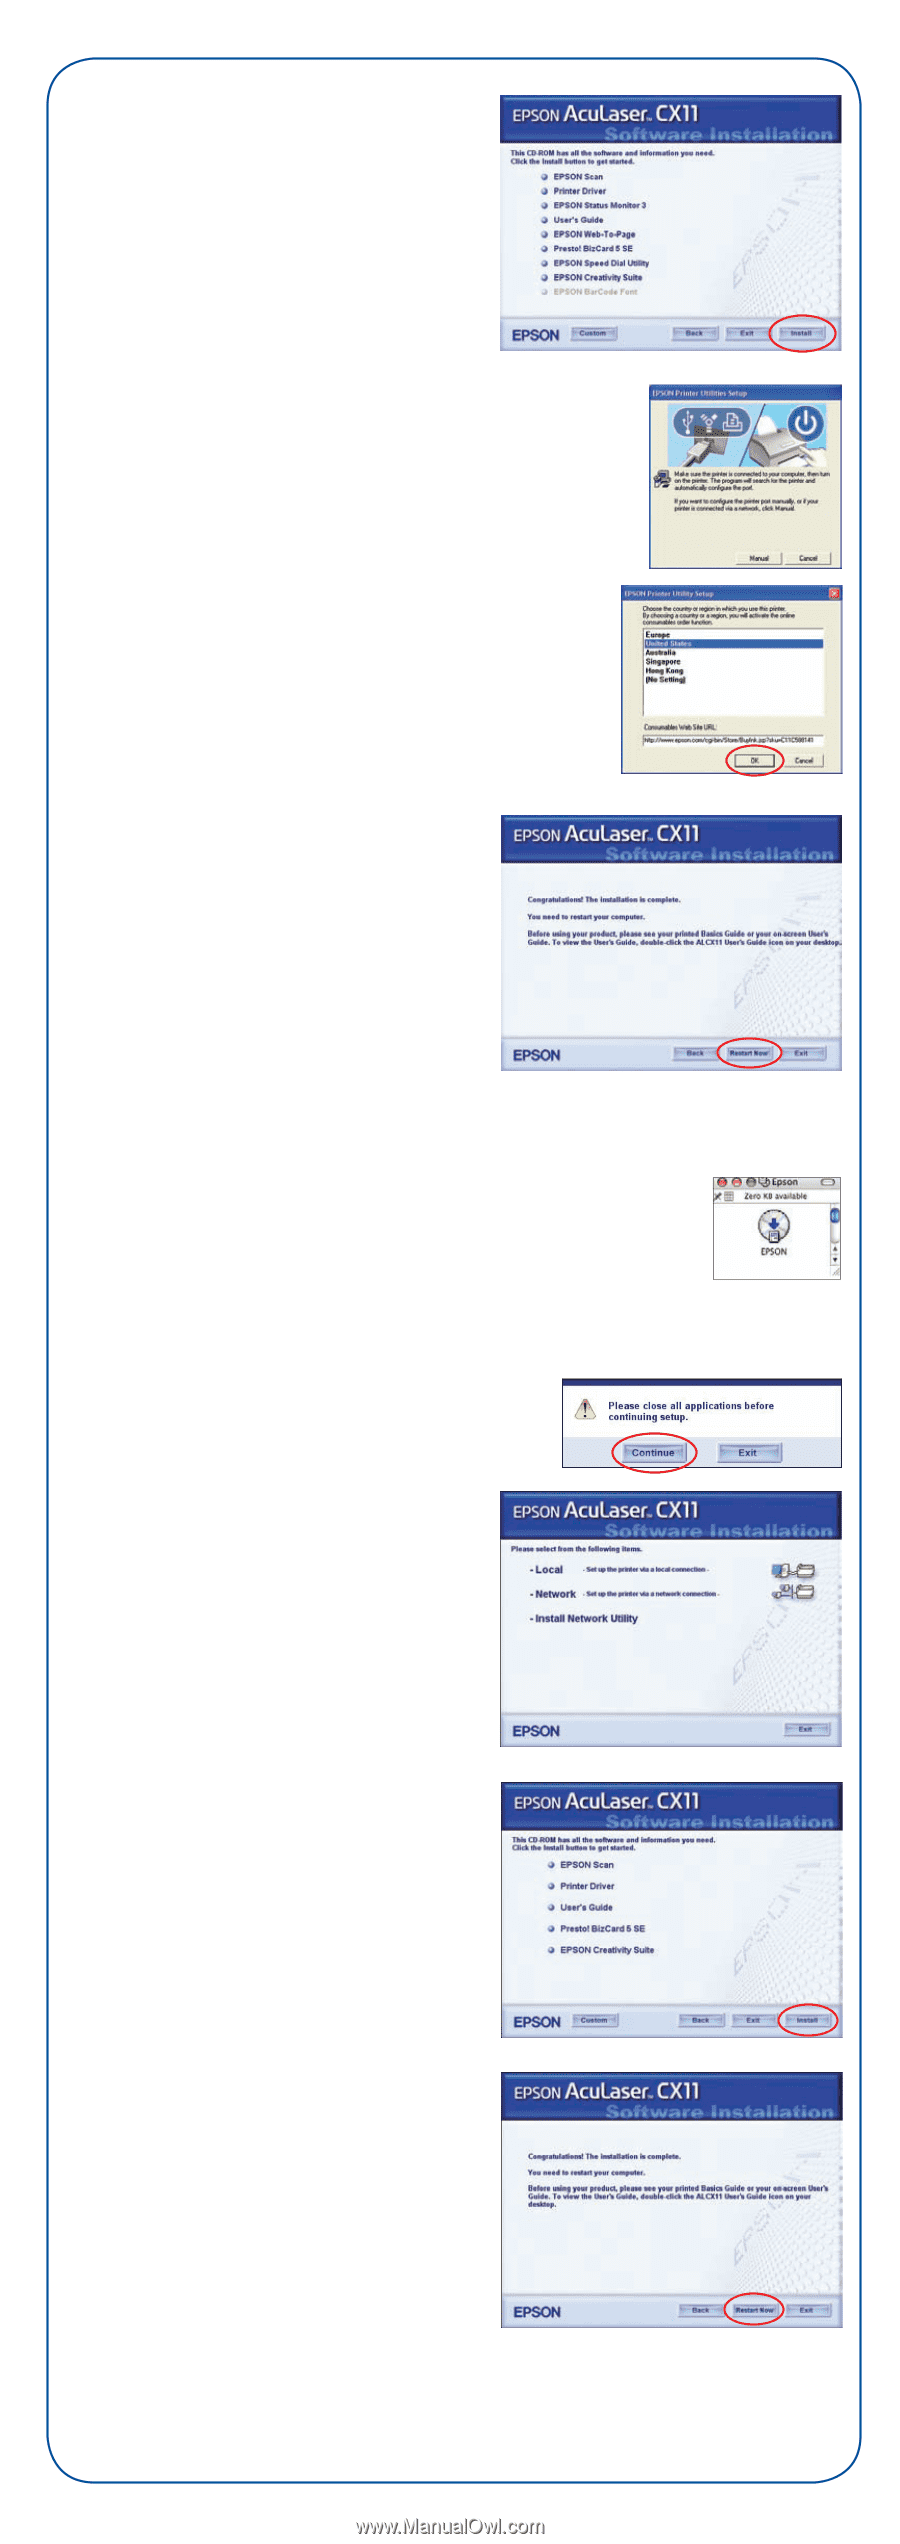
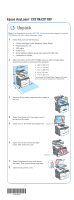
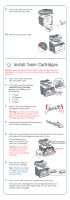
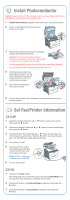
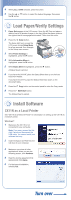
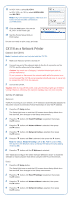
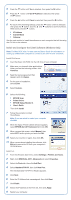
6 Click Install. The software is installed. Wait for the installer to install all the selected programs. Note: If you are asked to restart your computer, click No. 7 When you see this screen, connect the square end of your USB cable to the back of the CX11N and the flat end of the USB cable to your computer. (You can connect to any open port.) 8 Select your country or region, then click OK. 9 When you are done installing the software, the registration screen appears. Follow the on-screen instructions to register your product. 10 Click Restart Now. Note: If you see a message after restarting your computer indicating the Event Manager is blocked, click Unblock. You are ready to print, copy, and scan. Macintosh® 1 Connect the square end of your USB cable to the back of the CX11N and the flat end of the USB cable to your computer. 2 Insert the Epson CD-ROM into the CD drive of your computer. Double-click the EPSON icon. 3 Make sure you close all other applications. When you see the following screen, click Continue. 4 Read the license agreement that appears and click Agree. 5 For the type of installation, select Local. 6 Click Install. The software is installed. Wait for the installer to install all the selected programs. 7 When you are done installing the software, the registration screen appears. Follow the on-screen instructions to register your product. 8 Click Restart Now. 9 Open the Applications folder, then open the Utilities folder and double-click Printer Setup Utility (OS X 10.3.x or 10.4.x) or Print Center (OS X 10.2.x). 10 Click the Add button.
-
 1
1 -
 2
2 -
 3
3 -
 4
4 -
 5
5 -
 6
6 -
 7
7 -
 8
8
 |
 |