Epson CX7800 Product Information Guide - Page 10
Inserting the Card, Printing an Index Sheet to Select Photos - print black only
 |
UPC - 010343855687
View all Epson CX7800 manuals
Add to My Manuals
Save this manual to your list of manuals |
Page 10 highlights
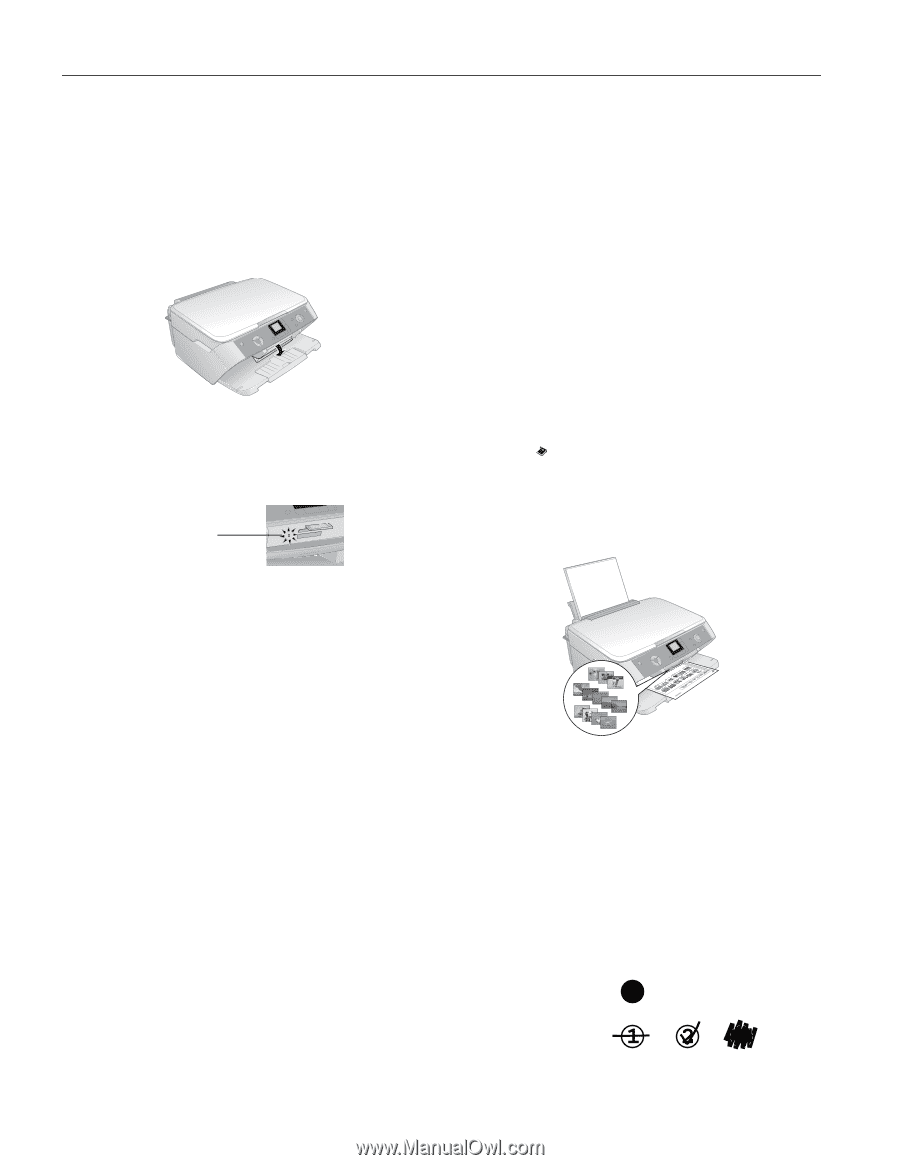
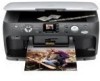
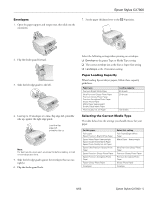
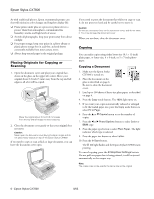
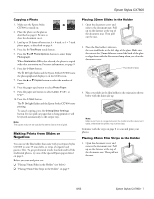
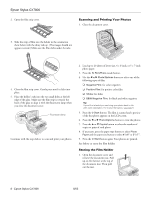
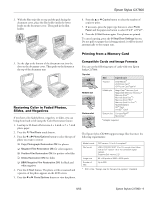
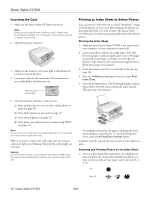
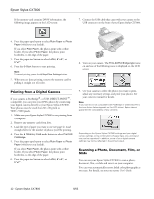
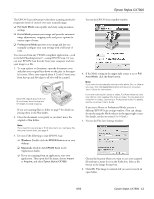
Epson Stylus CX7800 Inserting the Card 1. Make sure the Epson Stylus CX7800 is turned on. Note: When you print directly from a memory card, it is best if the Epson Stylus CX7800 is not connected to your computer (or your computer is turned off). 2. Open the memory card door. 3. Make sure the memory card access light is off and that no cards are in any of the slots. 4. Insert your card into the correct slot. The memory card access light flashes and then stays on. Memory card access light Printing an Index Sheet to Select Photos You can print an index sheet to see small "thumbnail" images of all the photos on your card. After marking the photos on the index sheet that you want to print, the Epson Stylus CX7800 scans the sheet and automatically prints the selected photos. Printing the Index Sheet 1. Make sure your Epson Stylus CX7800 is not connected to your computer (or your computer is turned off). 2. Load several sheets of letter-size, plain paper. (Use only letter-size paper to print the index sheet.) Up to 30 images are printed on each page, so if there are more than 30 photos on the memory card, you'll need enough sheets for all the index pages to be printed. 3. Insert the memory card if it is not already in the slot (see page 10). 4. Press the Memory Card mode button to select Print Index Sheet. 5. Press the x Start button. The P On light flashes, and the Epson Stylus CX7800 starts printing the index sheet(s). This may take a few minutes. 5. Close the memory card door. Now you can: ❏ Print an index sheet so you can select which photos to print (see page 10) ❏ Print all the photos on the card (see page 11) ❏ Print selected photos (see page 11) ❏ Print photos pre-selected on your camera using DPOF (see page 11) Note: You can print only in color when printing directly from a memory card; you cannot print in black and white. When you want to remove the card, make sure the memory card access light is not flashing, then pull the card straight out of its slot. Caution: Do not remove the card or turn off the Epson Stylus CX7800 while the memory card access light is flashing; you may lose data on the card. For multiple index sheets, the pages containing the most recent images are printed first. To cancel printing more sheets, press the y Stop/Clear Settings button. Continue with the steps in the next section to select photos to print. Selecting and Printing Photos on the Index Sheet 1. Once you have printed the index sheet, use a dark pen or pencil to fill in one of the circles beneath each photo you want to print to indicate how many copies you want (1, 2, or 3). OK: Not OK: 10 - Epson Stylus CX7800 8/05
-
 1
1 -
2
-
3
-
4
-
 5
5 -
 6
6 -
 7
7 -
 8
8 -
 9
9 -
 10
10 -
 11
11 -
 12
12 -
 13
13 -
 14
14 -
 15
15 -
16
-
17
-
18
 |
 |