Garmin Oregon 200 Owner's Manual - Page 34
Customizing the Display, Map Setup, Backlight Timeout, Background, Orientation, North Up, Track Up
 |
UPC - 753759078553
View all Garmin Oregon 200 manuals
Add to My Manuals
Save this manual to your list of manuals |
Page 34 highlights
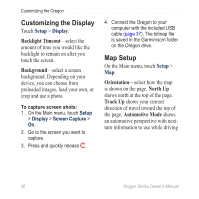
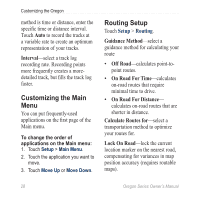
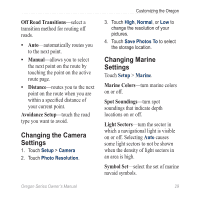
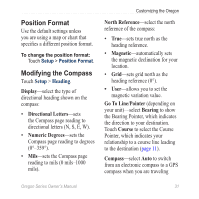
Customizing the Oregon Customizing the Display Touch Setup > Display. Backlight Timeout-select the amount of time you would like the backlight to remain on after you touch the screen. Background-select a screen background. Depending on your device, you can choose from preloaded images, load your own, or crop and use a photo. To capture screen shots: 1. On the Main menu, touch Setup > Display > Screen Capture > On. 2. Go to the screen you want to capture. 3. Press and quickly release . 4. Connect the Oregon to your computer with the included USB cable (page 37). The bitmap file is saved in the Garmin\scrn folder on the Oregon drive. Map Setup On the Main menu, touch Setup > Map. Orientation-select how the map is shown on the page. North Up shows north at the top of the page. Track Up shows your current direction of travel toward the top of the page. Automotive Mode shows an automotive perspective with nextturn information to use while driving 26 Oregon Series Owner's Manual
-
 1
1 -
2
-
3
-
4
-
5
-
6
-
7
-
8
-
9
-
10
-
11
-
12
-
13
-
14
-
15
-
16
-
17
-
18
-
19
-
20
-
21
-
22
-
23
-
24
-
25
-
26
-
27
-
28
-
 29
29 -
 30
30 -
 31
31 -
 32
32 -
 33
33 -
 34
34 -
 35
35 -
 36
36 -
 37
37 -
 38
38 -
 39
39 -
40
-
41
-
42
-
43
-
44
-
45
-
46
-
47
-
48
-
49
-
50
-
51
-
52
-
53
-
54
-
55
-
56
 |
 |