HealthRider H145t Treadmill English Manual
HealthRider H145t Treadmill Manual
 |
View all HealthRider H145t Treadmill manuals
Add to My Manuals
Save this manual to your list of manuals |
HealthRider H145t Treadmill manual content summary:
- HealthRider H145t Treadmill | English Manual - Page 1
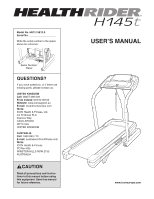
Serial Number Decal QUESTIONS? If you have questions, or if there are missing parts, please contact us: UNITED KINGDOM Call: 08457 089 009 From Ireland: 053 precautions and instructions in this manual before using this equipment. Save this manual for future reference. USER’'S MANUAL www.iconeurope. - HealthRider H145t Treadmill | English Manual - Page 2
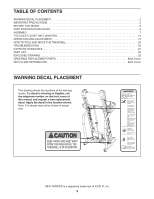
PLACEMENT 2 IMPORTANT PRECAUTIONS 3 BEFORE YOU BEGIN 5 PART IDENTIFICATION CHART 6 ASSEMBLY 7 THE CHEST HEART RATE MONITOR 14 OPERATION AND ADJUSTMENT 15 HOW TO FOLD AND MOVE THE TREADMILL 23 TROUBLESHOOTING 24 EXERCISE GUIDELINES 27 PART LIST 30 EXPLODED DRAWING 32 ORDERING REPLACEMENT - HealthRider H145t Treadmill | English Manual - Page 3
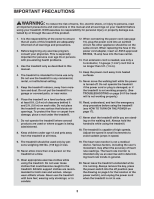
and instructions in this manual and all warnings on your treadmill before using your treadmill. ICON belt while the power is turned off. Do not operate the treadmill if the power cord or plug is damaged, or if the treadmill is not working properly. (See TROUBLESHOOTING on page 24 if the treadmill - HealthRider H145t Treadmill | English Manual - Page 4
before clean- ing the treadmill, and before performing the maintenance and adjustment procedures described in this manual. Never remove the motor hood unless instructed to do so by an authorized service representative. Servicing other than the procedures in this manual should be performed by - HealthRider H145t Treadmill | English Manual - Page 5
front cover of this manual. Before reading further, please review the drawing below and familiarize yourself with the labeled parts. Length: 6 ft. 8 in. (203 cm) Width: 3 ft. 2 in. (97 cm) Tray Weight: 282 lbs. (128 kg) Handrail Console Heart Rate Monitor Key/Clip Walking Belt Foot Rail Idler - HealthRider H145t Treadmill | English Manual - Page 6
assembly. The number in parentheses below each drawing is the key number of the part, from the PART LIST near the end of this manual. The number following the key number is the quantity used for assembly. Note: If a part is not in the hardware kit, check to see if it is preattached. Extra - HealthRider H145t Treadmill | English Manual - Page 7
is normal. If there is an oily substance on the treadmill, wipe it off with a soft cloth and a mild, non-abrasive cleaner. •• Left parts are marked “"L”" or “"Left”" and right parts are marked “"R”" or “"Right.”" •• To identify small parts, see page 6. •• Assembly requires the following tools: the - HealthRider H145t Treadmill | English Manual - Page 8
2. Slide the Upright Cover (87) upward onto the Upright (86) as shown. 2 Have a second person hold the Upright (86) near the Base (94). See the inset drawing. Tie the wire tie in the Upright (86) securely around the end of the Upright Wire (79). Then, pull the other end of the wire tie until the - HealthRider H145t Treadmill | English Manual - Page 9
4. Slide the Adjustable Cushions (39) to firmness setting 5 (only one side is shown). 4 Identify the Right Handrail (82) and the Right Base Cover (84). Slide the Right Base Cover onto the Right Handrail. Hold a 3/8" x 1" Screw (4) on the end of a hex key and insert the Screw into the Right - HealthRider H145t Treadmill | English Manual - Page 10
6. IMPORTANT: To avoid damaging the Crossbar (80), do not use power tools and do 6 not overtighten the #10 x 3/4" Screws (8). Orient the Crossbar (80) as shown. Attach the Crossbar to the Handrails (81, 82) with four #10 x 3/4" Screws (8). Start all four Screws, and then tighten them. 8 81 80 8 - HealthRider H145t Treadmill | English Manual - Page 11
8. With the help of a second person, hold the con- sole assembly near the Upright (86). 8 Connect the Upright Wire (79) to the console wire. See the inset drawing. The connectors should slide together easily and snap into place. If they do not, turn one connector and try again. IF YOU DO NOT - HealthRider H145t Treadmill | English Manual - Page 12
10. Tighten six 5/16" x 1 1/4" Screws (5) with six 5/16" Star Washers (9) into the console assem- 10 bly. Start all six Screws, and then tighten them. See step 9. Tighten the three #8 x 1/2" Screws (1). 9 9 5 5 11. Firmly tighten the four 3/8" x 1" Screws (4) (only one side is shown). Then, - HealthRider H145t Treadmill | English Manual - Page 13
. If there are sheets of plastic on the treadmill decals, remove the plastic. To protect the oor or carpet, place a mat under the treadmill. Note: Extra parts may be included. Keep the included hex key in a secure place; the hex key is used to adjust the walking belt (see pages 25 and 26). 13 - HealthRider H145t Treadmill | English Manual - Page 14
. Hand wash and air dry the chest strap. TROUBLESHOOTING If the heart rate monitor does not function properly, try the steps below. •• Make sure type. •• The heart rate monitor is designed to work with people who have normal heart rhythms. Heart rate reading problems may be caused by medical - HealthRider H145t Treadmill | English Manual - Page 15
the steps below to plug in the power cord. 1. Plug the indicated end of the power cord into the socket on the treadmill. Socket on Treadmill DANGER: Improper connection of the equipment-earthing conductor can result in an increased risk of electric shock. Check with a qualified electrician or - HealthRider H145t Treadmill | English Manual - Page 16
rate monitor. In addition, the console features twenty-eight onboard workouts—-seven calorie workouts, seven intensity workouts, seven speed workouts, and seven incline workouts. Each workout automatically controls the speed and incline of the treadmill as it guides instructions in this manual refer - HealthRider H145t Treadmill | English Manual - Page 17
the left. 2. Select the manual mode. Plug in the power cord (see page 15). Next, locate the power switch on the treadmill frame near the power cord. In an emergency, the key can be pulled from the console, causing the walking belt to slow to a stop. Test the clip by carefully taking a few steps - HealthRider H145t Treadmill | English Manual - Page 18
speed of the walking belt. The display will also show your heart rate when you use a heart rate monitor (see step treadmill when you fold it to the storage position. Next, remove the key from the console and put it in a secure place. The center display—-This display will show workout instructions - HealthRider H145t Treadmill | English Manual - Page 19
. The walking belt will begin to move at 2 Km/H. When the next segment of the workout begins, the treadmill will automatically adjust to the speed and incline settings for the next segment. 4. Follow your progress with the displays. See step 5 on page 18. 5. Measure your heart rate if desired. See - HealthRider H145t Treadmill | English Manual - Page 20
page 17. See step 3 on page 17. 2. Insert the iFit module into the console. To insert the iFit module, see the instructions included with the iFit module. During some workouts, the voice of an audio coach will guide you through your workout. You can select a setting for your audio coach (see THE - HealthRider H145t Treadmill | English Manual - Page 21
kilometers or miles that the walking belt has moved. 2. Select the , designed to be used if the treadmill is displayed in a store. While button to select the manual mode or the iFit mode as the start instructions near the beginning of this page. SEND/OBTAIN DATA—-To send and receive workouts, workout - HealthRider H145t Treadmill | English Manual - Page 22
increase the rmness of the walking platform, step off the treadmill and slide the platform cushions toward the front of the treadmill. To decrease the rmness, step off the treadmill and slide the platform cushions toward the back of the treadmill. Note: Make sure that both cushions are set at the - HealthRider H145t Treadmill | English Manual - Page 23
the key and unplug the power cord. CAUTION: You must be able to safely lift 45 lbs. (20 kg) to raise, lower, or move the treadmill. 1. Hold the metal frame rmly in the location shown by the arrow below. CAUTION: Do not hold the frame by the plastic foot rails. Bend - HealthRider H145t Treadmill | English Manual - Page 24
TROUBLESHOOTING Most treadmill problems can be solved by following the simple steps below. Find the symptom that applies, and follow the steps listed. If further assistance is needed, see the front cover of this manual. SYMPTOM: The power does not turn on a. Make sure that the power cord is plugged - HealthRider H145t Treadmill | English Manual - Page 25
: The walking belt slows when walked on c. Your treadmill features a walking belt coated with high-performance lubricant. IMPORTANT: Never apply silicone spray or other substances to the walking belt or the walking platform unless instructed to do so by an authorized service representative. Such - HealthRider H145t Treadmill | English Manual - Page 26
counterclockwise 1/2 of a turn. Be careful not to overtighten the walking belt. Then, plug in the power cord, insert the key, and run the treadmill for a few minutes. Repeat until the walking belt is centered. SYMPTOM: The walking belt slips when walked on a. First, remove the key and UNPLUG THE - HealthRider H145t Treadmill | English Manual - Page 27
problems. The heart rate monitor is not a medical device. Various factors may affect the accuracy of heart rate readings. The heart rate rate as a guide to find the proper intensity level. The chart below shows recommended heart rates rate is near the highest number in your training zone. WORKOUT - HealthRider H145t Treadmill | English Manual - Page 28
SUGGESTED STRETCHES The correct form for several basic stretches is shown at the right. Move slowly as you stretch—-never bounce. 1. Toe Touch Stretch Stand with your knees bent slightly and slowly bend forward from 1 your hips. Allow your back and shoulders to relax as you reach down toward - HealthRider H145t Treadmill | English Manual - Page 29
NOTES 29 - HealthRider H145t Treadmill | English Manual - Page 30
PART LIST Key No. Qty. 1 21 2 66 3 1 4 4 5 6 6 1 7 3 8 4 9 6 10 2 11 3 12 1 13 2 14 96 1 97 1 98 4 99 2 100 1 Description Belt Guide Front Left Platform Support Front Right Platform Support Reed Switch Clamp Magnet Drive Roller/Pulley Reed Switch Filter Bracket - HealthRider H145t Treadmill | English Manual - Page 31
1 109 1 110 1 * –- 3/8" x 2" Incline Motor Bolt Incline Stop Bracket Grounding Bracket Receptacle User’'s Manual Note: Specications are subject to change without notice. For information about ordering replacement parts, see the back cover of this manual. *These parts are not illustrated. 31 - HealthRider H145t Treadmill | English Manual - Page 32
EXPLODED DRAWING A 39 41 19 51 19 40 20 42 2 19 19 48 31 24 31 12 44 2 46 45 13 18 31 2 49 50 24 47 37 31 32 2 35 37 12 32 54 2 35 22 24 52 28 17 57 55 56 27 21 16 28 38 29 58 59 38 16 17 27 24 25 30 31 2 31 2 41 19 1 19 18 51 19 60 22 37 32 35 2 53 39 10 3 - HealthRider H145t Treadmill | English Manual - Page 33
EXPLODED DRAWING B 2 36 36 67 Model No. HETL15812.0 R1012A 2 36 36 71 2 72 109 38 38 68 107 69 23 70 14 33 34 2 96 73 33 2 108 34 23 68 71 2 74 77 2 2 74 2 2 75 2 110 2 76 2 2 33 - HealthRider H145t Treadmill | English Manual - Page 34
EXPLODED DRAWING C Model No. HETL15812.0 R1012A 9 5 8 9 79 5 9 5 80 1 81 8 83 1 85 1 84 85 9 86 5 7 87 78 34 82 4 2 34 89 88 1 15 91 88 1 79 94 88 15 1 90 91 2 34 11 34 88 1 4 34 - HealthRider H145t Treadmill | English Manual - Page 35
EXPLODED DRAWING D 92 93 Model No. HETL15812.0 R1012A 95 2 104 105 100 97 98 26 2 98 99 26 16 98 26 2 2 98 26 2 2 2 101 1 1 2 2 1 35 22 102 103 1 103 - HealthRider H145t Treadmill | English Manual - Page 36
•• the name of the product (see the front cover of this manual) •• the key number and description of the replacement part(s) (see the PART LIST and the EXPLODED DRAWING near the end of this manual) RECYCLING INFORMATION This electronic product must not be disposed of in municipal waste. To preserve
-
 1
1 -
 2
2 -
 3
3 -
 4
4 -
 5
5 -
 6
6 -
 7
7 -
8
-
9
-
10
-
11
-
12
-
13
-
14
-
15
-
16
-
17
-
18
-
19
-
20
-
21
-
22
-
23
-
24
-
25
-
26
-
27
-
28
-
29
-
30
-
31
-
32
-
33
-
34
-
35
-
36
 |
 |
Serial Number
Decal
Model No. HETL15812.0
Serial No.
Write the serial number in the space
above for reference.
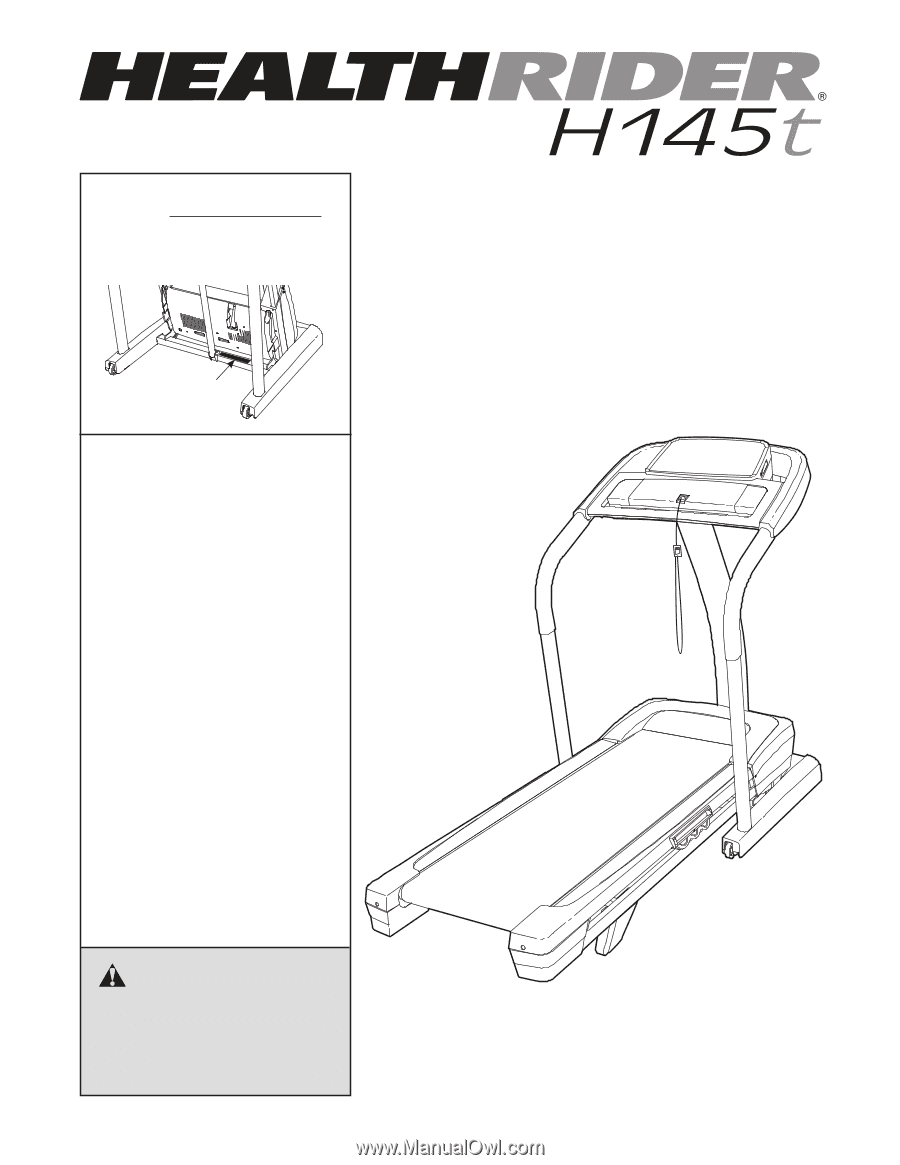
CAUTION
Read all precautions and instruc-
tions in this manual before using
this equipment. Save this manual
for future reference.
USER°S MANUAL
www.iconeurope.com
QUESTIONS?
If you have questions, or if there are
missing parts, please contact us:
UNITED KINGDOM
Call:
08457 089 009
From Ireland:
053 92 36102
Website:
www.iconsupport.eu
E-mail:
Write:
ICON Health & Fitness, Ltd.
c/o HI Group PLC
Express Way
CASTLEFORD
WF10 5QJ
UNITED KINGDOM
AUSTRALIA
Call:
1800 993 770
E-mail:
Write:
ICON Health & Fitness
PO Box 635
WINSTON HILLS NSW 2153
AUSTRALIA