HP Designjet 700 HP DesignJet 700 user guide - Page 24
Set Up Checklist
 |
View all HP Designjet 700 manuals
Add to My Manuals
Save this manual to your list of manuals |
Page 24 highlights
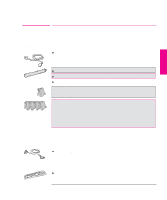
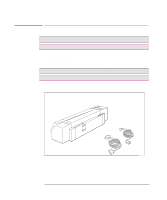
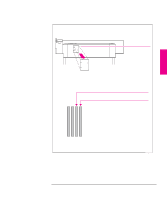
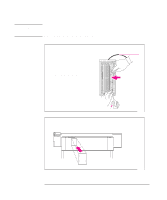
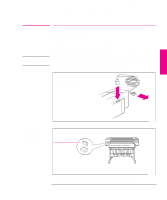
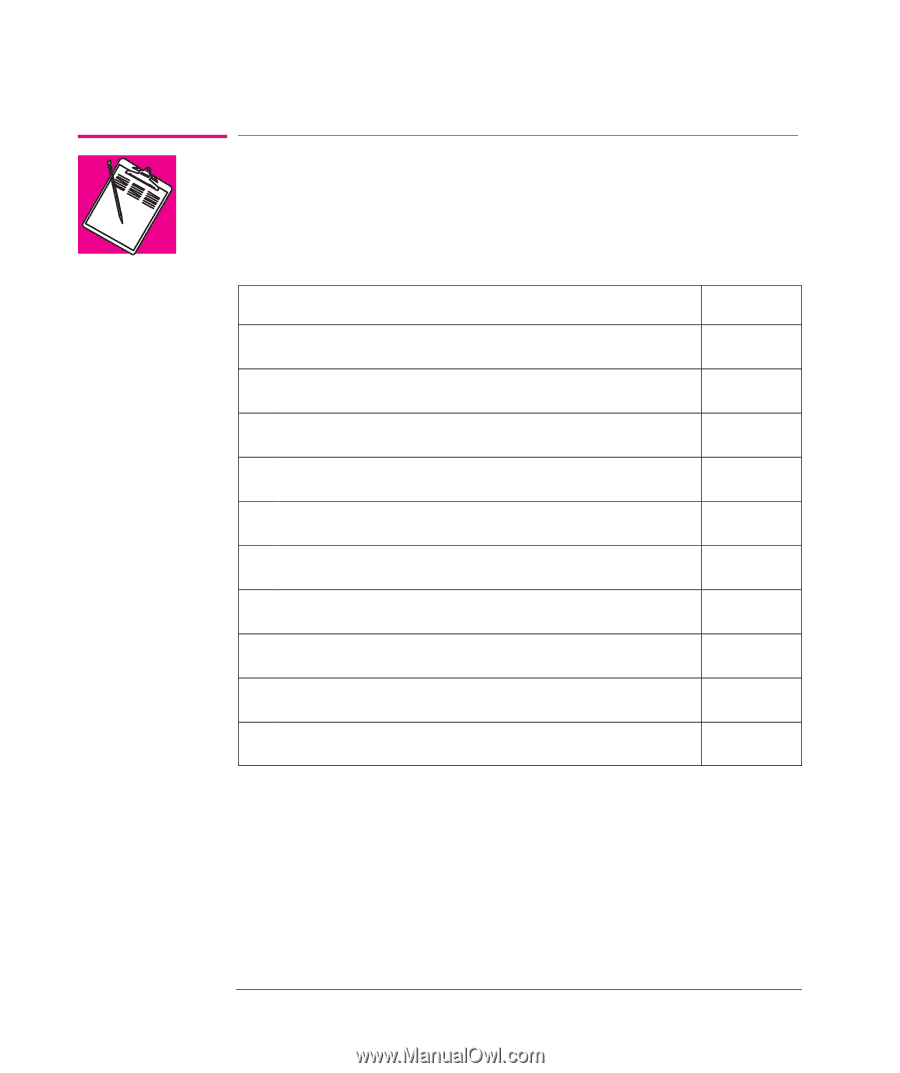
Setting Up the Plotter Set Up Checklist Set Up Checklist You should already have unpacked and assembled the plotter, following the Assembly Instructions in the box. Now you can set up the plotter, using the checklist below as you complete each task explained in this chapter. Task Done? (n) 1 Check that you have all the items required. 2 Install memory expansion modules (Optional). 3 Switch on and change the language from English (Optional). 4 Load media. 5 Load the print-cartridge(s). 6 Print the demonstration plot (Optional). 7 Connect the plotter to your computer. 8 Configure the interface (Serial interface users only). 9 Set up your software. 10 Print a test plot. 1-4
-
 1
1 -
2
-
3
-
4
-
5
-
6
-
7
-
8
-
9
-
10
-
11
-
12
-
13
-
14
-
15
-
16
-
17
-
18
-
 19
19 -
 20
20 -
 21
21 -
 22
22 -
 23
23 -
 24
24 -
 25
25 -
 26
26 -
 27
27 -
 28
28 -
 29
29 -
30
-
31
-
32
-
33
-
34
-
35
-
36
-
37
-
38
-
39
-
40
-
41
-
42
-
43
-
44
-
45
-
46
-
47
-
48
-
49
-
50
-
51
-
52
-
53
-
54
-
55
-
56
-
57
-
58
-
59
-
60
-
61
-
62
-
63
-
64
-
65
-
66
-
67
-
68
-
69
-
70
-
71
-
72
-
73
-
74
-
75
-
76
-
77
-
78
-
79
-
80
-
81
-
82
-
83
-
84
-
85
-
86
-
87
-
88
-
89
-
90
-
91
-
92
-
93
-
94
-
95
-
96
-
97
-
98
-
99
-
100
-
101
-
102
-
103
-
104
-
105
-
106
-
107
-
108
-
109
-
110
-
111
-
112
-
113
-
114
-
115
-
116
-
117
-
118
-
119
-
120
-
121
-
122
-
123
-
124
-
125
-
126
-
127
-
128
-
129
-
130
-
131
-
132
-
133
-
134
-
135
-
136
-
137
-
138
-
139
-
140
-
141
-
142
-
143
-
144
-
145
-
146
-
147
-
148
-
149
-
150
-
151
-
152
-
153
-
154
-
155
-
156
-
157
-
158
-
159
-
160
-
161
-
162
-
163
-
164
-
165
-
166
-
167
-
168
-
169
-
170
-
171
-
172
-
173
-
174
-
175
-
176
-
177
-
178
-
179
-
180
-
181
-
182
-
183
-
184
-
185
-
186
-
187
-
188
-
189
-
190
-
191
-
192
-
193
-
194
-
195
-
196
-
197
-
198
-
199
-
200
-
201
-
202
-
203
-
204
-
205
-
206
-
207
-
208
-
209
-
210
-
211
-
212
-
213
-
214
-
215
-
216
-
217
-
218
-
219
-
220
-
221
-
222
 |
 |
1-4
Set Up Checklist
You should already have unpacked and assembled the plotter, following the
Assembly Instructions in the box.
Now you can set up the plotter, using the
checklist below as you complete each task explained in this chapter.
Task
Done? (
n
)
1
Check that you have all the items required.
2
Install memory expansion modules
(Optional)
.
3
Switch on and change the language from English
(Optional)
.
4
Load media.
5
Load the print-cartridge(s).
6
Print the demonstration plot
(Optional)
.
7
Connect the plotter to your computer.
8
Configure the interface
(Serial interface users only)
.
9
Set up your software.
10
Print a test plot.
Setting Up the Plotter
Set Up Checklist