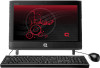
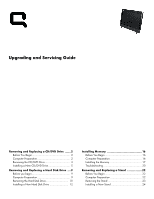
HP Presario CQ1 Upgrading and Servicing Guide - Page 6
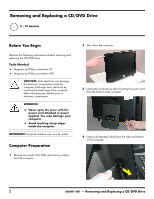
easily. Use caution when you remove it., The screw is very small and can be lost
 |
View all HP Presario CQ1 manuals
Add to My Manuals
Save this manual to your list of manuals |
Page 6 highlights
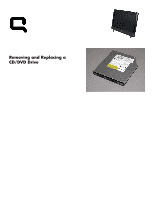
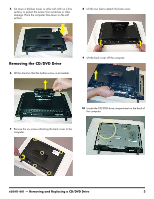
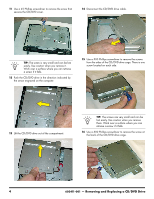
11 Use a #2 Phillips screwdriver to remove the screw that secures the CD/DVD cover. 14 Disconnect the CD/DVD drive cable. TIP: The screw is very small and can be lost easily. Use caution when you remove it. Work over a surface where you can retrieve a screw if it falls. 12 Push the CD/DVD drive in the direction indicated by the arrow engraved on the computer. 15 Use a #00 Phillips screwdriver to remove the screws from the sides of the CD/DVD drive cage. There is one screw located on each side. 13 Lift the CD/DVD drive out of the compartment. TIP: The screws are very small and can be lost easily. Use caution when you remove them. Work over a surface where you can retrieve a screw if it falls. 16 Use a #00 Phillips screwdriver to remove the screw at the back of the CD/DVD drive cage. 4 603411-001 - Removing and Replacing a CD/DVD Drive
-
 1
1 -
 2
2 -
 3
3 -
 4
4 -
 5
5 -
 6
6 -
 7
7 -
 8
8 -
 9
9 -
 10
10 -
 11
11 -
 12
12 -
13
-
14
-
15
-
16
-
17
-
18
-
19
-
20
-
21
-
22
-
23
-
24
-
25
-
26
-
27
-
28
 |
 |
