Intel DG965WH Product Guide - Page 65
Configuring for RAID (Intel® Matrix Storage Technology), SATA Port Mapping, Technology - and windows 7
 |
View all Intel DG965WH manuals
Add to My Manuals
Save this manual to your list of manuals |
Page 65 highlights
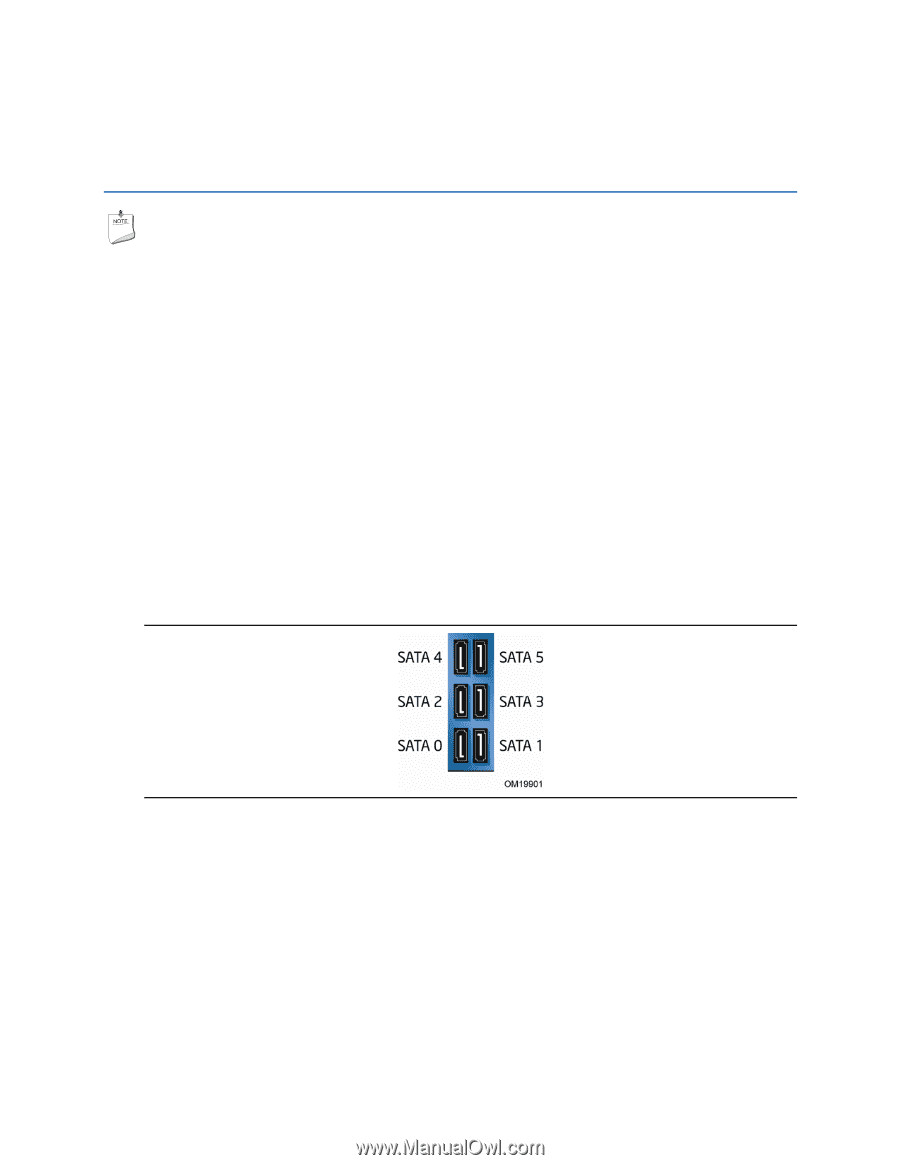
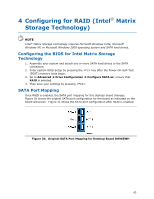
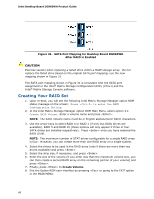
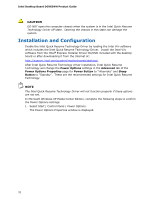
4 Configuring for RAID (Intel® Matrix Storage Technology) NOTE Intel® Matrix Storage Technology requires Microsoft Windows Vista, Microsoft Windows XP, or Microsoft Windows 2000 operating system and SATA hard drives. Configuring the BIOS for Intel Matrix Storage Technology 1. Assemble your system and attach one or more SATA hard drives to the SATA connectors. 2. Enter system BIOS Setup by pressing the key after the Power-On-Self-Test (POST) memory tests begin. 3. Go to Advanced Drive Configuration Configure SATA as; ensure that RAID is selected. 4. Then save your settings by pressing . SATA Port Mapping Once RAID is enabled, the SATA port mapping for this desktop board changes. Figure 30 shows the original SATA port configuration for the board as indicated on the board silkscreen. Figure 31 shows the SATA port configuration after RAID is enabled. Figure 30. Original SATA Port Mapping for Desktop Board DG965WH 65
-
 1
1 -
2
-
3
-
4
-
5
-
6
-
7
-
8
-
9
-
10
-
11
-
12
-
13
-
14
-
15
-
16
-
17
-
18
-
19
-
20
-
21
-
22
-
23
-
24
-
25
-
26
-
27
-
28
-
29
-
30
-
31
-
32
-
33
-
34
-
35
-
36
-
37
-
38
-
39
-
40
-
41
-
42
-
43
-
44
-
45
-
46
-
47
-
48
-
49
-
50
-
51
-
52
-
53
-
54
-
55
-
56
-
57
-
58
-
59
-
 60
60 -
 61
61 -
 62
62 -
 63
63 -
 64
64 -
 65
65 -
 66
66 -
 67
67 -
 68
68 -
 69
69 -
 70
70 -
71
-
72
-
73
-
74
-
75
-
76
-
77
-
78
-
79
-
80
-
81
-
82
-
83
-
84
 |
 |