Lenovo A600 Lenovo IdeaCentre A600 Hardware Replacement Guide V1.0 - Page 29
User Guide, Hardware, Maintenance Manual
 |
UPC - 884942547713
View all Lenovo A600 manuals
Add to My Manuals
Save this manual to your list of manuals |
Page 29 highlights
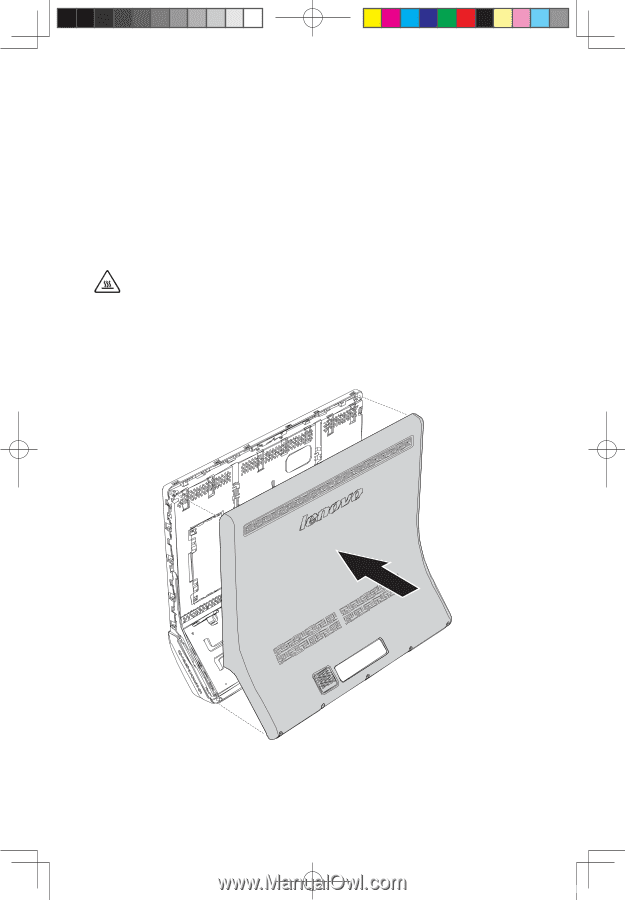
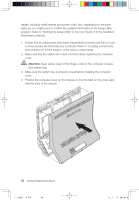
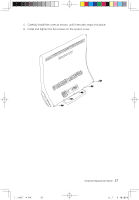
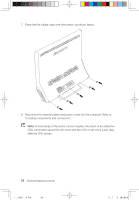
cables, including wired internet and power cords. Also, depending on the parts replaced, you might need to confirm the updated information in the Setup Utility program. Refer to "Starting the Setup Utility" in the User Guide or in the Hardware Maintenance Manual. 1. Ensure that all components have been reassembled correctly and that no tools or loose screws are left inside your computer. Refer to "Locating components and connectors" for the location of the various components. 2. Make sure that the cables are routed correctly before replacing the computer cover. Attention: Keep cables clear of the hinges, sides of the computer chassis, and system bay. 3. Make sure the system bay is properly closed before installing the computer cover. 4. Position the computer cover on the chassis so that the tabs on the cover align with the slots of the chassis. 26 Hardware Replacement Guide 31036449_A6_HRG_EN.indd 26 2009.1.12 3:50:39 PM
-
 1
1 -
2
-
3
-
4
-
5
-
6
-
7
-
8
-
9
-
10
-
11
-
12
-
13
-
14
-
15
-
16
-
17
-
18
-
19
-
20
-
21
-
22
-
23
-
 24
24 -
 25
25 -
 26
26 -
 27
27 -
 28
28 -
 29
29 -
 30
30 -
 31
31 -
 32
32 -
 33
33
 |
 |