Lexmark Interpret S402 Fax Guide - Page 18
Sending faxes, Tips for sending faxes, Sending faxes using the printer control panel - driver
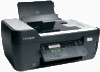 |
View all Lexmark Interpret S402 manuals
Add to My Manuals
Save this manual to your list of manuals |
Page 18 highlights
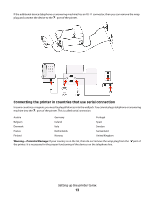
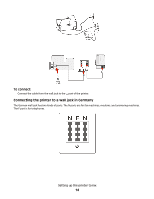
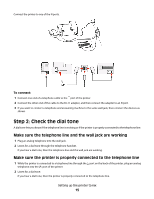
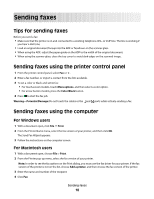
Sending faxes Tips for sending faxes Before you send a fax: • Make sure that the printer is on and connected to a working telephone, DSL, or VoIP line. The line is working if you hear a dial tone. • Load an original document faceup into the ADF or facedown on the scanner glass. • When using the ADF, adjust the paper guide on the ADF to the width of the original document. • When using the scanner glass, close the top cover to avoid dark edges on the scanned image. Sending faxes using the printer control panel 1 From the printer control panel, select Fax or . 2 Enter a fax number, or import a contact from the lists available. 3 To set a color or black-and-white fax: • For touch-screen models, touch More options, and then select a color option. • For arrow button models, press the Color/Black button. 4 Press to start the fax job. Warning-Potential Damage: Do not touch the cables or the and ports while actively sending a fax. Sending faxes using the computer For Windows users 1 With a document open, click File Print. 2 From the Printer Name menu, select the fax version of your printer, and then click OK. The Send Fax Wizard appears. 3 Follow the instructions on the computer screen. For Macintosh users 1 With a document open, choose File > Print. 2 From the Printer pop-up menu, select the fax version of your printer. Note: In order to see the fax options on the Print dialog, you must use the fax driver for your printer. If the fax version of the printer is not on the list, choose Add a printer, and then choose the fax version of the printer. 3 Enter the name and number of the recipient. 4 Click Fax. Sending faxes 18
-
 1
1 -
2
-
3
-
4
-
5
-
6
-
7
-
8
-
9
-
10
-
11
-
12
-
 13
13 -
 14
14 -
 15
15 -
 16
16 -
 17
17 -
 18
18 -
 19
19 -
 20
20 -
 21
21 -
 22
22 -
 23
23 -
24
 |
 |