Lexmark X945e Quick Reference - Page 1
Lexmark X945e Manual
 |
View all Lexmark X945e manuals
Add to My Manuals
Save this manual to your list of manuals |
Page 1 highlights
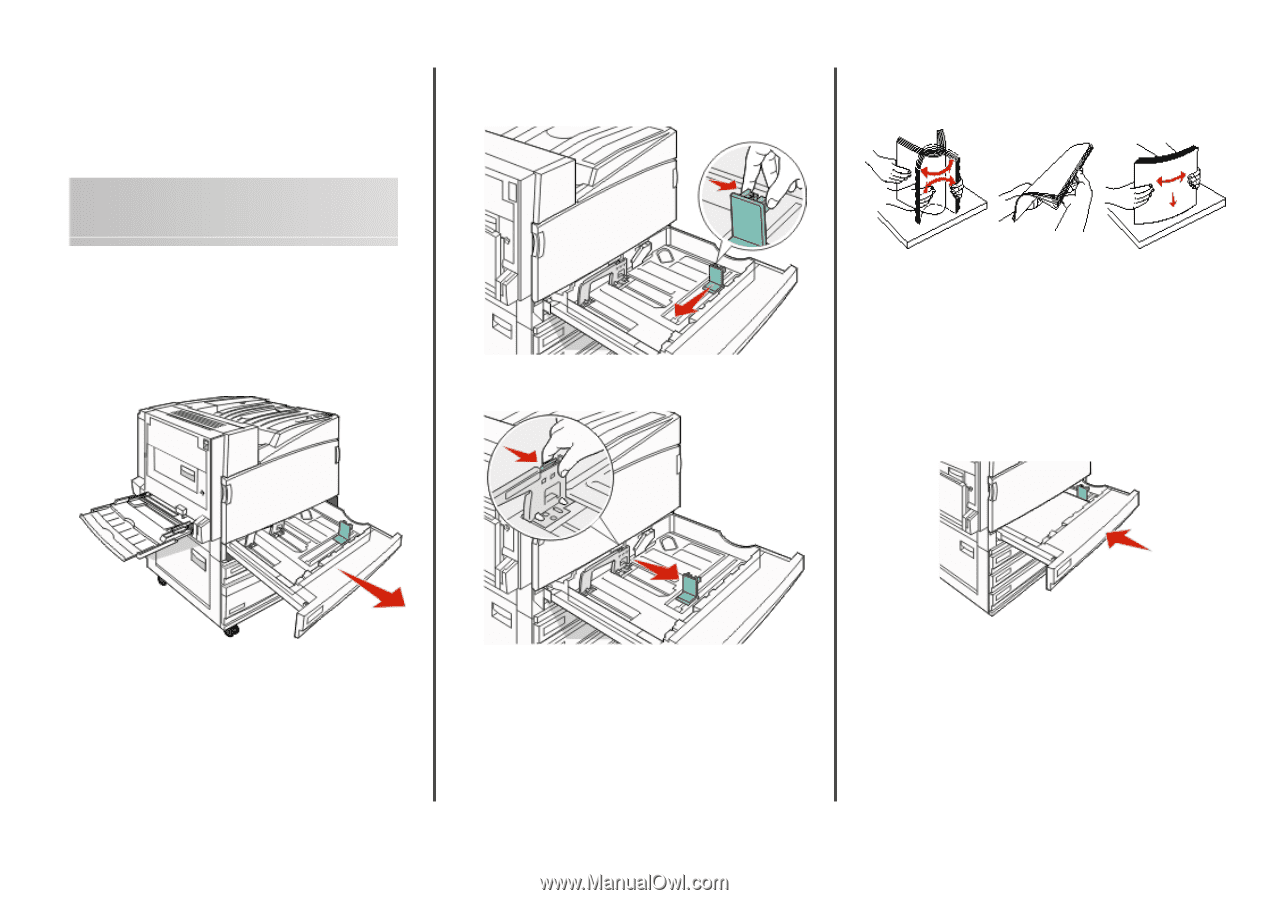
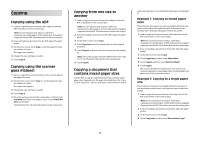
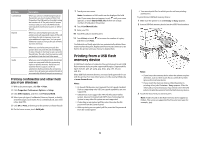
Lexmark™ X94x Quick Reference Loading paper and specialty media Loading the 520-sheet trays The printer has a standard 520-sheet tray (Tray 1), and it may have one or more optional 520-sheet trays. All 520-sheet trays support the same paper sizes and types. Paper may be loaded in the trays in either the long-edge or short-edge orientation. 1 Grasp the handle, and pull the tray out. 2 Squeeze the width guide tabs together as shown, and move the width guide to the correct position for the paper size being loaded. 3 Squeeze the length guide tab inward as shown, and slide the guide to the correct position for the paper size being loaded. 4 Flex the sheets back and forth to loosen them, and then fan them. Do not fold or crease the paper. Straighten the edges on a level surface. 5 Load the paper stack with the recommended print side faceup. Load the paper in either the long-edge or short-edge orientation as shown below: Notes: • Load sizes larger than A4 in the short-edge orientation. • Paper must be loaded in the short-edge orientation to create booklets if the optional booklet finisher is installed. 6 Make sure the paper guides are secure against the edges of the paper. 7 Align the tray, and insert it. Note: Use the size indicators on the bottom of the tray to help position the guides. 8 If a different type of paper was loaded than the type previously loaded in the tray, change the Paper Type setting for the tray from the control panel. 1
-
 1
1 -
 2
2 -
 3
3 -
 4
4 -
 5
5 -
 6
6 -
 7
7 -
8
-
9
-
10
-
11
-
12
 |
 |