Linksys WRE54G-RM User Guide - Page 14
Connecting the Wireless-G Range Expander - ip address
 |
UPC - 745883588213
View all Linksys WRE54G-RM manuals
Add to My Manuals
Save this manual to your list of manuals |
Page 14 highlights
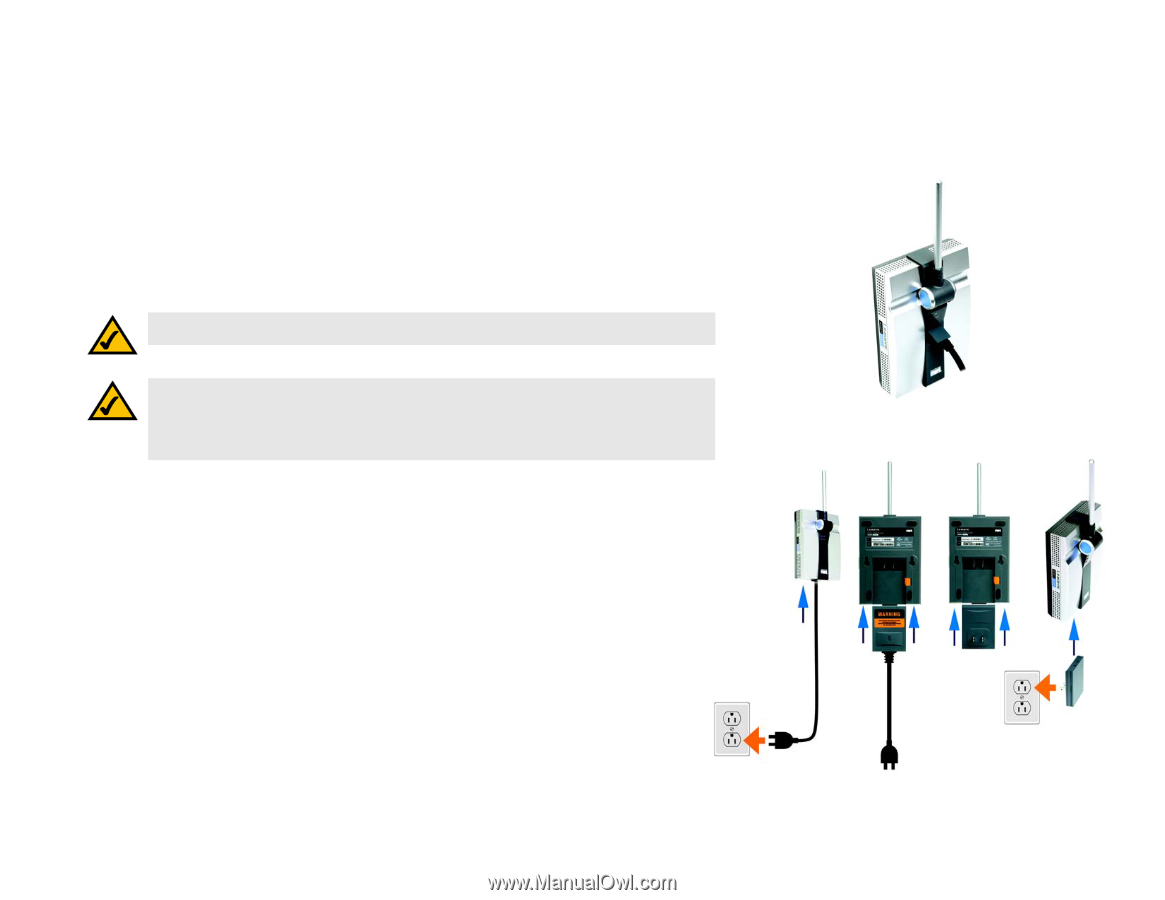
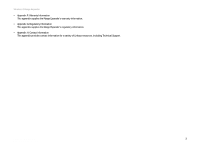
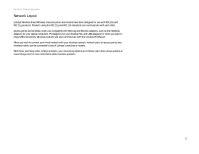
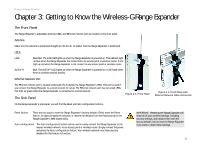
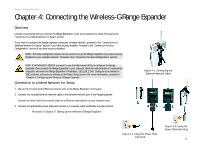
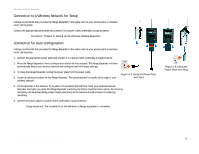
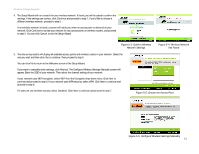
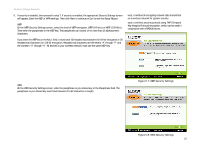
Wireless-G Range Expander Chapter 4: Connecting the Wireless-G Range Expander Overview Linksys recommends that you connect the Range Expander to your wired network for setup. Proceed to the "Connection to a Wired Network for Setup" section. If you want to configure the Range Expander using your wireless network, proceed to the "Connection to a Wireless Network for Setup" section if you have security enabled. Proceed to the "Connection for Auto Configuration" section if you have security disabled. NOTE: The Auto configuration button can be used to set up the Range Expander if you have security disabled on your wireless network. Proceed to the "Connection for Auto Configuration" section. NOTE TO ADVANCED USERS:If you want to use the Web-based Utility to configure the Range Expander, then connect the Range Expander to your network. Open the web browser of a networked computer, and enter the Range Expander's IP address, 192.168.1.240. Configure your network's SSID, channel, and security settings on the Basic Setup screen. For more information, proceed to "Chapter 6: Configuring the Wireless-G Range Expander." Connection to a Wired Network for Setup 1. Flip up the lid covering the Ethernet network port on the Range Expander's front panel. 2. Connect the included Ethernet network cable to the Ethernet network port of the Range Expander. Connect the other end of the network cable to an Ethernet network port on your network router. 3. Connect the appropriate power plate and connect it to a power outlet, preferably a surge protector. Proceed to "Chapter 5: Setting Up the Wireless-G Range Expander." Figure 4-1: Connecting the Ethernet Network Cable Chapter 4: Connecting the Wireless-G Range Expander Overview Figure 4-2: Using the Power Plate with Cord Figure 4-3: Using the Power Plate with Plug 8
-
 1
1 -
2
-
3
-
4
-
5
-
6
-
7
-
8
-
 9
9 -
 10
10 -
 11
11 -
 12
12 -
 13
13 -
 14
14 -
 15
15 -
 16
16 -
 17
17 -
 18
18 -
 19
19 -
20
-
21
-
22
-
23
-
24
-
25
-
26
-
27
-
28
-
29
-
30
-
31
-
32
-
33
-
34
-
35
-
36
-
37
-
38
-
39
-
40
-
41
-
42
-
43
-
44
-
45
-
46
 |
 |