Memorex MMP8567 Manual - Page 73
Downloading And Transferring Files
 |
UPC - 749720010066
View all Memorex MMP8567 manuals
Add to My Manuals
Save this manual to your list of manuals |
Page 73 highlights
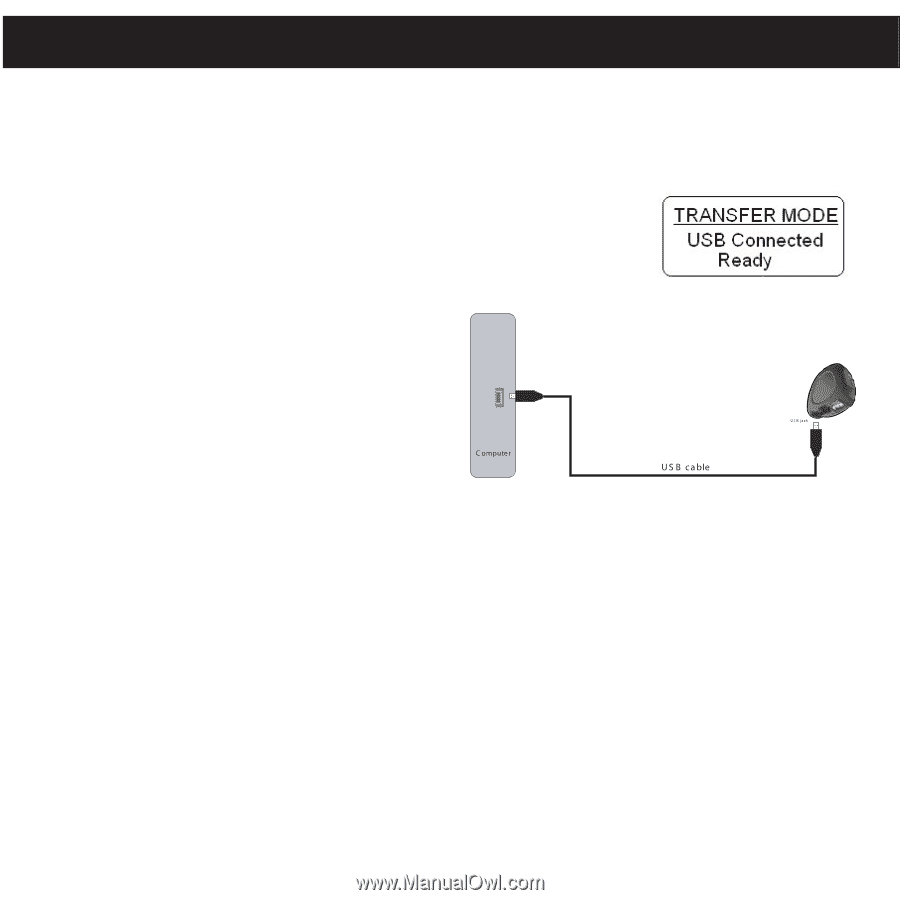
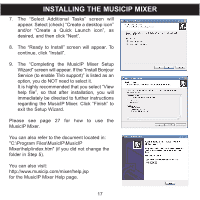
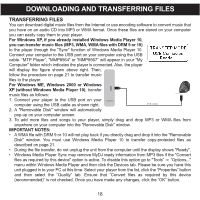
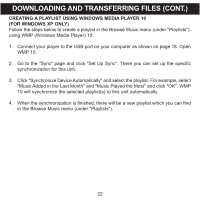
DOWNLOADING AND TRANSFERRING FILES TRANSFERRING FILES You can download digital music files from the Internet or use encoding software to convert music that you have on an audio CD into MP3 or WMA format. Once these files are stored on your computer you can easily copy them to your player. For Windows XP, if you already installed Windows Media Player 10, you can transfer music files (MP3, WMA, WMA files with DRM 9 or 10) to the player through the "Sync" function of Windows Media Player 10. Connect your computer to the USB port on your computer using the USB cable. "MTP Player", "MMP8564" or "MMP8567" will appear in your "My Computer" folder which indicates the player is connected. Also, the player will display the figure shown above right. Then, follow the procedure on page 21 to transfer music files to the player. For Windows ME, Windows 2000 or Windows XP (without Windows Media Player 10), transfer music files as follows: 1. Connect your player to the USB port on your computer using the USB cable as shown right. 2. A "Removable Disk" window will automatically pop-up on your computer screen. 3. To add more files and songs to your player, simply drag and drop MP3 or WMA files from anywhere on your computer into the "Removable Disk" window. IMPORTANT NOTES: • A WMA file with DRM 9 or 10 will not play back if you directly drag and drop it into the "Removable Disk" window. You must use Windows Media Player 10 to transfer copy-protected files as described on page 21. • During the file transfer, do not unplug the unit from the computer until the display shows "Ready". • Windows Media Player Sync may remove MyDJ ready information from MP3 files if the "Convert files as required by this device" option is active. To disable this option go to "Tools" c "Options..." menu within Windows Media Player and then click the Devices tab. Please be sure you have this unit plugged in to your PC at this time. Select your player from the list, click the "Properties" button and then select the "Quality" tab. Ensure that "Convert files as required by this device (recommended)" is not checked. Once you have made any changes, click the "OK" button. 18
-
 1
1 -
2
-
3
-
4
-
5
-
6
-
7
-
8
-
9
-
10
-
11
-
12
-
13
-
14
-
15
-
16
-
17
-
18
-
19
-
20
-
21
-
22
-
23
-
24
-
25
-
26
-
27
-
28
-
29
-
30
-
31
-
32
-
33
-
34
-
35
-
36
-
37
-
38
-
39
-
40
-
41
-
42
-
43
-
44
-
45
-
46
-
47
-
48
-
49
-
50
-
51
-
52
-
53
-
54
-
55
-
56
-
57
-
58
-
59
-
60
-
61
-
62
-
63
-
64
-
65
-
66
-
67
-
 68
68 -
 69
69 -
 70
70 -
 71
71 -
 72
72 -
 73
73 -
 74
74 -
 75
75 -
 76
76 -
 77
77 -
 78
78 -
79
-
80
-
81
-
82
-
83
-
84
-
85
-
86
-
87
-
88
-
89
-
90
-
91
-
92
-
93
-
94
-
95
-
96
-
97
-
98
-
99
-
100
-
101
-
102
-
103
-
104
-
105
-
106
-
107
-
108
-
109
-
110
 |
 |