Oki C9600n Guide: Software Installation 9600 Series (American English) - Page 13
Macintosh, Installation, OS 9.1 to 9.2.x - oki printer
 |
View all Oki C9600n manuals
Add to My Manuals
Save this manual to your list of manuals |
Page 13 highlights
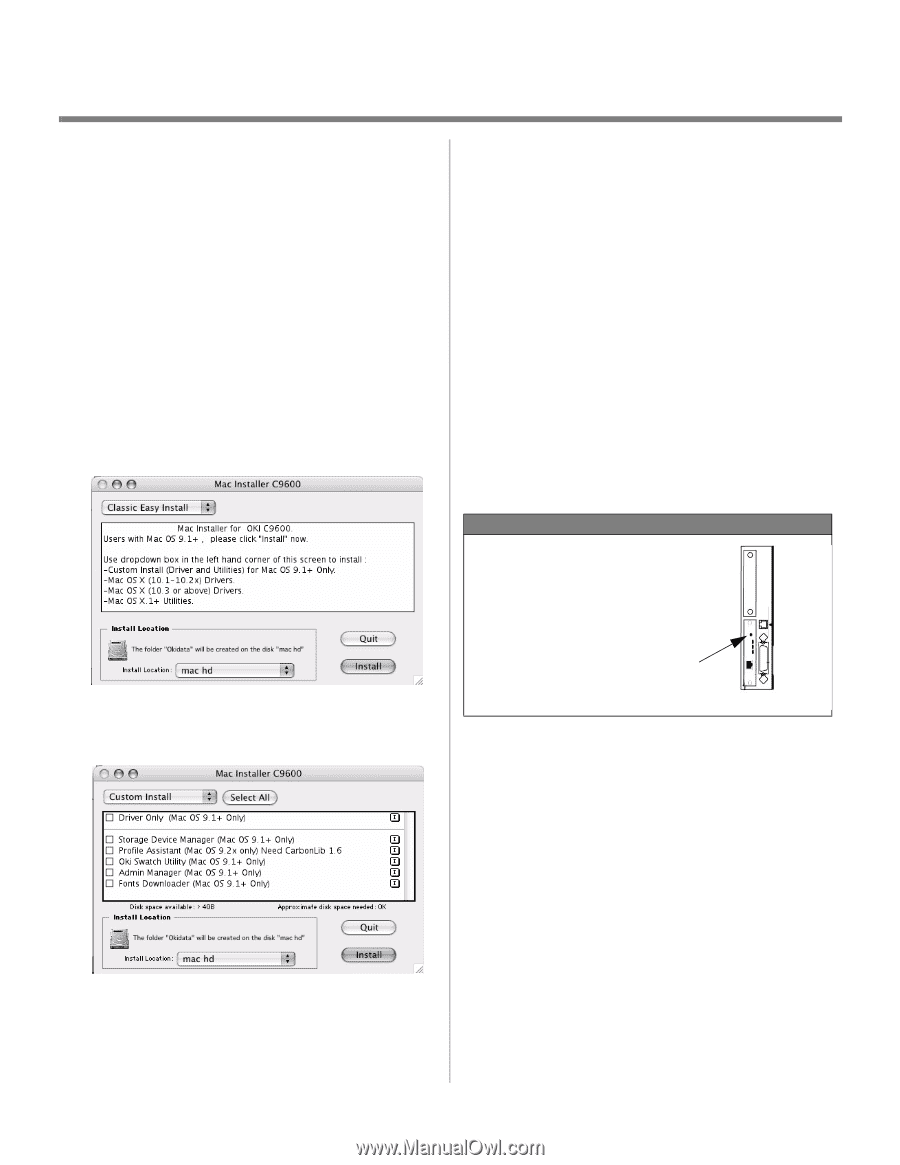
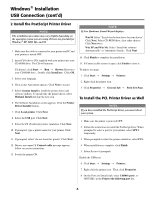
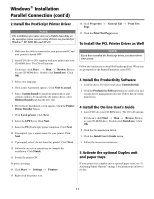
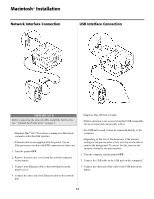
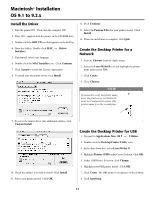
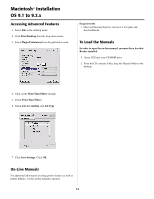
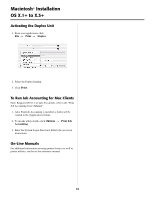
Macintosh® Installation OS 9.1 to 9.2.x Install the Driver 1. Turn the printer ON. Then, turn the computer ON. 2. Place CD1, supplied with the printer, in the CD-ROM drive. 3. Double-click the OKI CD icon that appears on the desktop. 4. Open the folders. Double-click MAC → Driver Installers. 5. If prompted, select your language. 6. Double-click the MAC Installer icon. Click Continue. 7. Click Accept to accept the License Agreement. 8. To install only the printer driver, click Install. 12. Click Continue. 13. Select the Pantone Files for your printer model. Click Install. 14. When the installation is complete, click Quit. Create the Desktop Printer for a Network 1. Activate Chooser from the Apple menu. 2. Select the LaserWriter8 icon and highlight the printer name (print server ID#). 3. Click Create. 4. Close Chooser. NOTE If you need to verify the printer name, press the print server test button to print the Configuration pages. The printer name is on the second page. 9. To select the printer driver plus additional utilities, click Custom Install. 10. Check the utilities you want to install. Click Install. 11. Select your printer model. Click OK. Create the Desktop Printer for USB 1. Navigate to Applications Mac OS 9 → Utilities. 2. Double-click the Desktop Printer Utility icon. 3. In the drop-down box, select LaserWriter 8. 4. Highlight Printer (USB) under Create Desktop. Click OK. 5. Under USB Printer Selection, click Change. 6. Highlight your OKI printer model. Click OK. 7. Click Create. The OKI printer icon appears on the desktop. 8. Click AutoSetup. 13
-
 1
1 -
2
-
3
-
4
-
5
-
6
-
7
-
 8
8 -
 9
9 -
 10
10 -
 11
11 -
 12
12 -
 13
13 -
 14
14 -
 15
15 -
 16
16 -
 17
17 -
 18
18 -
19
-
20
 |
 |