Oki C9600n Guide: Software Installation 9600 Series (American English) - Page 2
Network Installation, Windows
 |
View all Oki C9600n manuals
Add to My Manuals
Save this manual to your list of manuals |
Page 2 highlights
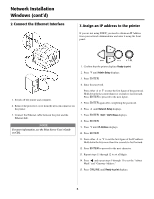
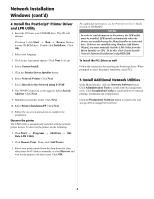
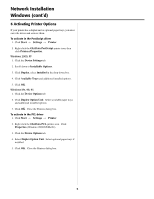
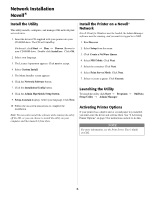
Network Installation Windows® Overview Complete these steps to install your printer on a network: 1 Install the Ferrite Core. 2 Connect the Ethernet® Interface. 1 Install the Ferrite Core IMPORTANT! This safeguard is an FCC requirement. In order to reduce electromagnetic interference-"noise" that interferes with TVs or other appliances-you must place the enclosed ferrite core on the network cable connected to your printer. Here is how to do it: 1. Disconnect the network cable from the printer, if necessary. 2. Loop the cable if necessary to keep the ferrite core in place. 3 Assign an IP address to the printer. 4 Install the printer driver and OKI LPR utility. 5 Install additional network utilities. 6 Activate printer options. 3. Place the open core about 1 inch from the cable connector on the printer end. 4. Press the two halves of the core together until they click shut. 2
-
 1
1 -
 2
2 -
 3
3 -
 4
4 -
 5
5 -
 6
6 -
 7
7 -
 8
8 -
9
-
10
-
11
-
12
-
13
-
14
-
15
-
16
-
17
-
18
-
19
-
20
 |
 |
