Pfaff 75 Owner's Manual - Page 39
Pfaff 75 Manual
 |
View all Pfaff 75 manuals
Add to My Manuals
Save this manual to your list of manuals |
Page 39 highlights
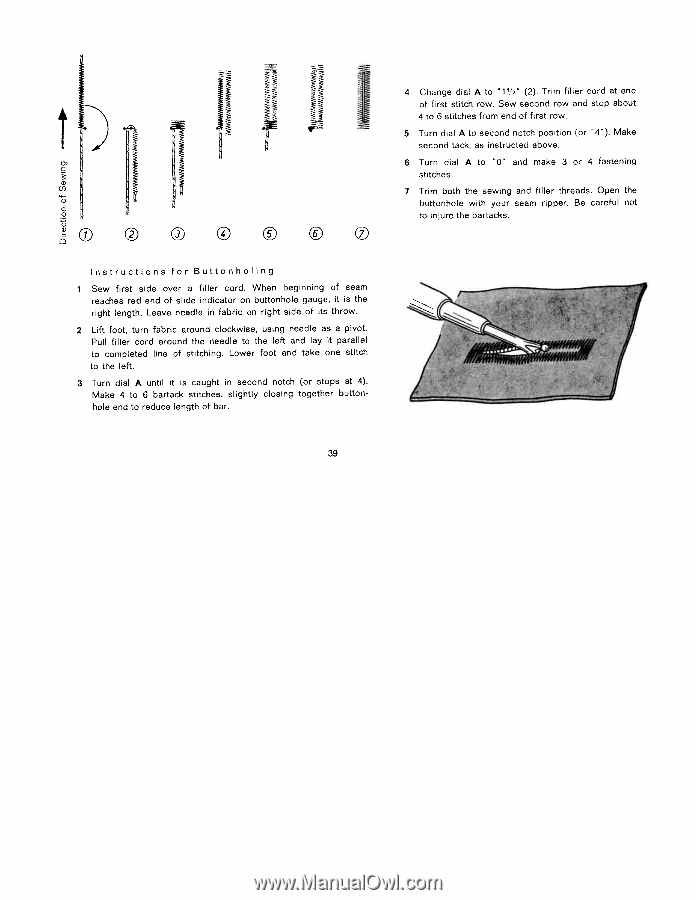
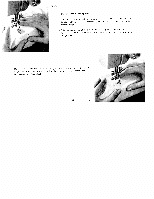
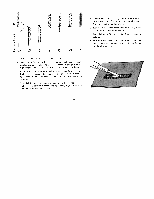
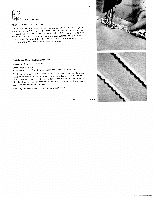
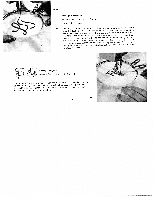
IS J 0© 0©© nstructi o ns for Butto nhol n g I Sew first side over a filler cord. When beginning of seam reaches red end of slide indicator on buttonhole gauge, it is the right length. Leave needle in fabric on right side of its throw. 2 Lift foot, turn fabric around clockwise, using needle as a pivot. Pull filler cord around the needle to the left and lay it parallel to completed line of stitching. Lower foot and take one stitch to the left. 3 Turn dial A until it is caught in second notch (or stops at 4). Make 4 to 6 bartack stitches, slightly closing together button hole end to reduce length of bar. 4 Change dial A to "11/2" (2). Trim filler cord at end of first stitch row. Sew second row and stop about 4 to 6 stitches from end of first row. 5 Turn dial A to second notch position (or 4'). Make second tack, as instructed above. 6 Turn dial A to '0" and make 3 or 4 fastening stitches. 7 Trim both the sewing and filler threads. Open the buttonhole with your seam ripper. Be careful not to injure the bartacks. 39
-
 1
1 -
2
-
3
-
4
-
5
-
6
-
7
-
8
-
9
-
10
-
11
-
12
-
13
-
14
-
15
-
16
-
17
-
18
-
19
-
20
-
21
-
22
-
23
-
24
-
25
-
26
-
27
-
28
-
29
-
30
-
31
-
32
-
33
-
 34
34 -
 35
35 -
 36
36 -
 37
37 -
 38
38 -
 39
39 -
 40
40 -
 41
41 -
 42
42 -
 43
43 -
 44
44 -
45
-
46
-
47
-
48
-
49
-
50
-
51
-
52
 |
 |