Pioneer FH-P5000MP Installation Manual - Page 41
Using the digital signal, processor, Using the graphic equalizer, Digital Signal Processor
 |
View all Pioneer FH-P5000MP manuals
Add to My Manuals
Save this manual to your list of manuals |
-
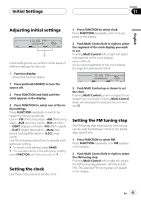
 1
1 -
2
-
3
-
4
-
5
-
6
-
7
-
8
-
9
-
10
-
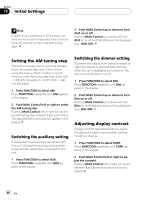
11
-
12
-
13
-
14
-
15
-
16
-
17
-
18
-
19
-
20
-
21
-
22
-
23
-
24
-
25
-
26
-
27
-
28
-
29
-
30
-
31
-
32
-
33
-
34
-
35
-
 36
36 -
 37
37 -
 38
38 -
 39
39 -
 40
40 -
 41
41 -
 42
42 -
 43
43 -
 44
44 -
 45
45 -
 46
46 -
47
-
48
-
49
-
50
-
51
-
52
-
53
-
54
-
55
-
56
-
57
-
58
-
59
-
60
-
61
-
62
-
63
-
64
-
65
-
66
-
67
-
68
-
69
-
70
-
71
-
72
-
73
-
74
-
75
-
76
-
77
-
78
-
79
-
80
-
81
-
82
-
83
-
84
-
85
-
86
-
87
-
88
-
89
-
90
-
91
-
92
-
93
-
94
-
95
-
96
-
97
-
98
-
99
-
100
-
101
-
102
-
103
-
104
-
105
-
106
-
107
-
108
-
109
-
110
-
111
-
112
-
113
-
114
-
115
-
116
-
117
-
118
-
119
-
120
-
121
-
122
-
123
-
124
-
125
-
126
-
127
-
128
-
129
-
130
-
131
-
132
-
133
-
134
-
135
-
136
-
137
-
138
-
139
-
140
-
141
-
142
-
143
-
144
-
145
-
146
-
147
-
148
-
149
-
150
-
151
-
152
-
153
-
154
-
155
-
156
-
157
-
158
-
159
-
160
-
161
-
162
-
163
-
164
-
165
-
166
-
167
-
168
-
169
-
170
-
171
-
172
 |
 |
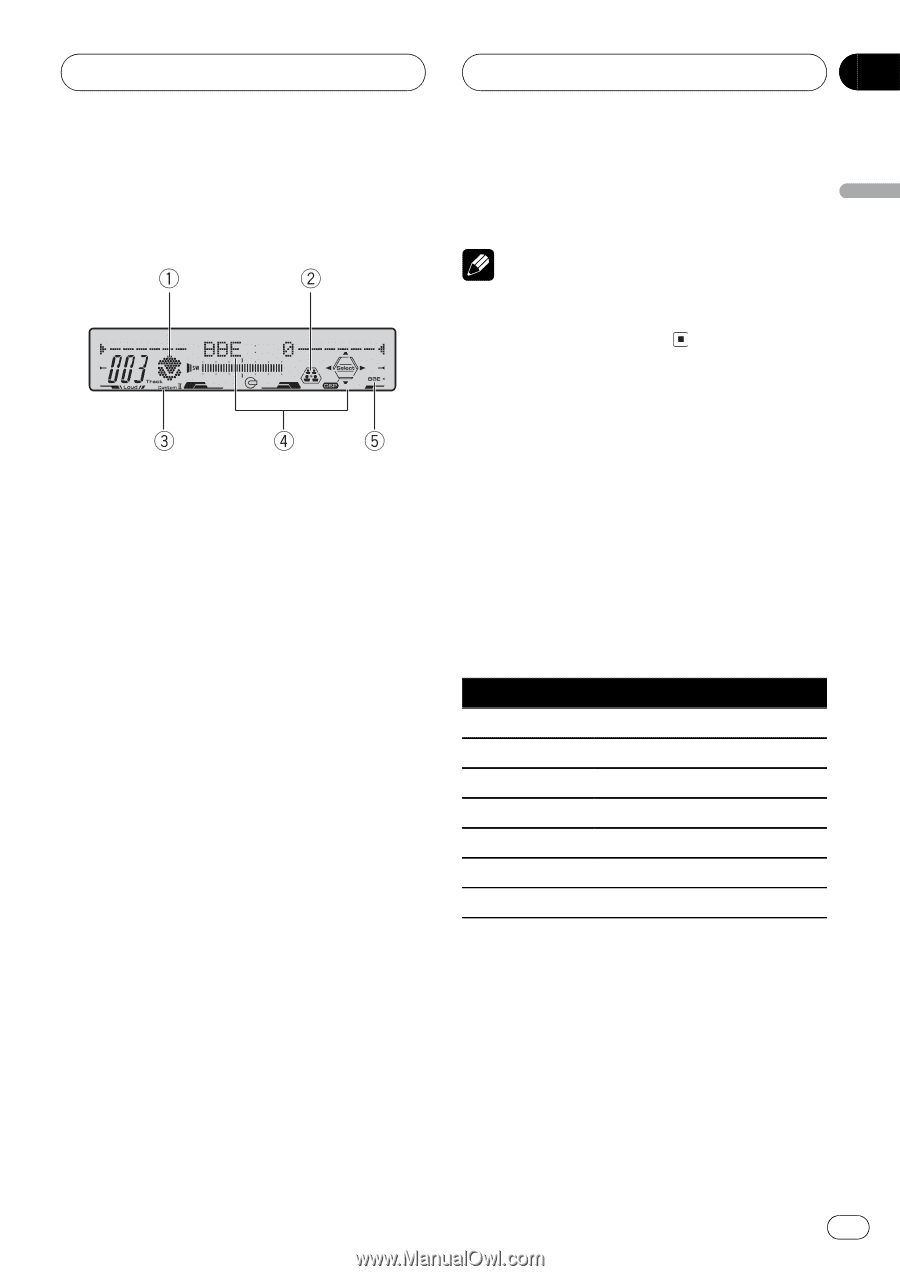
Using the digital signal
processor
The digital signal processor lets you control
many aspects of sound output including
equalization, sound field control and listening
position.
1
Preset equalizer indicator
Shows which equalizer preset is currently
selected.
2
Position indicator
Shows which listening position is currently
selected.
3
Custom indicator
Shows when custom equalizer curve is cur-
rently selected.
4
Function display
Shows the function status.
5
BBE indicator
Shows when BBE is turned on.
%
Press DSP to display the DSP function
names.
Press
DSP
repeatedly to switch between the
following functions:
PWRFL
(graphic equalizer)
³
50
(13-band gra-
phic equalizer)
³
Posi
(position selector)
³
SEDAN
(time alignment setting)
³
F-L
(time
alignment adjusting)
³
SFC
(BBE sound)
#
To return to the display of each source, press
BAND
.
Note
If you do not operate the DSP function within
about 30 seconds, the display is automatically re-
turned to the source display.
Using the graphic equalizer
The graphic equalizer lets you adjust the
equalization to match car interior acoustic
characteristics as desired.
Recalling equalizer curves
There are seven stored equalizer curves which
you can easily recall at any time. Here is a list
of the equalizer curves:
Display
Equalizer curve
S-Bas
Super bass
PWRFL
Powerful
NTRL
Natural
VOCAL
Vocal
FLAT
Flat
CTM1
Custom 1
CTM2
Custom 2
!
CTM1
and
CTM2
are adjusted equalizer
curves that you create. Adjustments can be
made with a 13-band graphic equalizer.
!
When
FLAT
is selected no supplement or
correction is made to the sound. This is
useful to check the effect of the equalizer
curves by switching alternatively between
FLAT
and a set equalizer curve.
Digital Signal Processor
En
41
English
Section
10