Pioneer FH-P5000MP Installation Manual - Page 43
Using the position selector, Using the time alignment, Digital Signal Processor - car stereo
 |
View all Pioneer FH-P5000MP manuals
Add to My Manuals
Save this manual to your list of manuals |
-
 1
1 -
2
-
3
-
4
-
5
-
6
-
7
-
8
-
9
-
10
-
11
-
12
-
13
-
14
-
15
-
16
-
17
-
18
-
19
-
20
-
21
-
22
-
23
-
24
-
25
-
26
-
27
-
28
-
29
-
30
-
31
-
32
-
33
-
34
-
35
-
36
-
37
-
 38
38 -
 39
39 -
 40
40 -
 41
41 -
 42
42 -
 43
43 -
 44
44 -
 45
45 -
 46
46 -
 47
47 -
 48
48 -
49
-
50
-
51
-
52
-
53
-
54
-
55
-
56
-
57
-
58
-
59
-
60
-
61
-
62
-
63
-
64
-
65
-
66
-
67
-
68
-
69
-
70
-
71
-
72
-
73
-
74
-
75
-
76
-
77
-
78
-
79
-
80
-
81
-
82
-
83
-
84
-
85
-
86
-
87
-
88
-
89
-
90
-
91
-
92
-
93
-
94
-
95
-
96
-
97
-
98
-
99
-
100
-
101
-
102
-
103
-
104
-
105
-
106
-
107
-
108
-
109
-
110
-
111
-
112
-
113
-
114
-
115
-
116
-
117
-
118
-
119
-
120
-
121
-
122
-
123
-
124
-
125
-
126
-
127
-
128
-
129
-
130
-
131
-
132
-
133
-
134
-
135
-
136
-
137
-
138
-
139
-
140
-
141
-
142
-
143
-
144
-
145
-
146
-
147
-
148
-
149
-
150
-
151
-
152
-
153
-
154
-
155
-
156
-
157
-
158
-
159
-
160
-
161
-
162
-
163
-
164
-
165
-
166
-
167
-
168
-
169
-
170
-
171
-
172
 |
 |
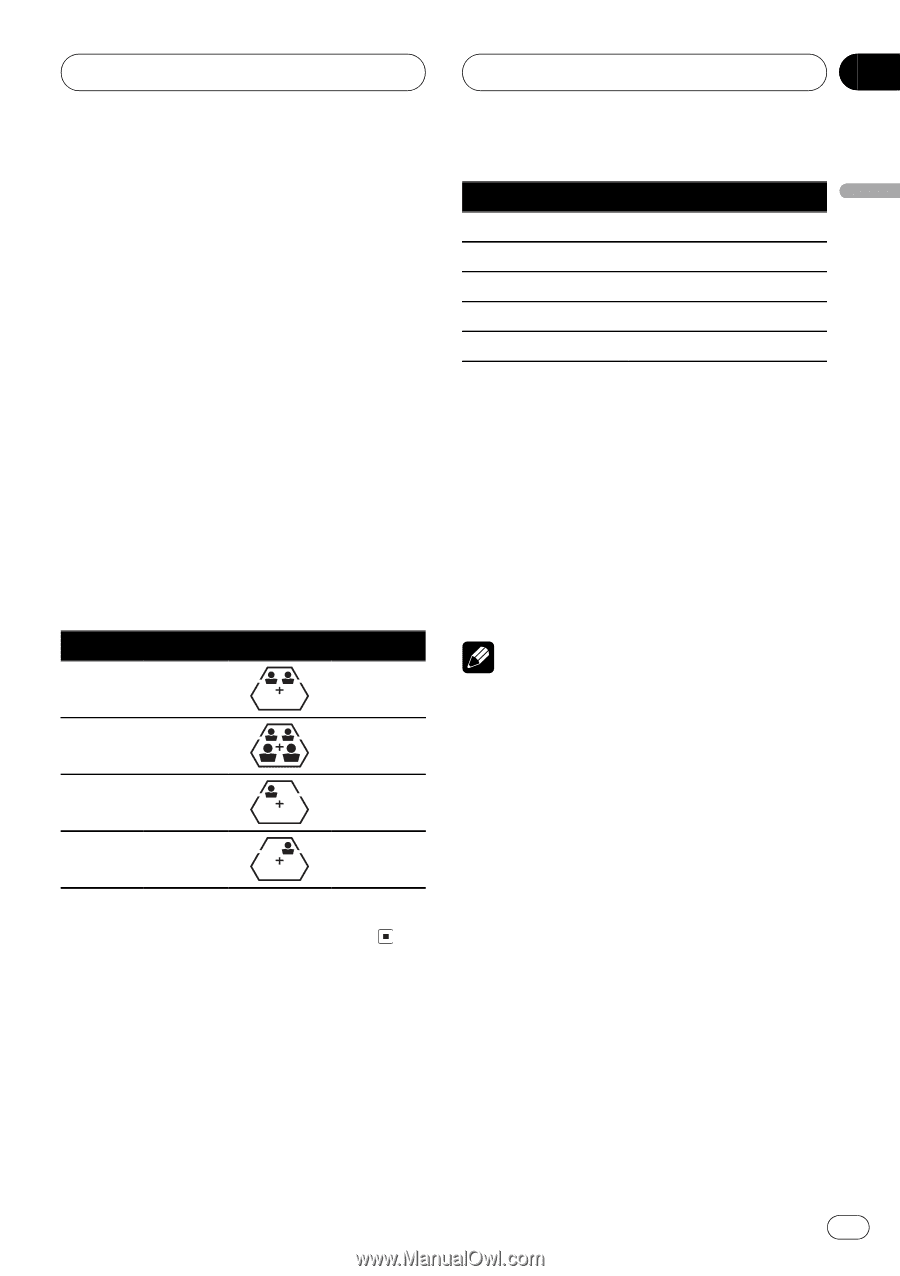
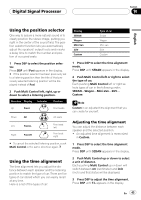
Using the position selector
One way to assure a more natural sound is to
clearly position the stereo image, putting you
right in the center of the sound field. The posi-
tion selector function lets you automatically
adjust the speakers
²
output levels and inserts
a delay time to match the number and posi-
tion of occupied seats.
1
Press DSP to select the position selec-
tor.
Press
DSP
until
Posi
appears in the display.
#
If the position selector has been previously set
to a listening position then the title of that pre-
viously selected listening position will be dis-
played instead of
Posi
.
2
Push Multi Control left, right, up or
down to select a listening position.
Direction
Display
Indicator
Position
Up
Front
Front seats
Down
All
All seats
Left
Front-L
Front seat
left
Right
Front-R
Front seat
right
#
To cancel the selected listening position, push
Multi Control
in the same direction again.
Using the time alignment
The time alignment lets you adjust the dis-
tance between each speaker and the listening
position to match the type of car. There are five
types of car stored which you can easily recall
at any time.
Here is a list of the types of car:
Display
Type of car
SEDAN
Sedan
Wagon
Wagon
Mini-Van
Mini van
SUV
SUV
Custom
Custom
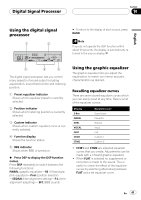
1
Press DSP to select the time alignment
mode.
Press
DSP
until
SEDAN
appears in the display.
2
Push Multi Control left or right to select
the type of car.
Each pushing
Multi Control
left or right se-
lects types of car in the following order:
SEDAN
³
Wagon
³
Mini-Van
³
SUV
³
Custom
Note
Custom
is an adjusted time alignment that you
can create for yourself.
Adjusting the time alignment
You can adjust the distance between each
speaker and the selected position.
!
An adjusted time alignment is memorized
in
Custom
.
1
Press DSP to select the time alignment
mode.
Press
DSP
until
SEDAN
appears in the display.
2
Push Multi Control up or down to select
a unit of distance.
Each pushing
Multi Control
up or down will
switch between
cm
(centimeter) and
inch
(inch) and that status will be displayed.
3
Press DSP to adjust the time alignment.
Press
DSP
until
F-L
appears in the display.
Digital Signal Processor
En
43
English
Section
10