Samsung 750P User Manual (user Manual) (ver.1.0) (English) - Page 22
D-SUB/BNC, Menu Position
 |
View all Samsung 750P manuals
Add to My Manuals
Save this manual to your list of manuals |
Page 22 highlights
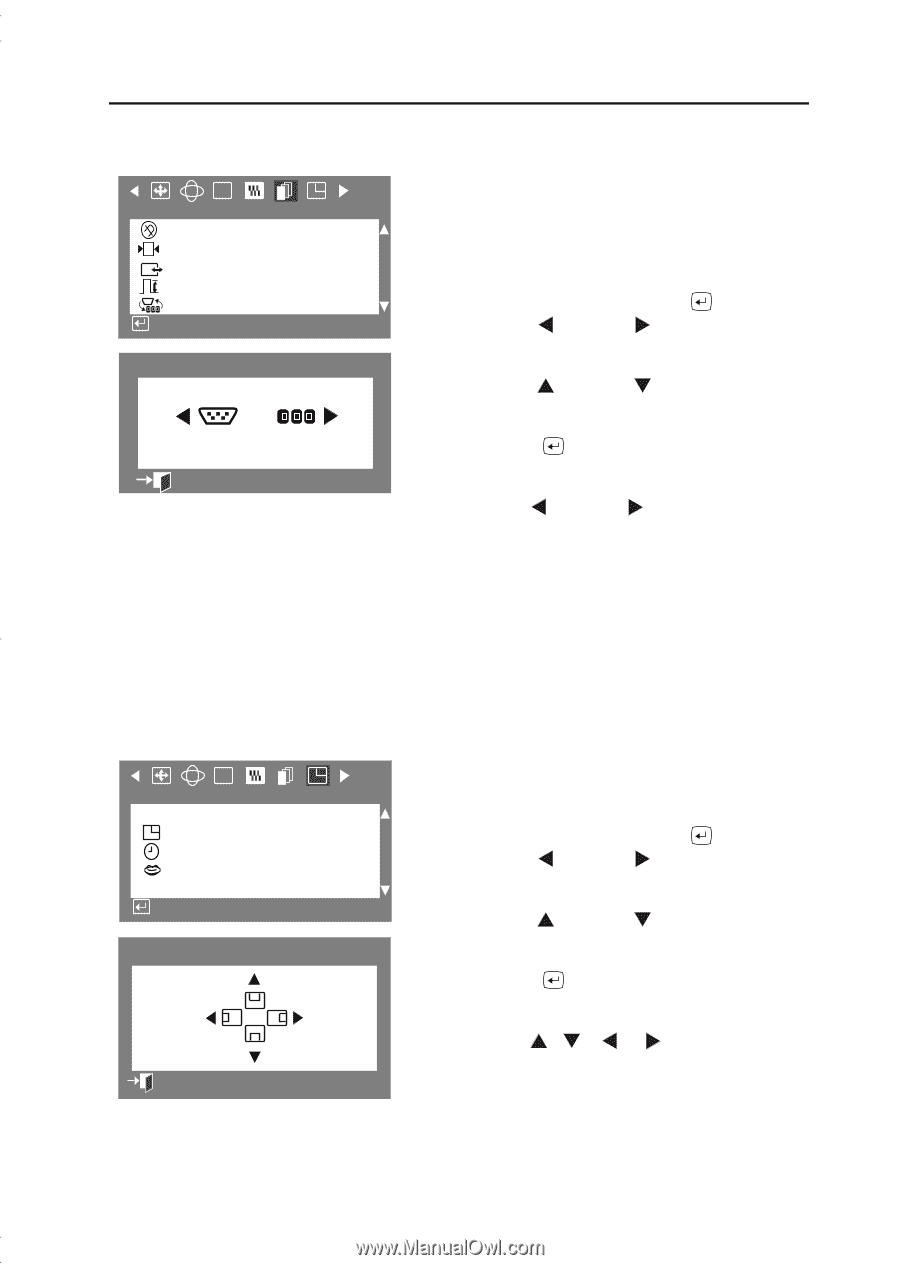
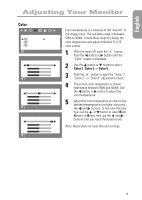
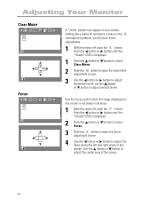
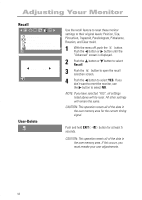
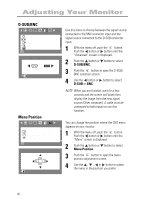
Adjusting Your Monitor D-SUB/BNC RGB Advanced Degauss Recall +++ G Sync. Input Type Video Input Level D-SUB/BNC : Access Function D-SUB/BNC D-SUB BNC :Previous Menu Menu Position RGB Menu Menu Position Menu Duration Languages : Access Function Menu Position 2 8 :Previous Menu Use this menu to choose between the signal source connected to the BNC connector input and the signal source connected to the D-SUB connector input. 1 With the menu off, push the button. Push the button or button until the “Advanced” screen is displayed. 2 Push the button or button to select D-SUB/BNC. 3 Push the button to open the D-SUB/ BNC selection screen. 4 Use the button or button to select D-SUB or BNC. NOTE: When you are finished, wait for a few seconds and the screen will blank then display the image from the new signal source (Other computer). A cable must be connected to both inputs to use this function. You can change the position where the OSD menu appears on your monitor. 1 With the menu off, push the button. Push the button or button until the “Menu” screen is displayed. 2 Push the button or button to select Menu Position. 3 Push the button to open the menu position adjustment screen. 4 Use the , , or button to place the menu in the position you prefer. 20
-
 1
1 -
2
-
3
-
4
-
5
-
6
-
7
-
8
-
9
-
10
-
11
-
12
-
13
-
14
-
15
-
16
-
 17
17 -
 18
18 -
 19
19 -
 20
20 -
 21
21 -
 22
22 -
 23
23 -
 24
24 -
 25
25 -
 26
26 -
 27
27 -
28
-
29
-
30
-
31
-
32
 |
 |