Sharp R-430 R-430D , R-530D Microwave Operation Manual - Page 24
Other Convenient Features
 |
View all Sharp R-430 manuals
Add to My Manuals
Save this manual to your list of manuals |
Page 24 highlights
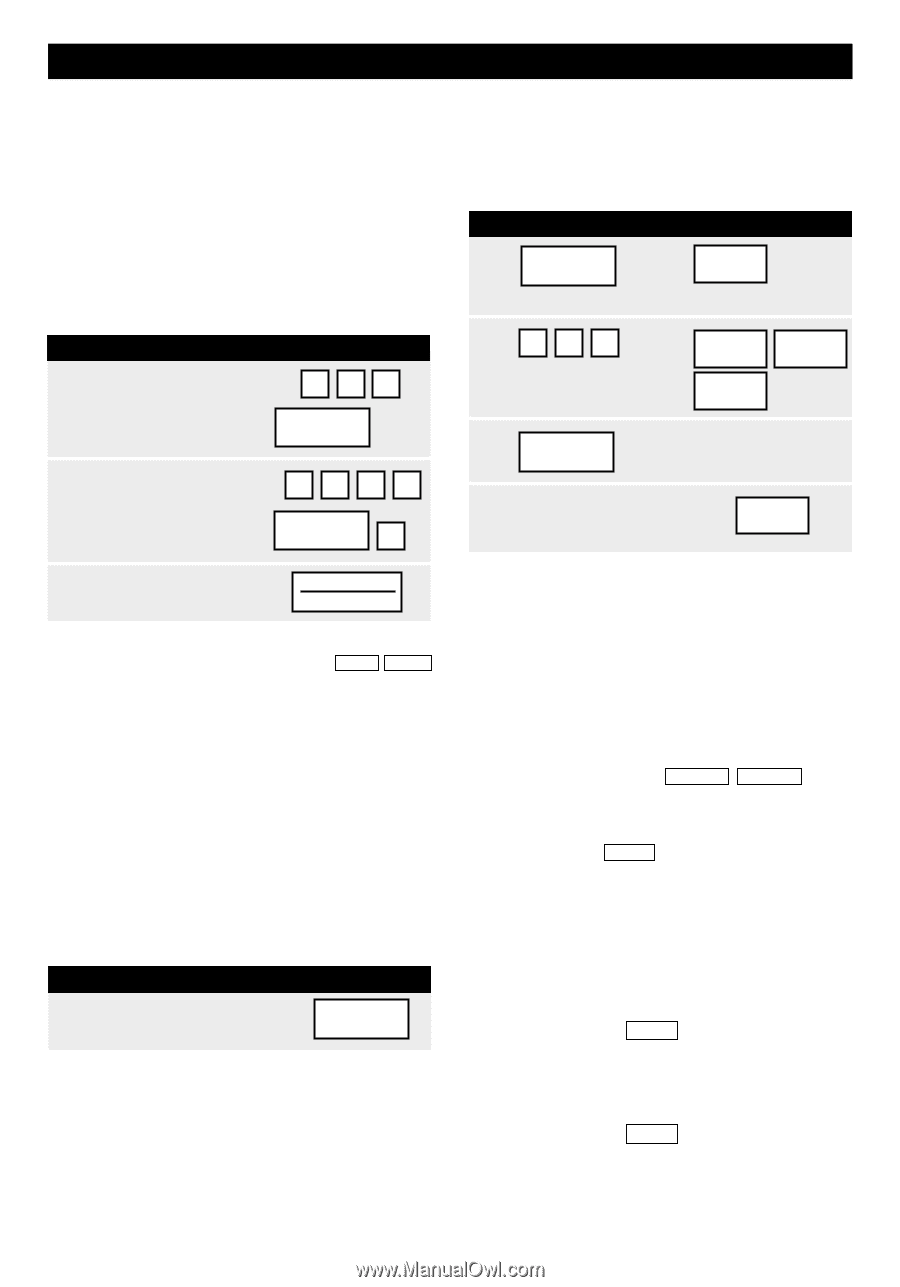
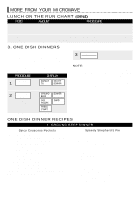
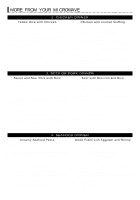
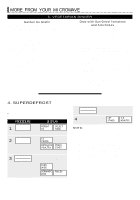
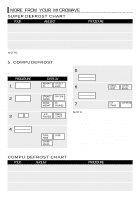
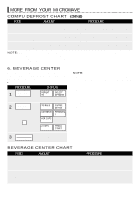
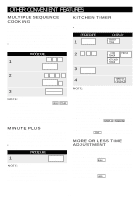
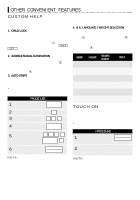
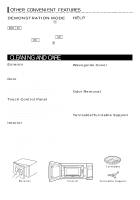
OTHER CONVENIENT FEATURES MULTIPLE SEQUENCE COOKING Your oven can be programmed for up to 4 automatic cooking sequences, switching from one power level setting to another automatically. Sometimes cooking directions tell you to start on one power level and then change to a different power level. Your oven can do this automatically. • Suppose you want to cook roast beef for 5 minutes at 100% and then continue to cook for 30 minutes at 50%. PROCEDURE 1 First enter cooking time. Then touch Power Level pad twice for 100% power. 500 Power Level x 2 2 Then enter second cooking time. Touch Power Level pad. Touch number pad 5 for 50% power. 30 Power Level 00 5 3 Touch Start/ Touch On pad. Start/ Touch On NOTE: 1. If Power Level pad is touched twice, HIGH POWER. will be displayed. 2. If 100% is selected as the final sequence, it is not necessary to touch the Power Level pad. 3. If you wish to know power level, simply touch the Power Level pad. As long as your finger is touching the Power Level pad, the power level will be displayed. MINUTE PLUS Minute Plus allows you to cook for a minute at 100% by simply touching the Minute Plus pad. You can also extend cooking time in multiples of 1 minute by repeatedly touching the Minute Plus pad during manual cooking. • Suppose you want to heat a cup of soup for one minute. PROCEDURE 1 Touch Minute Plus pad. Minute Plus NOTE: 1. To use Minute Plus, touch pad within 1 minute after cooking, closing the door, touching the Stop/Clear pad or during cooking. 2. Minute Plus cannot be used with Special Features. KITCHEN TIMER You can set the Kitchen Timer even when food is cooking. • Suppose you want to time a 3 minute long distance phone call. PROCEDURE DISPLAY 1 Kitchen Timer ENTER TIME Touch Kitchen Timer pad. 2 300 Enter time. 3.00 TIMER KITCHEN TIMER PRESS 3 Kitchen Timer Touch Kitchen Timer pad. The Kitchen Timer will count down. After the Kitchen Timer cycle 4 ends, the display will indicate the following message. TIMER IS FINISHED NOTE: 1. To cancel the Kitchen Timer during programming, touch the Stop/Clear pad. To cancel the Kitchen Timer during cooking, touch the Kitchen Timer and Stop/Clear pads. 2. If you start the Kitchen Timer during cooking, the display will go back to the cooking time after 3 seconds. If you want to check the timer, touch the Kitchen Timer pad, and the display will show the time for 3 seconds. 3. When the Kitchen Timer finishes during cooking, the display will show TIMER IS FINISHED every minute. The message will disappear when you touch the Kitchen Timer pad. 4. When cooking is complete while the Kitchen Timer is in operation, END will be displayed until the Kitchen Timer is completed. MORE OR LESS TIME ADJUSTMENT Should you discover that you like any of the Sensor Cooking or More from your Microwave settings slightly more done, touch the Power Level pad once before touching the Start/Touch On pad. The display will show MORE . Should you discover that you like any of the Sensor Cooking or More from your Microwave settings slightly less done, touch the Power Level pad twice before touching the Start/Touch On pad. The display will show LESS . 22
-
 1
1 -
2
-
3
-
4
-
5
-
6
-
7
-
8
-
9
-
10
-
11
-
12
-
13
-
14
-
15
-
16
-
17
-
18
-
 19
19 -
 20
20 -
 21
21 -
 22
22 -
 23
23 -
 24
24 -
 25
25 -
 26
26 -
 27
27 -
 28
28 -
 29
29 -
30
-
31
-
32
 |
 |