TP-Link TD-W8961ND User Guide - Page 48
TD-W8961ND, Step 1, Address Mapping, Step 2, Step 3, Step 4, Step 5, Other operations for
 |
View all TP-Link TD-W8961ND manuals
Add to My Manuals
Save this manual to your list of manuals |
Page 48 highlights
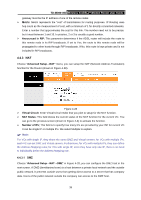
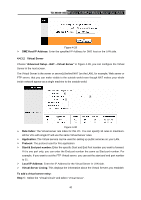
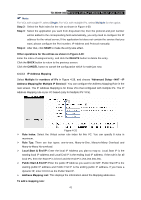
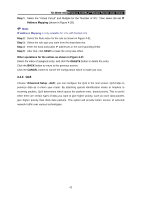
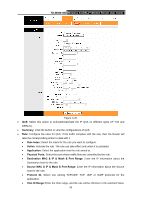
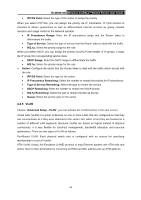
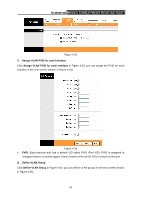
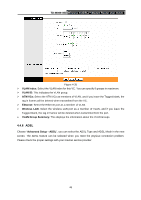
TD-W8961ND Wireless N ADSL2+ Modem Router User Guide Step 1: Select the "Virtual Circuit" and Multiple for the "Number of IPs". Then select the tab IP Address Mapping (shown in Figure 4-28). ) Note: IP Address Mapping is only available for VCs with Multiple IPs. Step 2: Select the Rule index for the rule as shown in Figure 4-31. Step 3: Select the rule type you want from the drop-down list. Step 4: Enter the local and public IP addresses in the corresponding fields. Step 5: After that, click SAVE to make the entry take effect. Other operations for the entries as shown in Figure 4-31: Select the index of assigned entry, and click the DELETE button to delete the entry. Click the BACK button to return to the previous screen. Click the CANCEL button to cancel the configuration which is made just now. 4.4.4 QoS Choose "Advanced Setup→QoS", you can configure the QoS in the next screen. QoS helps to prioritize data as it enters your router. By attaching special identification marks or headers to incoming packets, QoS determines which queue the packets enter, based priority. This is useful when there are certain types of data you want to give higher priority, such as voice data packets give higher priority than Web data packets. This option will provide better service of selected network traffic over various technologies. 42
-
 1
1 -
2
-
3
-
4
-
5
-
6
-
7
-
8
-
9
-
10
-
11
-
12
-
13
-
14
-
15
-
16
-
17
-
18
-
19
-
20
-
21
-
22
-
23
-
24
-
25
-
26
-
27
-
28
-
29
-
30
-
31
-
32
-
33
-
34
-
35
-
36
-
37
-
38
-
39
-
40
-
41
-
42
-
 43
43 -
 44
44 -
 45
45 -
 46
46 -
 47
47 -
 48
48 -
 49
49 -
 50
50 -
 51
51 -
 52
52 -
 53
53 -
54
-
55
-
56
-
57
-
58
-
59
-
60
-
61
-
62
-
63
-
64
-
65
-
66
-
67
-
68
-
69
-
70
-
71
 |
 |