Toshiba SD-K770KU Owners Manual - Page 18
DVD Menu Options
 |
View all Toshiba SD-K770KU manuals
Add to My Manuals
Save this manual to your list of manuals |
Page 18 highlights
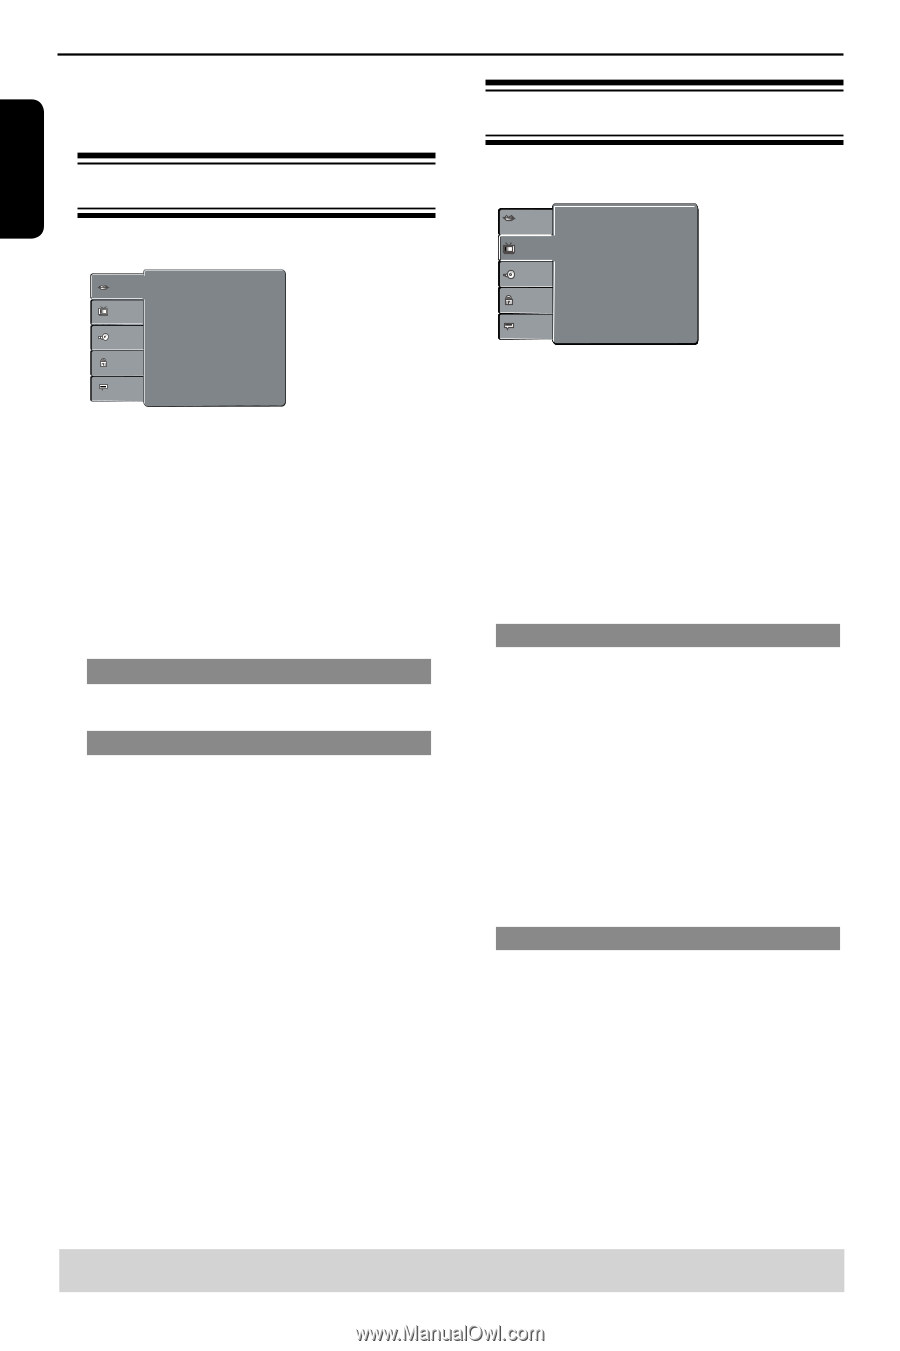
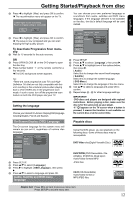
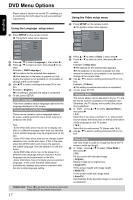
DVD Menu Options English Player setup is carried out via the TV, enabling you to customise the DVD player to suit your particular requirement. Using the Video setup menu Using the Language setup menu A Press SETUP on the remote control. The system setup menu appears. Language Video Audio OSD Language Subtitle Audio DVD Menu : English : Auto : English : English Rating Misc B Press / to select {Language }, then press . C Press / to select an item, then press to ac- cess. Example: { OSD Language } The options for the selected item appears. If the selection in the menu is greyed out, that means the feature is not available or not possible to change at the current state. D Use / to select a setting and press OK to confirm. Example: { English } The setting is selected and setup is completed. E To exit, press SETUP. OSD Language This menu contains various language options for the language displayed on the screen. Subtitle/Audio/DVD Menu These menus contains various language options for audio, subtitle and DVD menu which may be recorded on the DVD. Tips: -Some DVD video discs may be set to display subtitles in a different language other than you selected. A prior subtitle language may be programmed on the disc. -Some DVD video discs allow you to change subtitle selections only via the disc menu. If this is the case, press the MENU button and choose the appropriate subtitle language from the selection on the disc menu. -Some DVD video discs may not be played in a different audio language that you selected. A prior language may be programmed on the disc. -Some DVD discs may not include your pre-selected language . In this case, the DVD video player automatically displays discs menus consistent with the disc's initial language setting. A Press SETUP on the remote control. The system setup menu appears. Language Aspect Ratio View Mode Video Audio Video Out Smart Picture Rating Misc : 44::33 : Auto Fit :S-VIDEO : Standard B Press / to select { Video }, then press C Press / to select an item, then press to ac- cess. Example: { Video Out } The options for the selected item appears. If the selection in the menu is greyed out, that means the feature is not available or not possible to change at the current state. D Use / to select a setting and press OK to confirm. Example: { P-Scan } The setting is selected and setup is completed. E To exit, press SETUP. Aspect Ratio The picture shape can be adjusted to fit your TV and the format must be available on the playback disc. Otherwise, the TV display will not affect the picture during playback. A In ' Video ', press / to select {Aspect Ratio }, then press . { 4:3 } Select this if you have a normal TV. A 'wide-screen' source display with black bars on the top and bottom will be displayed on the TV screen. { 16:9 } Select this for wide-screen TV (frame ratio 16:9). B Use / to select a setting and press OK to confirm. View Mode Use view mode to scale an image that fits to the TV screen's width and height. A In ' Video ', press / to select { View Mode }, then press . { Fill } Fill the screen with decoded image. { Original } Display image as its original size. { Height Fit } Fit the screen height with image height. { Width Fit } Fit the screen width with image width. { Auto Fit } Automatically fit the decoded image on screen with- out distortion. Helpful hint: Press to go back to previous menu item. Press SETUP to exit the menu item. 17
-
 1
1 -
2
-
3
-
4
-
5
-
6
-
7
-
8
-
9
-
10
-
11
-
12
-
 13
13 -
 14
14 -
 15
15 -
 16
16 -
 17
17 -
 18
18 -
 19
19 -
 20
20 -
 21
21 -
 22
22 -
 23
23 -
24
-
25
-
26
-
27
-
28
 |
 |