Vtech KidiArt Studio User Manual - Page 9
PC Setup and Installation, KidiArt Studio, Starting the KidiArt Studio, PC Application, VTech, - kidiart studiotm
 |
View all Vtech KidiArt Studio manuals
Add to My Manuals
Save this manual to your list of manuals |
Page 9 highlights
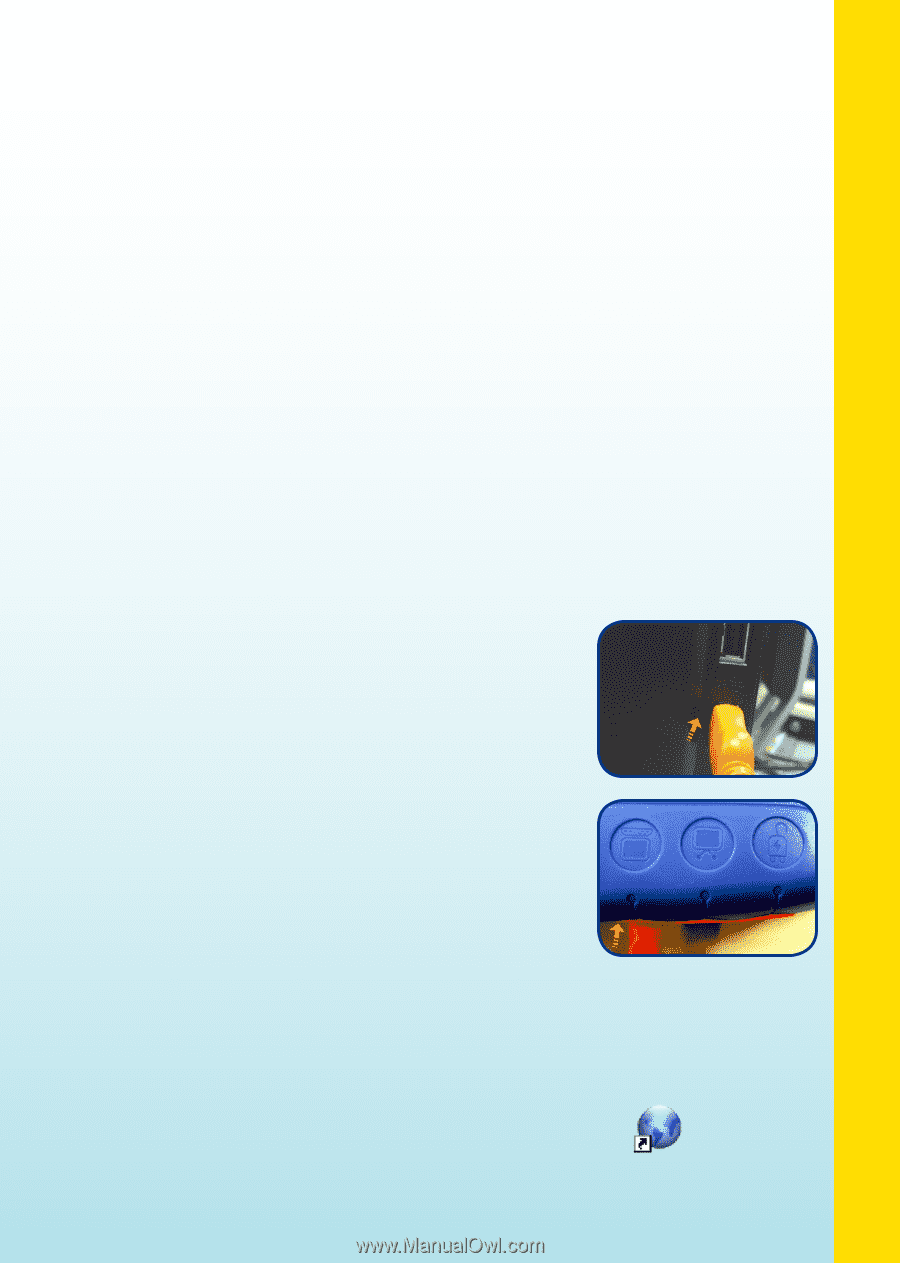
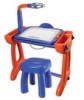
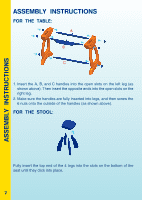
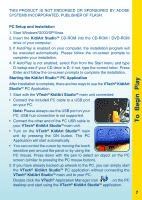
THIS PRODUCT IS NOT ENDORSED OR SPONSORED BY ADOBE SYSTEMS INCORPORATED, PUBLISHER OF FLASH. To Begin Play PC Setup and Installation 1. Start Windows®2000/XP/Vista. 2. Insert the KidiArt StudioTM CD-ROM into the CD-ROM / DVD-ROM drive of your computer. 3. If AutoPlay is enabled on your computer, the installation program will be executed automatically. Please follow the on-screen prompts to complete your installation. 4. If AutoPlay is not enabled, select Run from the Start menu and type D:\setup.exe if your CD drive is D; if not, type the correct letter. Press Enter and follow the on-screen prompts to complete the installation. Starting the KidiArt StudioTM PC Application After installation is complete, there are two ways to use the VTech® KidiArt StudioTM PC Application. 1. Start with the VTech® KidiArt StudioTM main unit connected: • Connect the included PC cable to a USB port on your PC. Note: Please always use the USB port on your PC. USB hub connection is not supported. • Connect the other end of the PC USB cable to your VTech® KidiArt StudioTM main unit. • Turn on the VTech® KidiArt StudioTM main unit by pressing the ON button. The PC Application will start automatically. • You can control the cursor by moving the touch sensitive pen around the panel or by using the PC mouse. Press down with the pen to select an object on the PC screen (similar to pressing the PC mouse button). 2. If you have already backed up artwork to the PC, you can simply start the VTech® KidiArt StudioTM PC application without connecting the VTech® KidiArt StudioTM main unit to your PC. Double click the VTech® Application Manager icon on the PC desktop and start using the VTech® KidiArt StudioTM application. 7
-
 1
1 -
2
-
3
-
 4
4 -
 5
5 -
 6
6 -
 7
7 -
 8
8 -
 9
9 -
 10
10 -
 11
11 -
 12
12 -
 13
13 -
 14
14 -
15
-
16
-
17
-
18
-
19
-
20
-
21
-
22
-
23
-
24
 |
 |