Alcatel OS6850-U24X Getting Started Guide - Page 23
Specifying a System Name, Specifying the Switch’s Location, Viewing and Saving Changes
 |
View all Alcatel OS6850-U24X manuals
Add to My Manuals
Save this manual to your list of manuals |
Page 23 highlights
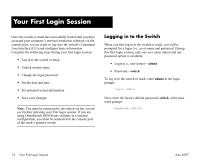
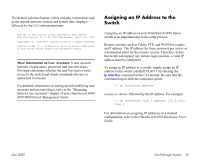
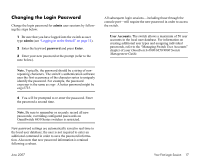
Specifying a System Name The system name is a simple, user-defined text description for the switch. To specify a system name, enter system name, followed by a text description of up to 19 characters. Note. You cannot include spaces between words when entering a system name. For example: -> system name EngSwitch3 Specifying the Switch's Location It is recommended that you use a physical labeling system for locating and identifying your switch(es). Examples include placing a sticker or placard with a unique identifier (e.g., the switch's default IP address) on each chassis. However, if no labeling system has been implemented or if you need to determine a switch's location from a remote site, entering a system location can be very useful. To specify a system location, enter system location, followed by a text description of up to 254 characters. If you include spaces between words in the text string, be sure to enclose the string in quotes (" "). For example: -> system location "NMS Lab--NE Rack" Viewing and Saving Changes To view your current changes, enter show system at the CLI prompt. Once you have configured this basic switch information, save your changes by entering write memory at the CLI command prompt. When the write memory command is entered, changes are automatically saved to the main configuration file (boot.cfg) and placed in the /flash/working directory. For more information on the boot.cfg file, refer to page 20. Note. If the switch reboots following a write memory command entry, the switch will run from the /flash/certified directory. As a result, subsequent configuration changes cannot be saved using the write memory command until the switch is once again running from the /flash/working directory. See page 22 for important information on these directories. This completes the initial configuration process. Your OmniSwitch 6850 Series switch is now ready for additional configuration and network operation. Refer to the following sections for more information on using your switch, as well as additional built-in features. For stacked configurations, be sure to refer to the OmniSwitch 6850 Series Hardware Users Guide. June 2007 Your First Login Session 19
-
 1
1 -
2
-
3
-
4
-
5
-
6
-
7
-
8
-
9
-
10
-
11
-
12
-
13
-
14
-
15
-
16
-
17
-
 18
18 -
 19
19 -
 20
20 -
 21
21 -
 22
22 -
 23
23 -
 24
24 -
 25
25 -
 26
26 -
 27
27 -
 28
28 -
29
-
30
-
31
-
32
-
33
-
34
 |
 |
