Asus P4B-MX Motherboard DIY Troubleshooting Guide - Page 29
Connecting the CPU fan cable
 |
View all Asus P4B-MX manuals
Add to My Manuals
Save this manual to your list of manuals |
Page 29 highlights
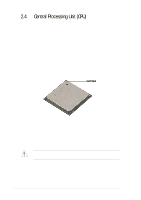
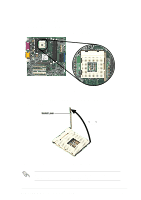
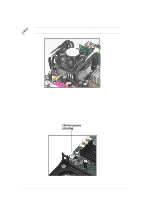
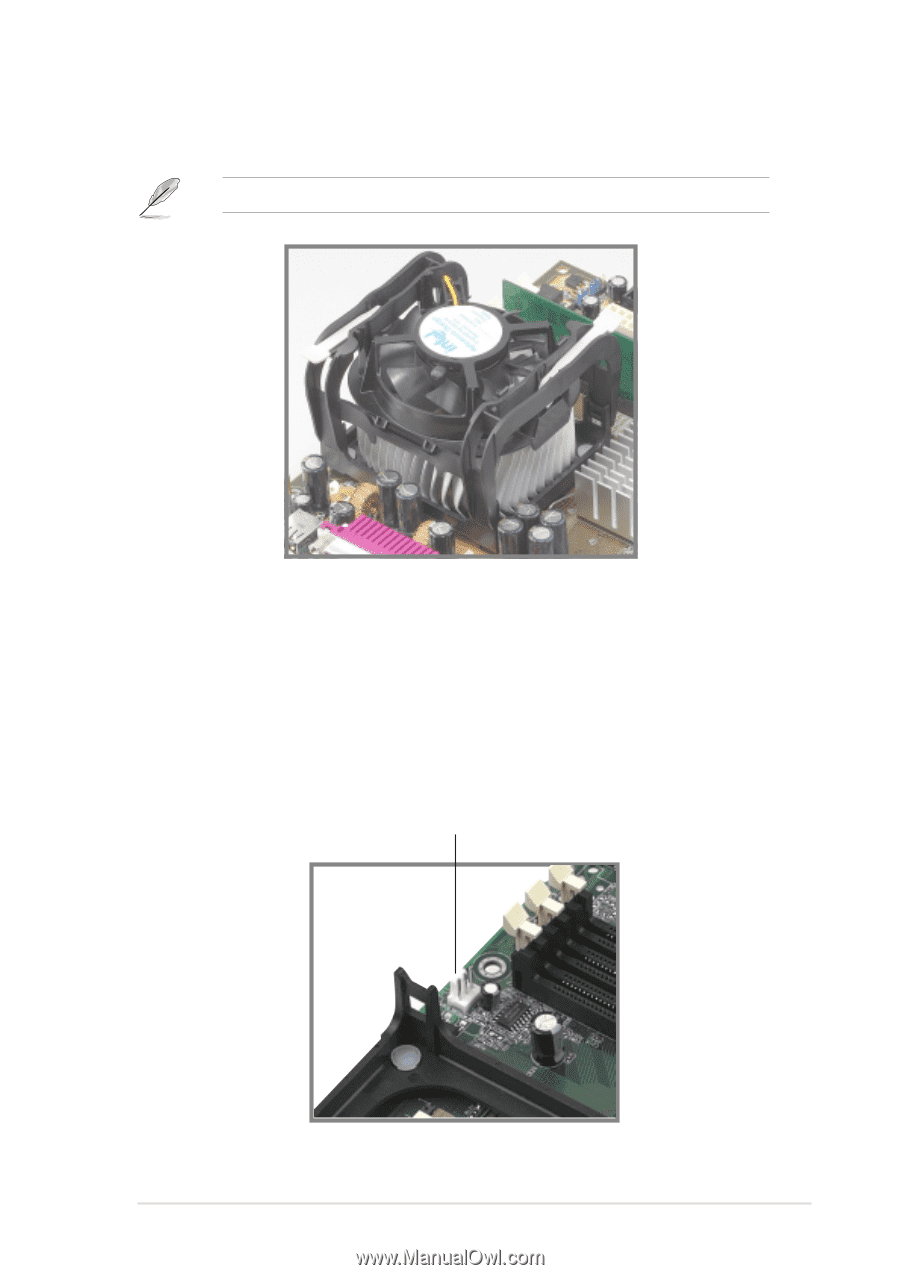
3. Push down the locks on the retention mechanism to secure the heatsink and fan to the module base. When secure, the retention locks should point to opposite directions. Figure 2-11 Fan and Retention Mechanism Installed and Locked 2.4.4 Connecting the CPU fan cable When the fan, heatsink, and the retention mechanism are in place, connect the CPU fan cable to the connector on the motherboard labeled CPU_FAN. CPU Fan Connector (CPU_FAN) Figure 2-12 CPU Fan Connector ASUS P4B-MX motherboard user guide 2-9
-
 1
1 -
2
-
3
-
4
-
5
-
6
-
7
-
8
-
9
-
10
-
11
-
12
-
13
-
14
-
15
-
16
-
17
-
18
-
19
-
20
-
21
-
22
-
23
-
 24
24 -
 25
25 -
 26
26 -
 27
27 -
 28
28 -
 29
29 -
 30
30 -
 31
31 -
 32
32 -
 33
33 -
 34
34 -
35
-
36
-
37
-
38
-
39
-
40
-
41
-
42
-
43
-
44
-
45
-
46
-
47
-
48
-
49
-
50
-
51
-
52
-
53
-
54
-
55
-
56
-
57
-
58
-
59
-
60
-
61
-
62
-
63
-
64
-
65
-
66
-
67
-
68
-
69
-
70
-
71
-
72
-
73
-
74
-
75
-
76
-
77
-
78
-
79
-
80
-
81
-
82
-
83
-
84
-
85
-
86
-
87
-
88
-
89
-
90
-
91
-
92
-
93
-
94
-
95
-
96
-
97
-
98
-
99
-
100
-
101
-
102
-
103
-
104
-
105
-
106
-
107
-
108
-
109
-
110
-
111
-
112
 |
 |
ASUS P4B-MX motherboard user guide
2-9
2.4.4
Connecting the CPU fan cable
When the fan, heatsink, and the retention mechanism are in place,
connect the CPU fan cable to the connector on the motherboard labeled
CPU_FAN.
3.
Push down the locks on the retention mechanism to secure the
heatsink and fan to the module base.
Figure 2-11
Fan and Retention Mechanism Installed and Locked
Figure 2-12
CPU Fan Connector
When secure, the retention locks should point to opposite directions.
CPU Fan Connector
(CPU_FAN)