Brother International MFC-J4410DW Web Connect Guide - English - Page 27
How to change scan settings, For MFC-J2510/J4510DW
 |
View all Brother International MFC-J4410DW manuals
Add to My Manuals
Save this manual to your list of manuals |
Page 27 highlights
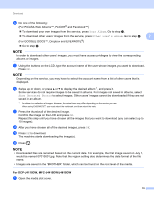
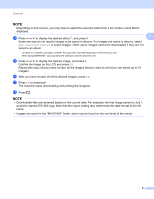
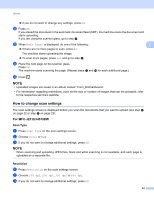
Upload If you do not want to change any settings, press OK. l Press OK. If you placed the document in the automatic document feed (ADF), the machine scans the document and starts uploading. If you are using the scanner glass, go to step m. m When Next Page? is displayed, do one of the following: 3 If there are no more pages to scan, press No. The machine starts uploading the image. To scan more pages, press Yes and go to step n. n Place the next page on the scanner glass. Press OK. The machine starts scanning the page. (Repeat steps m and n for each additional page.) o Press . NOTE • Uploaded images are saved in an album named "From_BrotherDevice". • For information regarding restrictions, such as the size or number of images that can be uploaded, refer to the respective service's website. How to change scan settings 3 The scan settings screen is displayed before you scan the documents that you want to upload (see step k on page 22 or step k on page 23): For MFC-J2510/J4510DW 3 Scan Type 3 a Press Scan Type on the scan settings screen. b Choose Color or B&W. c If you do not want to change additional settings, press OK. NOTE When scanning and uploading JPEG files, black and white scanning is not available, and each page is uploaded as a separate file. Resolution 3 a Press Resolution on the scan settings screen. b Choose 100 dpi, 200 dpi, 300 dpi or 600 dpi. c If you do not want to change additional settings, press OK. 24
-
 1
1 -
2
-
3
-
4
-
5
-
6
-
7
-
8
-
9
-
10
-
11
-
12
-
13
-
14
-
15
-
16
-
17
-
18
-
19
-
20
-
21
-
 22
22 -
 23
23 -
 24
24 -
 25
25 -
 26
26 -
 27
27 -
 28
28 -
 29
29 -
 30
30 -
 31
31 -
 32
32 -
33
-
34
-
35
-
36
 |
 |
