Brother International MFC-J4410DW Web Connect Guide - English - Page 30
Upload, From the Media Card, to display your account name, and press it.
 |
View all Brother International MFC-J4410DW manuals
Add to My Manuals
Save this manual to your list of manuals |
Page 30 highlights
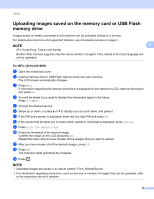
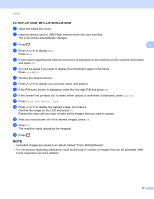
Upload For DCP-J4110DW, MFC-J4410DW/J4610DW 3 a Open the media slot cover. b Insert a memory card or USB Flash memory drive into your machine. The LCD screen automatically changes. c Press . 3 d Press s or t to display Web. Press Web. e If information regarding the Internet connection is displayed on the machine's LCD, read the information and press OK. f You will be asked if you want to display this information again in the future. Press Yes or No. g Choose the desired service. h Press s or t to display your account name, and press it. i If the PIN entry screen is displayed, enter the four-digit PIN and press OK. j If the screen that prompts you to select either upload or download is displayed, press Upload. k Press From the Media Card. l Press s or t to display the desired image, and press it. Confirm the image on the LCD and press OK. Repeat this step until you have chosen all the images that you want to upload. m After you have chosen all of the desired images, press OK. n Press OK. The machine starts uploading the image(s). o Press . NOTE • Uploaded images are saved in an album named "From_BrotherDevice". • For information regarding restrictions, such as the size or number of images that can be uploaded, refer to the respective service's website. 27
-
 1
1 -
2
-
3
-
4
-
5
-
6
-
7
-
8
-
9
-
10
-
11
-
12
-
13
-
14
-
15
-
16
-
17
-
18
-
19
-
20
-
21
-
22
-
23
-
24
-
 25
25 -
 26
26 -
 27
27 -
 28
28 -
 29
29 -
 30
30 -
 31
31 -
 32
32 -
 33
33 -
 34
34 -
 35
35 -
36
 |
 |