Brother International PE 150 Users Manual - English - Page 47
Changing the embroidery position, Checking the embroidery area
 |
UPC - 012502101802
View all Brother International PE 150 manuals
Add to My Manuals
Save this manual to your list of manuals |
Page 47 highlights
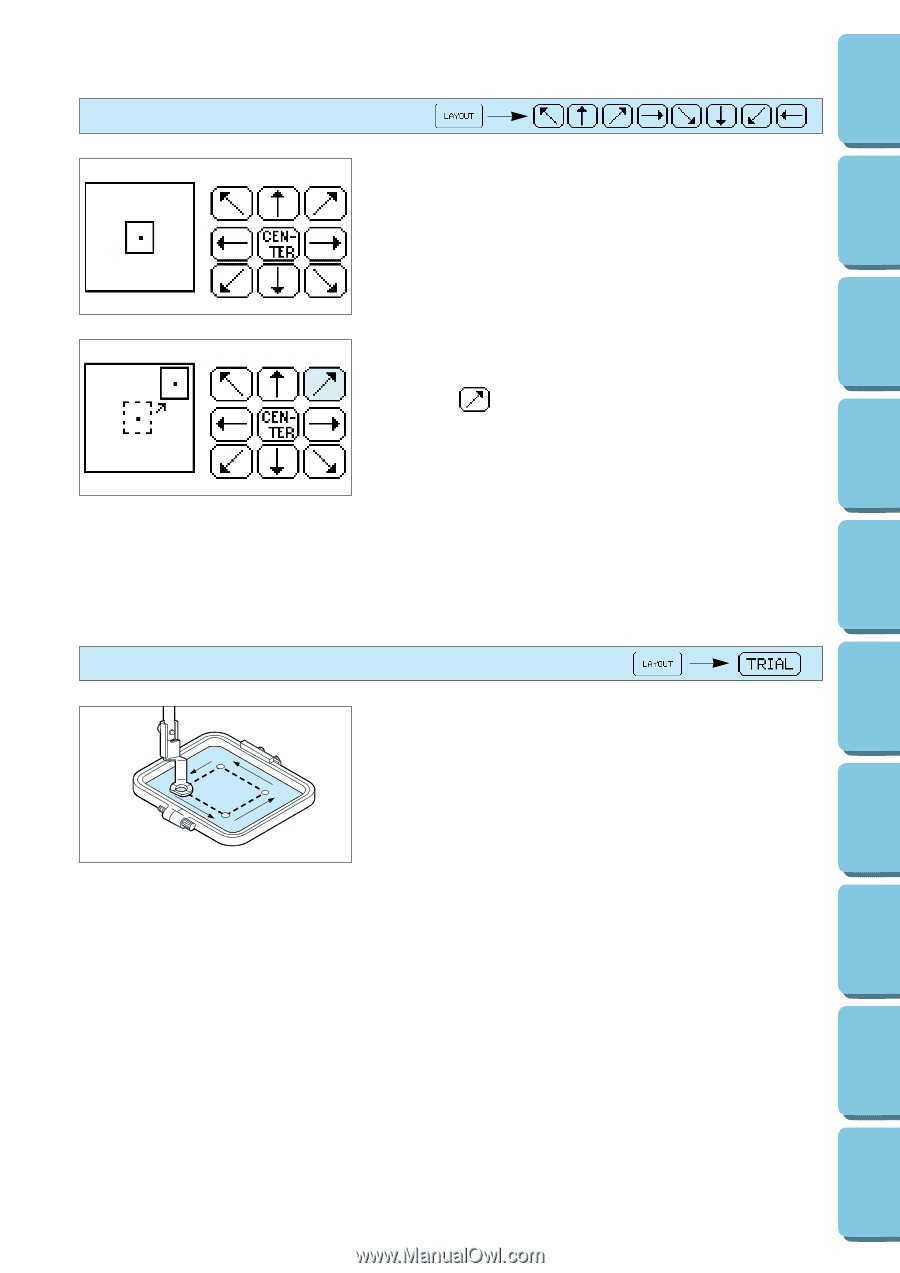
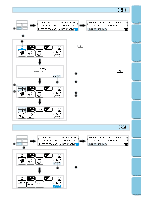
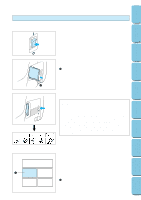
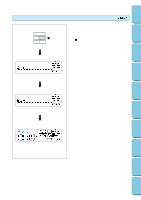
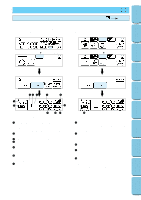
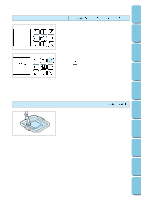
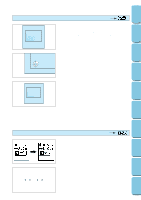
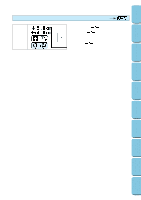
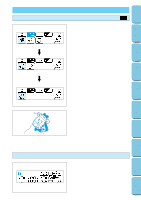
CONTENTS MACHINE KNOWLEDGE EMBROIDERING MAINTENANCE ERROR MESSAGE TROUBLESHOOTING Changing the embroidery position Touch the arrow key that corresponds to the direction in which you would like to move the pattern. The embroidery position will then move. * If you touch the "CENTER" key, the embroidery position will return to the center. * Use the hole on the embroidery foot as a guide, and never lower the needle while it is moving. Example: To move the embroidery position to the upper right corner Touch the "????" key. * The embroidery position or area display can be moved by touching the corresponding arrow key. If the arrow key is touched once, the frame and display will move one step; if the key is touched continuously, the frame and display will move continuously. Checking the embroidery area If "TRIAL" is touched, the embroidery frame will move and the presser foot will trace the embroidery area to be used for the currently selected pattern and size. * Do not lower the needle. Use the hole of the presser foot as a guide instead. 44 PATTERNS EMBROIDERING USING A SMALL FRAME (OPTIONAL) EMBROIDERING USING A EXTRA-SMALL FRAME (OPTIONAL) EMBROIDERING USING A LARGE FRAME (OPTIONAL)
-
 1
1 -
2
-
3
-
4
-
5
-
6
-
7
-
8
-
9
-
10
-
11
-
12
-
13
-
14
-
15
-
16
-
17
-
18
-
19
-
20
-
21
-
22
-
23
-
24
-
25
-
26
-
27
-
28
-
29
-
30
-
31
-
32
-
33
-
34
-
35
-
36
-
37
-
38
-
39
-
40
-
41
-
 42
42 -
 43
43 -
 44
44 -
 45
45 -
 46
46 -
 47
47 -
 48
48 -
 49
49 -
 50
50 -
 51
51 -
 52
52 -
53
-
54
-
55
-
56
-
57
-
58
-
59
-
60
-
61
-
62
-
63
-
64
-
65
-
66
-
67
-
68
-
69
-
70
-
71
-
72
-
73
-
74
-
75
-
76
-
77
-
78
-
79
-
80
-
81
-
82
-
83
-
84
-
85
-
86
-
87
-
88
-
89
-
90
-
91
-
92
-
93
-
94
-
95
-
96
-
97
-
98
-
99
-
100
-
101
-
102
-
103
-
104
-
105
-
106
-
107
-
108
-
109
-
110
-
111
-
112
-
113
-
114
-
115
-
116
-
117
-
118
-
119
-
120
-
121
-
122
-
123
-
124
-
125
-
126
-
127
-
128
-
129
-
130
-
131
-
132
-
133
-
134
-
135
-
136
-
137
-
138
-
139
-
140
-
141
-
142
-
143
-
144
-
145
-
146
 |
 |