Brother International PE-DESIGN2.0 Owner's Manual - English - Page 111
Zooming to the real size, Enlarging selected objects to the screen size
 |
View all Brother International PE-DESIGN2.0 manuals
Add to My Manuals
Save this manual to your list of manuals |
Page 111 highlights
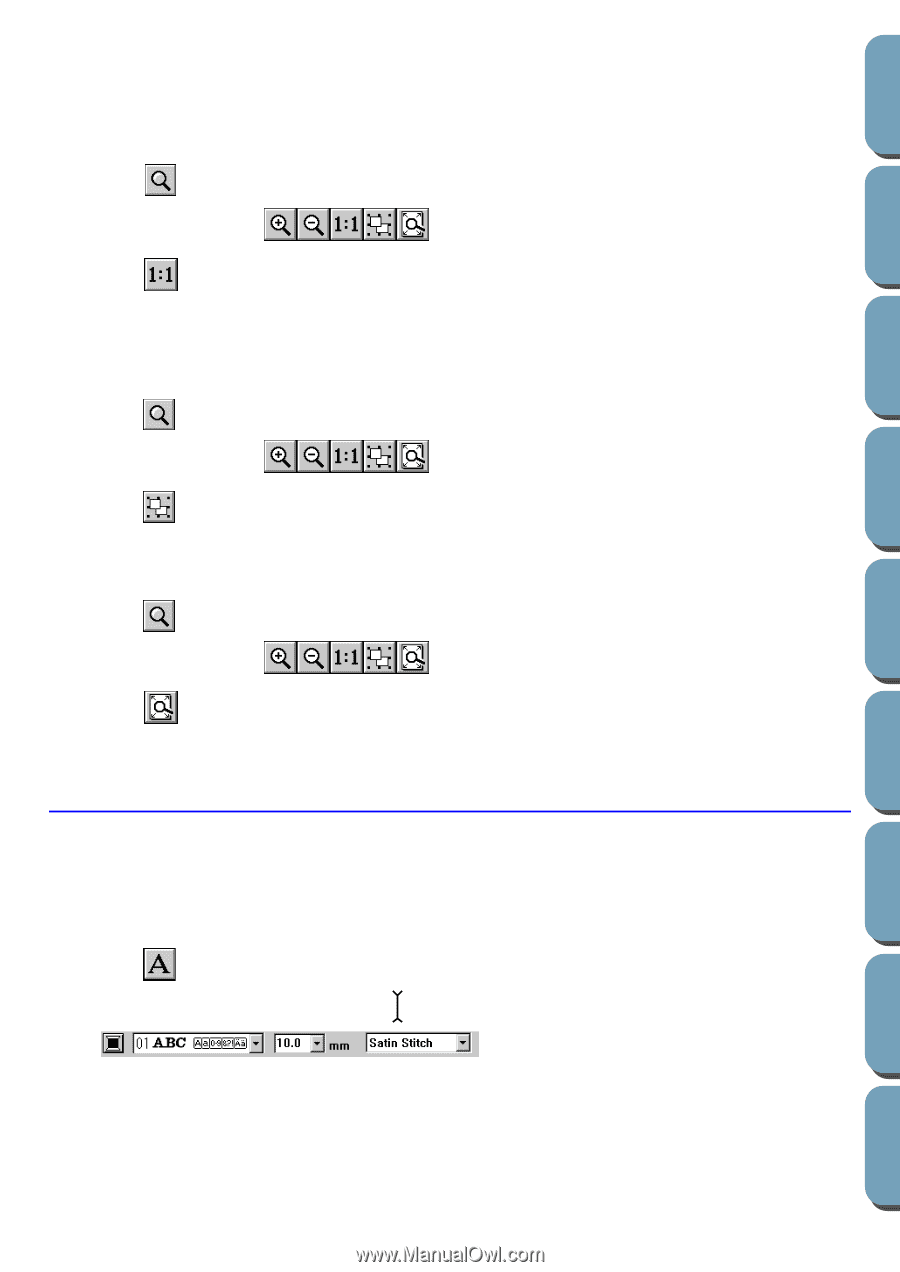
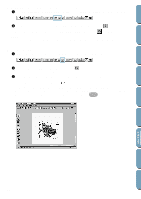
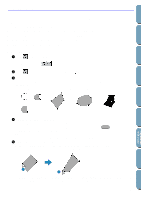
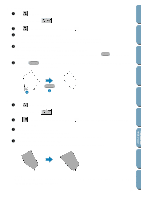
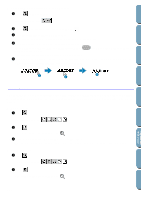
Contents Before Using Getting Started Design Center Layout & Editing 3 Click a point of the Design Page where you want to do the next work. The image shrinks toward that point. You can repeat this step until the image has returned to its normal size. s Zooming to the real size 1 Click . Five buttons appear: . 2 Click . Your Design Page now appears in (almost) real size. s Enlarging selected objects to the screen size 1 Select one or more patterns. 2 Click . Five buttons appear: . 3 Click . The selected objects now occupy all the available space on the screen. s Returnig to the standard scale 1 Click . Five buttons appear: . 2 Click . The Design Page is zoomed in or out automatically to fit the window. Text Input Mode The text input mode is used to enter strings of text in your Design Page. You can enter accented characters for European languages, that are not directly available on your keyboard. The basic settings for the text strings include font and size. s Entering text 1 Click on the Tool Box. The shape of the cursor changes to and this appears on the Sewing Attributes bar: File Utility Programmable Stich Creator Quick Reference Alphabetic Index You can select a color, a font and a size at this step or after creating the pattern. See "Color" on page 117, "Font" on page 111 and "Text size" on page 112. You can also set the sewing attributes using the Sew menu (see "Sewing Attribute Setting" on page 144) and the text attributes using the Text menu (see "Text Attribute Setting" on page 138). 101
-
 1
1 -
2
-
3
-
4
-
5
-
6
-
7
-
8
-
9
-
10
-
11
-
12
-
13
-
14
-
15
-
16
-
17
-
18
-
19
-
20
-
21
-
22
-
23
-
24
-
25
-
26
-
27
-
28
-
29
-
30
-
31
-
32
-
33
-
34
-
35
-
36
-
37
-
38
-
39
-
40
-
41
-
42
-
43
-
44
-
45
-
46
-
47
-
48
-
49
-
50
-
51
-
52
-
53
-
54
-
55
-
56
-
57
-
58
-
59
-
60
-
61
-
62
-
63
-
64
-
65
-
66
-
67
-
68
-
69
-
70
-
71
-
72
-
73
-
74
-
75
-
76
-
77
-
78
-
79
-
80
-
81
-
82
-
83
-
84
-
85
-
86
-
87
-
88
-
89
-
90
-
91
-
92
-
93
-
94
-
95
-
96
-
97
-
98
-
99
-
100
-
101
-
102
-
103
-
104
-
105
-
 106
106 -
 107
107 -
 108
108 -
 109
109 -
 110
110 -
 111
111 -
 112
112 -
 113
113 -
 114
114 -
 115
115 -
 116
116 -
117
-
118
-
119
-
120
-
121
-
122
-
123
-
124
-
125
-
126
-
127
-
128
-
129
-
130
-
131
-
132
-
133
-
134
-
135
-
136
-
137
-
138
-
139
-
140
-
141
-
142
-
143
-
144
-
145
-
146
-
147
-
148
-
149
-
150
-
151
-
152
-
153
-
154
-
155
-
156
-
157
-
158
-
159
-
160
-
161
-
162
-
163
-
164
-
165
-
166
-
167
-
168
-
169
-
170
-
171
-
172
-
173
-
174
-
175
-
176
-
177
-
178
-
179
-
180
-
181
-
182
-
183
-
184
-
185
-
186
-
187
-
188
-
189
-
190
-
191
-
192
-
193
-
194
-
195
-
196
-
197
-
198
-
199
-
200
 |
 |