Brother International XL-3030 Users Manual - English - Page 41
remiendo,s.
 |
View all Brother International XL-3030 manuals
Add to My Manuals
Save this manual to your list of manuals |
Page 41 highlights
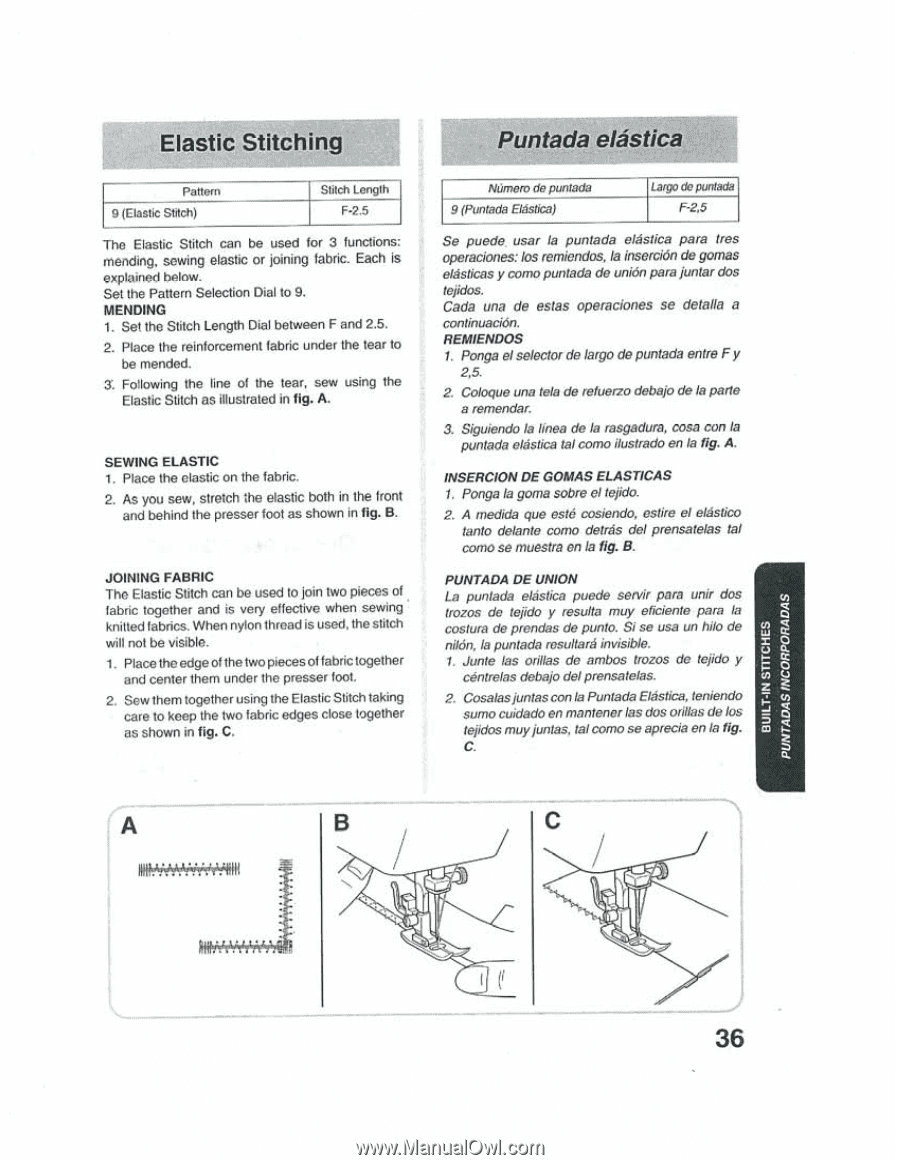
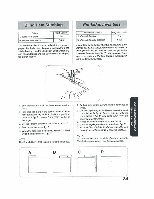
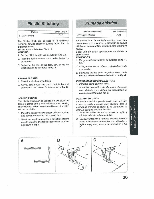
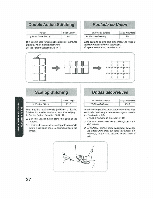
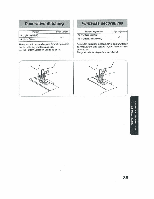
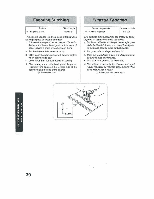
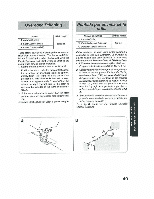
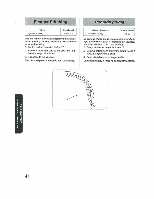
Elastic Stitching Pattern L9 (Elastic Stitch) Stitch Length F-2.5 The Elastic Stitch can be used or 3 functions: mending, sewing elastic or joining fabric. Each iS explained helnw. Set the Pattern Selection Dial to 9. MENDING 1. Set the Stitch Length Dial between F and 2.5. 2. Place the reinforcement fabric under the tear to be mended. 3: Following the line of the tear, sew using the Elastic Stitch as illustrated in fig. A. SEWING ELASTIC 1. Place the elastic on the fabric. 2. As you sew, stretch the elastic both in the front and behind the presser foot as shown in fig. B. JOINING FABRIC The Elastic Stitch can be used to join two pieces of fabric together and is very effective when sewing knitted fabrics. When nylon thread is used, the stitch will not be visible. 1. Place theedge of thetwopiecesof fabric together and center them under the presser fool. 2. Sew them together using the Elastic Stitch taking care to keep the two fabric edges close together as shown in fig. C. Puntada elastica Nornero de puntada 9 (Puntada Elaslica) Largo do punted& F-2,5 Se puede usar la puntada elastics pare tres operations: los remiendo,s. 0 insercien de games elasticas y como puntada de union pars junta: dos tejidos. Cada una de estas operations se detalla a continuation. REMIENDOS 1. Ponga el selector de largo de puntada entre F y 9,5. 2. Coloque una tele de retuerzo debajo de la pane a remendar. 3. Siguiendo la linea de la rasgadura, oosa con la puntada elastica tat como ?lustre* en la fig. A. INSERCION DE GOMAS ELASTICAS 1. Ponga la goma sobre el tejido. 2. A medida que este cosiendo, entire el elastic° lento detente como detras del prensatelas tat como se muestra on la fig. B. PUNTADA DE UNION La puntada elastica puede servir pare unir dos trozos de lejido y results muy eticiente pam la costura de prendas de punto. Si se usa un hilo de nildn, la puntada resullara invisible. 1. Janie las orillas de ambos trozos do tejido y centrelas debajo delprensatelas. 2. Cosalasjuntasconla Puntada Elastica, teniendo sumo cuidado en mantener las dos wallas de lus tejidos muy juntas, tat como se aprecia en la lig. C. A B 36
-
 1
1 -
2
-
3
-
4
-
5
-
6
-
7
-
8
-
9
-
10
-
11
-
12
-
13
-
14
-
15
-
16
-
17
-
18
-
19
-
20
-
21
-
22
-
23
-
24
-
25
-
26
-
27
-
28
-
29
-
30
-
31
-
32
-
33
-
34
-
35
-
 36
36 -
 37
37 -
 38
38 -
 39
39 -
 40
40 -
 41
41 -
 42
42 -
 43
43 -
 44
44 -
 45
45 -
 46
46 -
47
-
48
-
49
-
50
-
51
-
52
-
53
-
54
-
55
-
56
-
57
-
58
-
59
-
60
-
61
-
62
-
63
-
64
-
65
-
66
-
67
-
68
-
69
-
70
-
71
-
72
 |
 |