Canon 3000F WIA120_driver_guide.pdf - Page 10
Select a scanning method according to the use to which the image, will be put. - manual
 |
UPC - 013803028430
View all Canon 3000F manuals
Add to My Manuals
Save this manual to your list of manuals |
Page 10 highlights
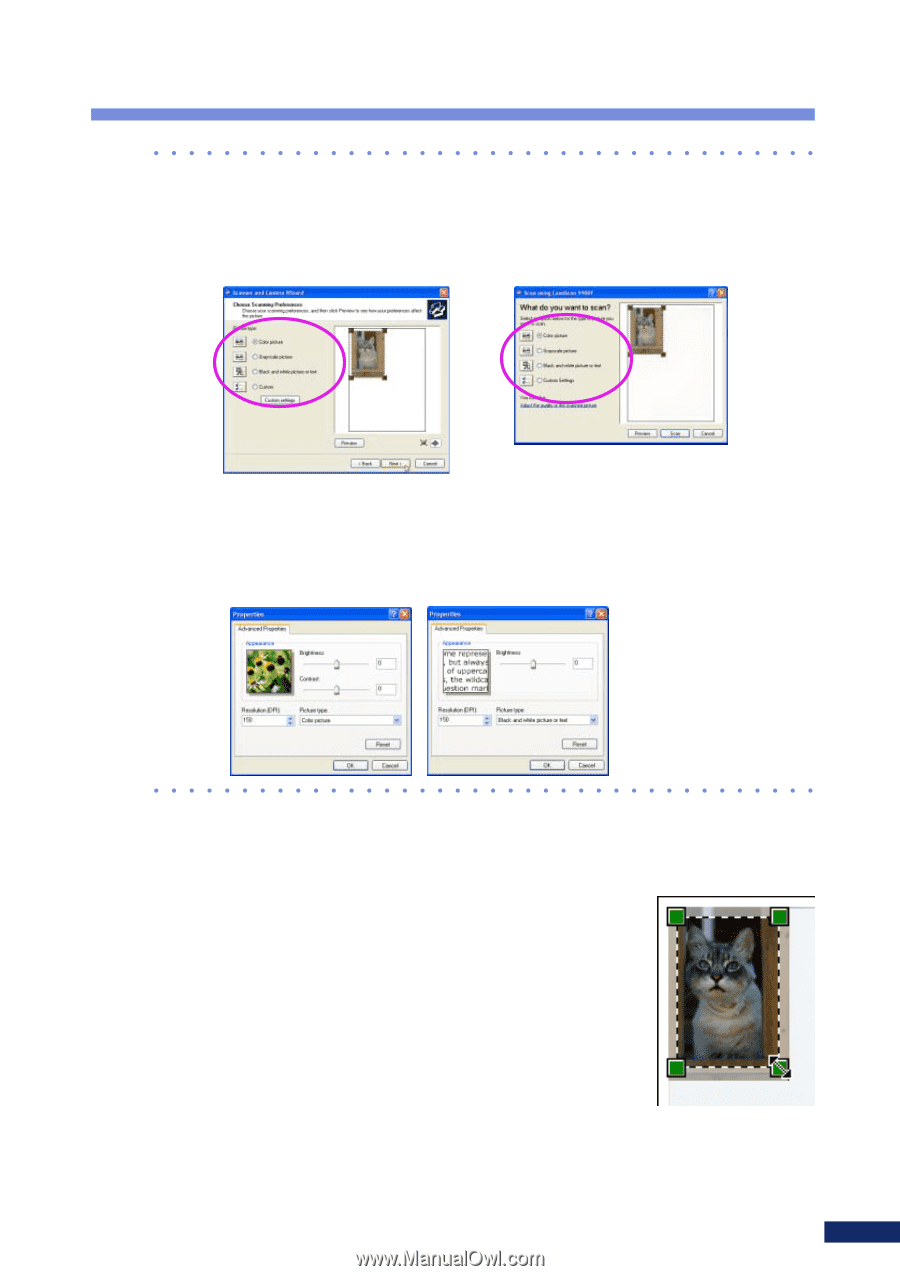
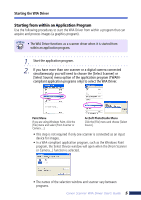
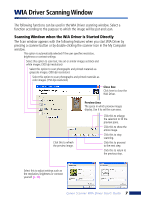
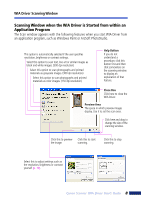
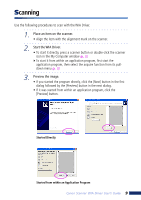
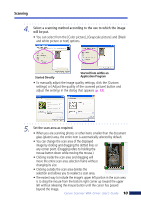
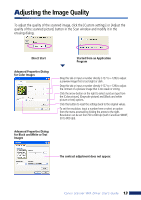
Scanning 4. Select a scanning method according to the use to which the image will be put. • You can select from the [Color picture], [Grayscale picture] and [Black and white picture or text] options. Started Directly Started from within an Application Program • To manually adjust the image quality settings, click the [Custom settings] or [Adjust the quality of the scanned picture] button and adjust the settings in the dialog that appears (p. 13). 5. Set the scan area as required. • When you are scanning photos or other items smaller than the document glass (platen) area, the entire item is automatically selected by default. • You can change the scan area of the displayed image by clicking and dragging the dotted lines or any corner point. (Dragging refers to holding the mouse button down while moving the mouse.) • Clicking inside the scan area and dragging will move the entire scan area selection frame without changing its size. • Clicking outside the scan area deletes the selection and allows you to reselect a scan area. • The easiest way to include the image's upper left portion in the scan area is to drag the mouse from the bottom right corner up toward the upper left without releasing the mouse button until the cursor has passed beyond the image. Canon Scanner WIA Driver User's Guide 10
-
 1
1 -
2
-
3
-
4
-
 5
5 -
 6
6 -
 7
7 -
 8
8 -
 9
9 -
 10
10 -
 11
11 -
 12
12 -
 13
13
 |
 |