Canon CanoScan D2400UF CanoScan D1230U/D2400U Plug-in Module CS-U 4.1 for Mac - Page 36
Auto Exposure, Save Exposure Data
 |
View all Canon CanoScan D2400UF manuals
Add to My Manuals
Save this manual to your list of manuals |
Page 36 highlights
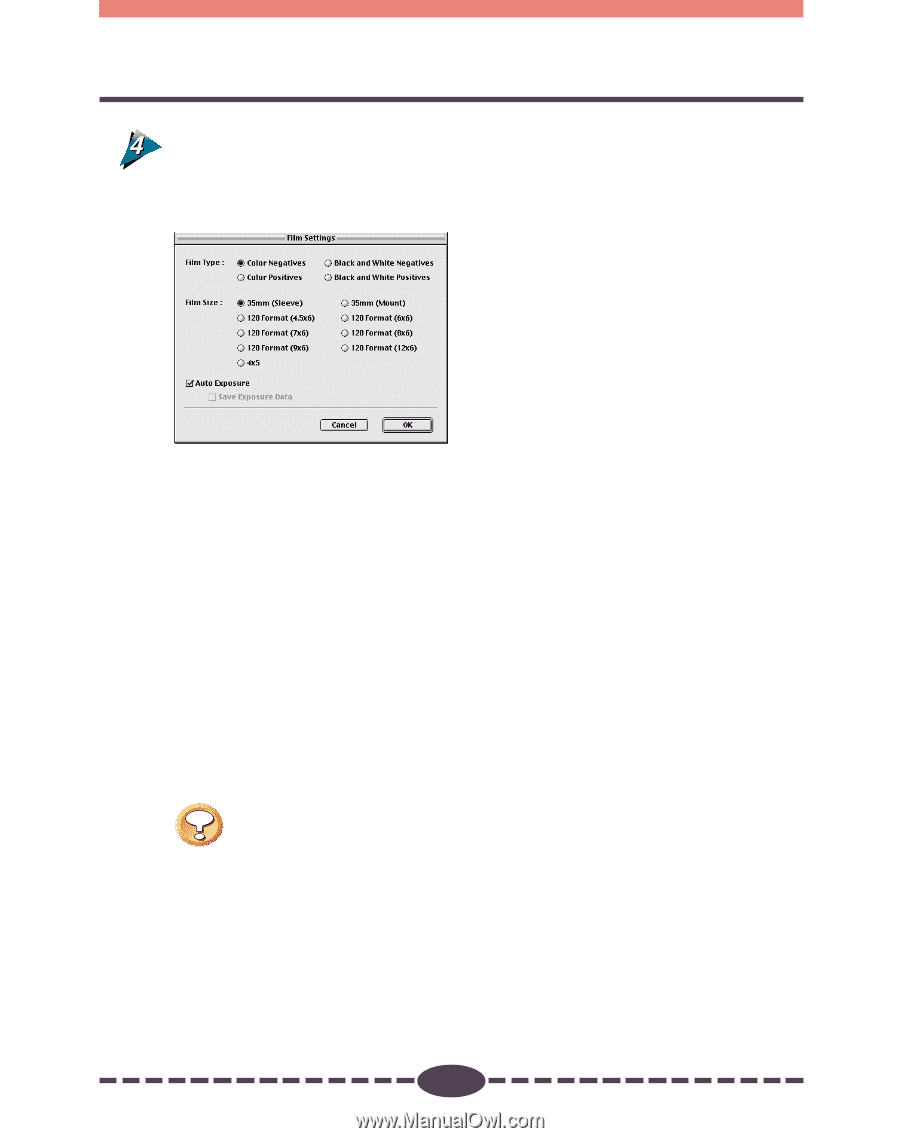
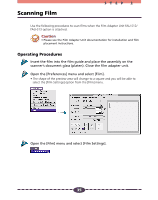
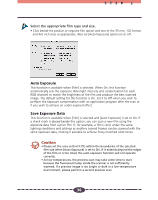
STEP 2 Select the appropriate film type and size. • Click beside the positive or negative film option and one of the 35 mm, 120 format and 4x5 inch sizes as appropriate. Also set [Auto Exposure] option on or off. Auto Exposure This function is available when [Film] is selected. When On, this function automatically sets the exposure data (light intensity and compensation for each RGB channel) to match the brightness of the film and produce the best scanned image. The default setting for this function is On. Set it to Off when you wish to perform the exposure compensation with an application program after the scan or if you wish to achieve an under-exposed effect. Save Exposure Data This function is available when [Film] is selected and [Auto Exposure] is set to On. If a check mark is placed beside this option, you can scan a new film using the exposure data from a prior film. If, for example, a film is shot under the same lighting conditions and settings as another, several frames can be scanned with the same exposure data, making it possible to achieve finely matched color tones. Caution • Please set the area so that it fits within the boundaries of the selected film size when [Auto Exposure] is set to On. If it extends beyond the edges of the film or is too small, the auto exposure function will not operate correctly. • At low temperatures, the preview scan may take some time to start because the fluorescent lamp inside the scanner is not sufficiently warmed. If a preview image is too bright or dark in a low-temperature environment, please perform a second preview scan. 36
-
 1
1 -
2
-
3
-
4
-
5
-
6
-
7
-
8
-
9
-
10
-
11
-
12
-
13
-
14
-
15
-
16
-
17
-
18
-
19
-
20
-
21
-
22
-
23
-
24
-
25
-
26
-
27
-
28
-
29
-
30
-
 31
31 -
 32
32 -
 33
33 -
 34
34 -
 35
35 -
 36
36 -
 37
37 -
 38
38 -
 39
39 -
 40
40 -
 41
41 -
42
-
43
-
44
-
45
-
46
-
47
-
48
-
49
-
50
-
51
-
52
-
53
-
54
-
55
-
56
-
57
-
58
-
59
-
60
-
61
-
62
-
63
-
64
-
65
-
66
-
67
-
68
-
69
-
70
-
71
-
72
-
73
 |
 |