Canon FS300 FS30 / FS31 / FS300 Instruction Manual - Page 46
Combining Scenes with Music, Playing Back the Scenes - mac
 |
View all Canon FS300 manuals
Add to My Manuals
Save this manual to your list of manuals |
Page 46 highlights
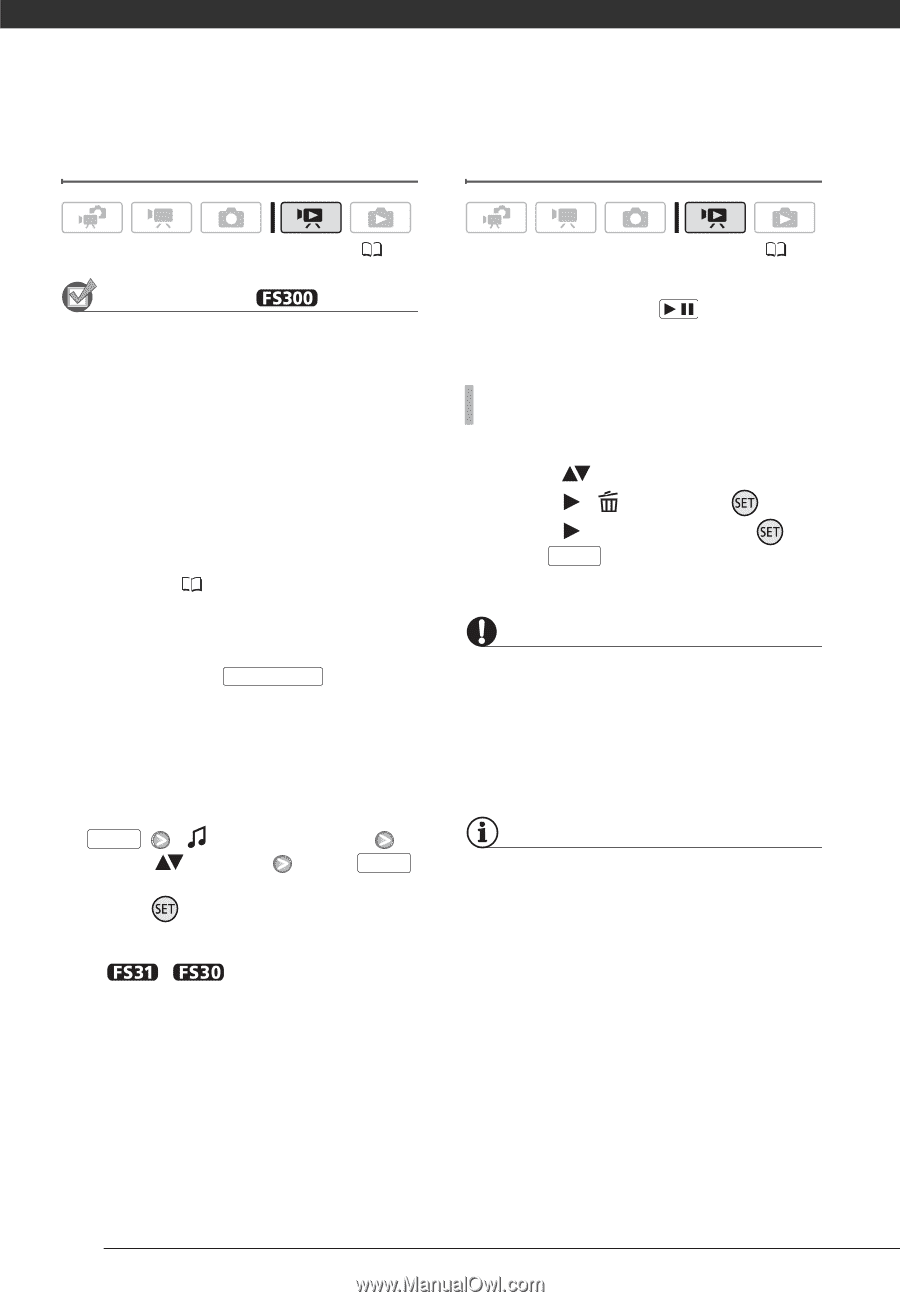
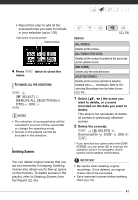
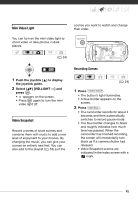
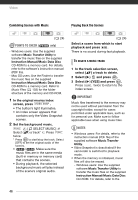
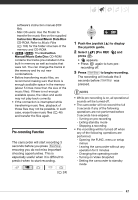
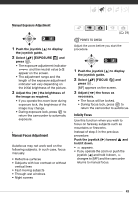
Video Combining Scenes with Music Playing Back the Scenes ( 24) POINTS TO CHECK ( only) - Windows users: Use the supplied software Music Transfer Utility to transfer the music files on the supplied Instruction Manual/Music Data Disc CD-ROM to a memory card. For details, refer to the software's instruction manual (PDF file). - Mac OS users: Use the Finder to transfer the music files on the supplied Instruction Manual/Music Data Disc CD-ROM to a memory card. Refer to Music Files ( 103) for the folder structure of the memory and CD-ROM. 1 In the original movies index screen, press VIDEO SNAP . • The button's light illuminates. • An index screen appears that contains only the Video Snapshot scenes. 2 Set the background music. FUNC. [ SELECT MUSIC] Select ( ) a track* Press FUNC. twice * Press to start/stop the track. Select [OFF] to set the original audio of the scenes. • / Make sure the music files are in the same media (built-in memory or memory card) that contains the scenes. • During playback, the selected background music will play instead of the scene's original audio. ( 24) Select a scene from which to start playback and press / . There is no sound during fast playback. TO DELETE A MUSIC TRACK 1 In the track selection screen, select ( ) a track to delete. 2 Select ( ) and press . 3 Select ( ) [YES] and press . Press FUNC. twice to return to the index screen. IMPORTANT Music files transferred to the memory may not be used without permission from the copyright holder, except for cases permitted under applicable laws, such as for personal use. Make sure to follow applicable laws when using music files. NOTES • Windows users: For details, refer to the instruction manual (PDF file) of the supplied software Music Transfer Utility. • Video Snapshot is deactivated if the camcorder is switched to playback mode. • When the memory is initialized, music files will also be erased. - Windows users: Use the supplied software Music Transfer Utility to transfer the music files on the supplied Instruction Manual/Music Data Disc CD-ROM. For details, refer to the 46
-
 1
1 -
2
-
3
-
4
-
5
-
6
-
7
-
8
-
9
-
10
-
11
-
12
-
13
-
14
-
15
-
16
-
17
-
18
-
19
-
20
-
21
-
22
-
23
-
24
-
25
-
26
-
27
-
28
-
29
-
30
-
31
-
32
-
33
-
34
-
35
-
36
-
37
-
38
-
39
-
40
-
 41
41 -
 42
42 -
 43
43 -
 44
44 -
 45
45 -
 46
46 -
 47
47 -
 48
48 -
 49
49 -
 50
50 -
 51
51 -
52
-
53
-
54
-
55
-
56
-
57
-
58
-
59
-
60
-
61
-
62
-
63
-
64
-
65
-
66
-
67
-
68
-
69
-
70
-
71
-
72
-
73
-
74
-
75
-
76
-
77
-
78
-
79
-
80
-
81
-
82
-
83
-
84
-
85
-
86
-
87
-
88
-
89
-
90
-
91
-
92
-
93
-
94
-
95
-
96
-
97
-
98
-
99
-
100
-
101
-
102
-
103
-
104
-
105
-
106
-
107
-
108
-
109
-
110
-
111
-
112
-
113
-
114
-
115
-
116
 |
 |