Canon FS300 FS30 / FS31 / FS300 Instruction Manual - Page 72
Playback on a TV Screen, Saving Your Recordings - adapter
 |
View all Canon FS300 manuals
Add to My Manuals
Save this manual to your list of manuals |
Page 72 highlights
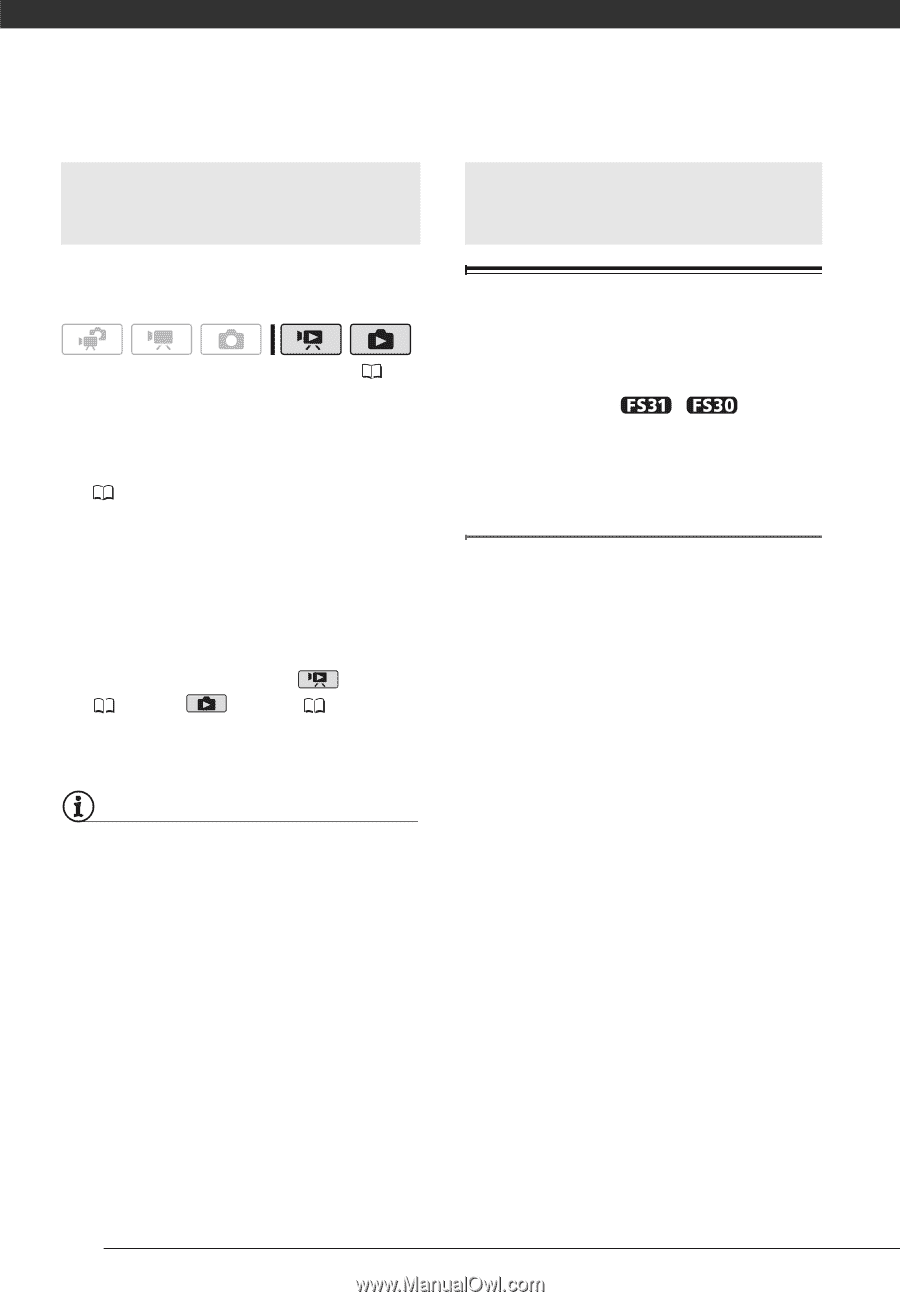
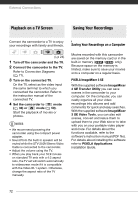
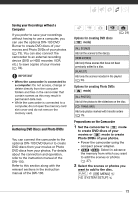
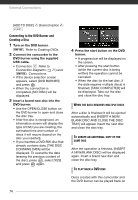
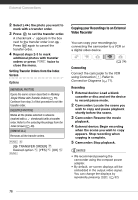
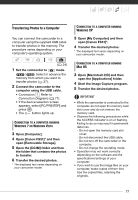
External Connections Playback on a TV Screen Saving Your Recordings Connect the camcorder to a TV to enjoy your recordings with family and friends. Saving Your Recordings on a Computer ( 24) 1 Turn off the camcorder and the TV. 2 Connect the camcorder to the TV. Refer to Connection Diagrams ( 71). 3 Turn on the connected TV. On the TV, select as the video input the same terminal to which you connected the camcorder. Refer to the instruction manual of the connected TV. 4 Set the camcorder to mode ( 36) or mode ( 59). Start the playback of movies or photos. NOTES • We recommend powering the camcorder using the compact power adapter. • Sound from the built-in speaker will be muted while the STV-250N Stereo Video Cable is connected to the camcorder. • Adjust the volume using the TV. • When you play back your 16:9 movies on standard TV sets with a 4:3 aspect ratio, the TV set will switch automatically to widescreen mode if it is compatible with the Video ID-1 system. Otherwise, change the aspect ratio of the TV manually. Movies recorded with this camcorder are saved on the memory card or in the built-in memory ( / only). Because space on the memory is limited, make sure to save your movies onto a computer on a regular basis. PIXELA ImageMixer 3 SE With the supplied software ImageMixer 3 SE Transfer Utility you can save scenes in the camcorder to your computer. On the computer, you can neatly organize all your video recordings into albums and add comments for quick and easy searches. With the supplied software ImageMixer 3 SE Video Tools, you can also edit scenes, convert and resize them to upload them to your Web site or to take with you on your portable video player and more. For details about the functions available, refer to the software's instruction manual (PDF file). For details about installing the software refer to PIXELA Applications Installation Guide. 72
-
 1
1 -
2
-
3
-
4
-
5
-
6
-
7
-
8
-
9
-
10
-
11
-
12
-
13
-
14
-
15
-
16
-
17
-
18
-
19
-
20
-
21
-
22
-
23
-
24
-
25
-
26
-
27
-
28
-
29
-
30
-
31
-
32
-
33
-
34
-
35
-
36
-
37
-
38
-
39
-
40
-
41
-
42
-
43
-
44
-
45
-
46
-
47
-
48
-
49
-
50
-
51
-
52
-
53
-
54
-
55
-
56
-
57
-
58
-
59
-
60
-
61
-
62
-
63
-
64
-
65
-
66
-
 67
67 -
 68
68 -
 69
69 -
 70
70 -
 71
71 -
 72
72 -
 73
73 -
 74
74 -
 75
75 -
 76
76 -
 77
77 -
78
-
79
-
80
-
81
-
82
-
83
-
84
-
85
-
86
-
87
-
88
-
89
-
90
-
91
-
92
-
93
-
94
-
95
-
96
-
97
-
98
-
99
-
100
-
101
-
102
-
103
-
104
-
105
-
106
-
107
-
108
-
109
-
110
-
111
-
112
-
113
-
114
-
115
-
116
 |
 |